How to Paint Glowing Rim Lights in Photoshop
TL;DR
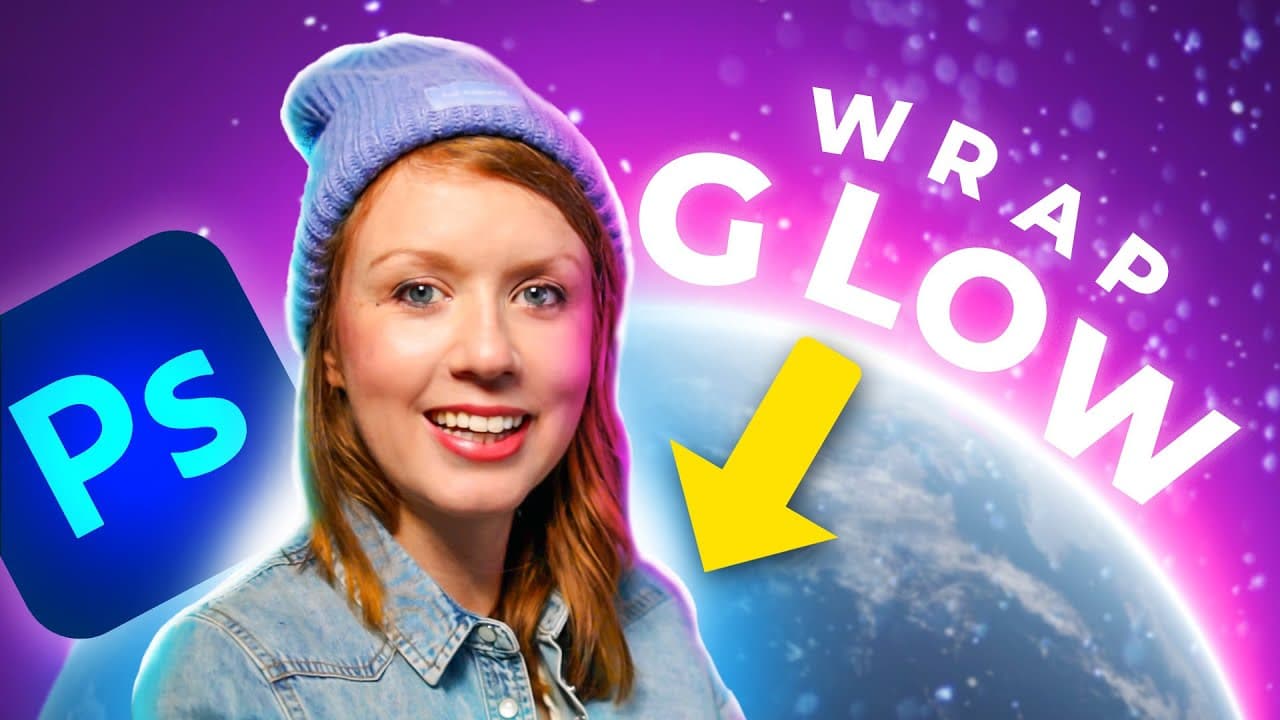
Create a glowing rim light by brightening the subject with a clipped Curves adjustment, contracting the subject selection, applying it as a mask, and feathering the edge until the effect looks subtle. Colored fill layers, careful mask painting, Blend If controls, background blur, and strategically placed brush glows can add depth while keeping every lighting adjustment editable.
Transcript
have you ever wondered how people create that glowing halo effect around their subjects and their thumbnails well in today's video you're going to learn how to do that and some other tips to help your thumbnail pop I've put time coded chapters down below so you can skip around and find what you need for now let's Jump On In so it's been a while sin... Read More
Key Insights
- A 1920 by 1080 film and video document provides the starting canvas for the thumbnail, while enabled artboards support multiple design variations. A transparent background is useful because the composition will be assembled from several independent image, adjustment, graphic, and lighting layers.
- Generative Fill can remove unwanted details by generating over a loose lasso selection with an empty prompt. Grouping the corrected result with the original photograph and converting them into a smart object prevents the separate generated layer from complicating later subject masking.
- Select Subject provides an initial cutout, but its edges may require manual correction. Painting with the add-to-mask and subtract-from-mask controls, using nearly zero brush hardness and an adjustable brush size, helps clean the silhouette before a replacement background is added.
- Background separation is strengthened by scale, color, and blur adjustments. A duplicated background can receive a colored overlay in Overlay blend mode with reduced opacity, while a Gaussian blur of about 2.5 or 2.6 makes the environment appear farther behind the subject.
- A basic rim light is created with a bright Curves adjustment clipped to the isolated subject. Contracting the subject selection defines the gap between the silhouette and the light, and applying that contracted area to the Curves mask leaves a bright border around the subject.
- Feathering transforms a harsh masked stroke into a subtle rim light. A value around 8.5 is demonstrated as a useful result, although the appropriate amount can be adjusted by eye, and unwanted illuminated areas can be removed directly from the editable mask.
- Colored rim lighting can be painted with solid-color layers clipped to the subject. Blue can illuminate one side while pink illuminates the other, and the mask remains editable, allowing color to be removed, restored, or repositioned after the initial painting.
- Blend If and opacity controls help colored light interact more naturally with the subject. Splitting the underlying-layer control with Alt or Option softens the transition across image tones, while lowering opacity reduces intensity without requiring destructive changes to the painted mask.
Install to Summarize YouTube Videos and Get Transcripts
Explore YouTube Video Summarizer or Get YouTube Transcript Extractor
Questions & Answers
Q: How do you create a glowing rim light in Photoshop?
Create a Curves adjustment and raise the RGB curve to brighten the image, then clip the adjustment to the isolated subject with Alt on Windows or Option on Mac. Load the subject selection, contract it to define the desired border, and apply the contracted area to the Curves mask. Finally, feather the mask until the hard stroke becomes a subtle edge light.
Q: How do you prepare a subject photo for a thumbnail?
Create a 1920 by 1080 film and video document with artboards enabled and a transparent background, then import and scale a reaction still. Remove distracting elements with a loose lasso selection and Generative Fill using an empty prompt. Group the correction with the photograph, convert the group into a smart object, and then begin isolating the subject.
Q: How do you remove an unwanted object with Generative Fill?
Select the Lasso tool and draw around the unwanted object, such as the lavalier microphone shown in the tutorial. Choose Generative Fill, leave the prompt empty, and generate replacement options. Select the variation that looks most natural. The generated correction can then be grouped with the original image and converted into a smart object before further masking.
Q: How do you clean up a Photoshop subject mask?
Use Select Subject to generate the initial selection and convert it into a mask. Inspect the silhouette closely because automatically selected edges may not be perfect. Use the add-to-mask and subtract-from-mask controls to paint corrections, keep brush hardness near zero, and change the brush size as needed while working around hair and other detailed edges.
Q: How do you make a thumbnail background feel more distant?
Place the background behind the isolated subject and scale it to support the intended composition. Group its related layers and convert them into a smart object, then apply a slight Gaussian blur. The tutorial uses approximately 2.5 or 2.6, which softens background detail and creates visual separation while keeping the subject prominent in front.
Q: How do you change the background glow color in Photoshop?
Duplicate the background so an unmasked copy remains available, then apply a Color Overlay effect to the upper version. Choose the desired color, such as pink, change the blend mode to Overlay, and reduce the opacity until the effect fits the image. Grouping the related layers and converting them into a smart object keeps the background treatment manageable.
Q: How do you add different colors to each side of a rim light?
Create a solid-color layer, choose a color such as blue, and clip it to the subject with Alt on Windows or Option on Mac. Paint or subtract from its mask until the light remains only where desired. Remove blue from the opposite side, then use another color, such as pink, there to create distinct lighting directions.
Q: How do you make painted glow blend naturally with a subject?
Open the layer blending controls by double-clicking beside the colored light layer, then adjust how it blends with the underlying subject image. Hold Alt or Option to split the underlying-layer control, which creates a smoother transition through the image tones. Reduce the layer opacity when the glow is too intense, and continue refining its mask as needed.
Summary & Key Takeaways
-
Start with a 1920 by 1080 transparent artboard and enable artboards when multiple thumbnail designs may be useful. Import a reaction still, scale the subject for a strong composition, and remove distractions such as a lavalier microphone with Generative Fill before combining the corrected image into a smart object for easier masking.
-
Use Select Subject to create the initial mask, then manually add or subtract areas along imperfect edges. Place a licensed background behind the isolated subject, adjust its scale and color with an overlay, and apply a slight Gaussian blur of about 2.5 or 2.6 to push it visually into the distance.
-
Build the rim light with a clipped Curves adjustment, a contracted subject selection, and mask feathering around 8.5 for a softer edge. Add blue or pink color layers, refine them by painting on masks, and use opacity and Blend If adjustments to integrate the light naturally with the underlying subject image.
Read in Other Languages (beta)
Share This Summary 📚
Summarize YouTube Videos and Get Video Transcripts with 1-Click
Try YouTube Summary with ChatGPT & Claude or YouTube Transcript Generator
Explore More Summaries from Premiere Gal 📚


Summarize YouTube Videos and Get Video Transcripts with 1-Click
Try YouTube Summary with ChatGPT & Claude or YouTube Transcript Generator