EASY stepper motor control with Arduino Uno and EasyDriver

TL;DR
This video demonstrates basic stepper motor control using Arduino.
Transcript
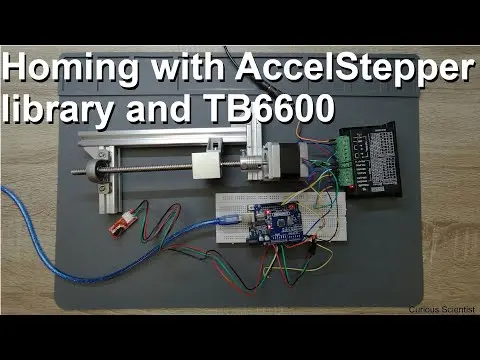
you hey everyone I hope you are doing fine in this video I am going to talk about a very simple control of a stepper motor I will show you what I have built so far and what I am planning to do with this stuff in the future so here you can see a simple frame that I built to test the stepper motor and the Arduino code that I'm developing the stepper ... Read More
Key Insights
- 🧑🦼 A simple NEMA type stepper motor can effectively demonstrate basic control principles using inexpensive materials.
- 😴 The Arduino Uno provides a user-friendly platform for coding and controlling stepper motors through digital pins.
- 🥺 Utilizing a lead screw and block mechanism effectively converts rotary to linear motion, essential for various mechanical applications.
- 👻 Microstepping enables finer control over motor movements, allowing for precise adjustments during operation.
- 👨💻 Speed control is crucial; adjusting microsecond delays in code facilitates varying rotations to suit project needs.
- ❓ Regular troubleshooting ensures efficient operation, emphasizing the importance of monitoring current supply for optimal performance.
- 👻 The aluminum frame's modularity and strength allow for building complex structures, accommodating various project requirements.
Install to Summarize YouTube Videos and Get Transcripts
Explore YouTube Video Summarizer or Get YouTube Transcript Extractor
Questions & Answers
Q: What components are used in the stepper motor setup?
The setup comprises a simple NEMA type stepper motor attached to a lead screw via a coupler. It uses an Arduino Uno for programming, an Easy Driver stepper motor driver circuit, and a 12V power supply. Two bearings stabilize the lead screw, while an aluminum frame provides structural support.
Q: How does the Arduino code control the stepper motor?
The Arduino code controls the stepper motor by assigning two pins: one for stepping and another for direction. The direction is set by applying high or low voltage to the direction pin. A for loop allows the motor to execute the desired number of steps, thus controlling the angle of rotation.
Q: What is the relationship between steps and rotation in this setup?
Each full rotation of the stepper motor consists of 200 steps, considering the motor's step angle of 1.8 degrees. However, with microstepping, such as an eighth of a step in this case, advanced setups can require up to 1,600 steps for a complete rotation, maximizing precision in movement.
Q: How is the speed of the motor adjusted?
The speed of the motor is adjusted by altering the delay between step signals in the Arduino code. Faster speeds result from shorter delays; for example, a 120-microsecond delay produces high RPMs, while longer delays, such as 2,000 microseconds, yield slower rotations.
Q: What challenges can arise during motor operation?
Users may face issues such as the motor not moving or producing high-pitched sounds, often indicating insufficient current supply. In these cases, it's essential to adjust the current using the potentiometer on the Easy Driver board to ensure smooth operation.
Q: What are the intended applications for this stepper motor setup?
The primary application is to build a miniature Tensei testing machine, allowing the user to explore how to control speed and distance. The setup also serves as an educational tool for practicing Arduino programming and understanding the conversion of rotational motion to linear movement.
Summary & Key Takeaways
-
The creator showcases an inexpensive NEMA stepper motor setup that converts rotational motion into linear motion using a lead screw and block mechanism.
-
The Arduino code is straightforward, allowing users to control stepping direction and speed through pins, with a simple loop for motor rotation.
-
The ultimate goal is to build a miniature Tensei testing machine, providing hands-on experience with motor control programming and mechanical conversion principles.
Read in Other Languages (beta)
Share This Summary 📚
Summarize YouTube Videos and Get Video Transcripts with 1-Click
Try YouTube Summary with ChatGPT & Claude or YouTube Transcript Generator
Explore More Summaries from Curious Scientist 📚


![Building a coil winder [Part 6] - A few improvements thumbnail](/_next/image?url=https%3A%2F%2Fi.ytimg.com%2Fvi%2F3eyxG_g2iUA%2Fhqdefault.jpg&w=750&q=75)

Summarize YouTube Videos and Get Video Transcripts with 1-Click
Try YouTube Summary with ChatGPT & Claude or YouTube Transcript Generator