Low-cost DIY thermal imaging - liquid crystal paint testing

TL;DR
A homemade thermal imaging device created using liquid crystals, germanium lens, and plastic shopping bag shows heat patterns, with plans to improve resolution.
Transcript
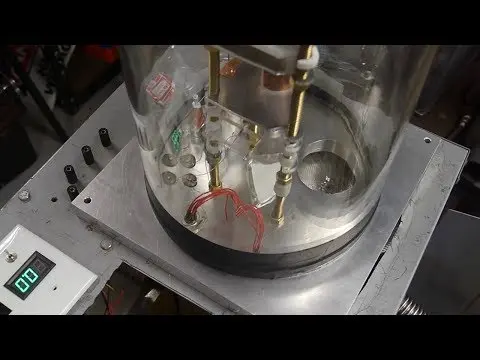
okay so here we are it's a day one of the low-cost thermal imaging project and I'll show you what I've made today just show you how it works first and then give you a little bit of an explanation so this is a totally passive device that I made out of liquid crystals and a germanium latins and as you can see it's focusing the heat from this thermal ... Read More
Key Insights
- 🫗 Liquid crystals and a germanium lens can be used to create a DIY thermal imaging device.
- 🥵 The homemade device shows heat patterns when exposed to a thermal source but has slow response times.
- 🛍️ Affordable materials like a plastic shopping bag and spray paint were utilized in the project.
- 🌱 Future plans involve enhancing the spatial and temporal resolution of the thermal imaging screen.
- 🤔 Experimentation with thinner materials and innovative designs is proposed for improving the device's performance.
- 👨🎨 Liquid crystal paint offers potential for creating affordable thermal imaging solutions.
- 😘 The DIY project showcases the ingenuity and creativity in developing low-cost thermal imaging technologies.
Install to Summarize YouTube Videos and Get Transcripts
Explore YouTube Video Summarizer or Get YouTube Transcript Extractor
Questions & Answers
Q: How does the homemade thermal imaging device work?
The device uses liquid crystals and a germanium lens to capture and display heat patterns when exposed to a heat source. The materials are affordable and easy to obtain, making it a DIY project for enthusiasts.
Q: What are the challenges faced with the current device?
The current device has slow response time and limited resolution. It takes seconds to show heat patterns and struggles to achieve high spatial resolution. Improving these aspects is a priority for future enhancements.
Q: What materials were used in constructing the thermal imaging device?
The device was made using liquid crystals, a germanium lens, and a thin plastic shopping bag as the thermal imaging screen. These materials were chosen for their affordability and accessibility in creating a functional prototype.
Q: What are the future plans for the DIY thermal imaging project?
Future plans involve experimenting with thinner materials, potentially using bristled surfaces to improve spatial and temporal resolution. The goal is to enhance the device's performance and usability in thermal imaging applications.
Summary & Key Takeaways
-
A homemade passive thermal imaging device using liquid crystals and a germanium lens displays heat patterns when exposed to a thermal strip heater.
-
The device's response time is slow, but the materials used are affordable and accessible for experimentation.
-
Future plans involve improving spatial and temporal resolution by exploring thinner materials for the thermal imaging screen.
Read in Other Languages (beta)
Share This Summary 📚
Summarize YouTube Videos and Get Video Transcripts with 1-Click
Try YouTube Summary with ChatGPT & Claude or YouTube Transcript Generator
Explore More Summaries from Applied Science 📚


Summarize YouTube Videos and Get Video Transcripts with 1-Click
Try YouTube Summary with ChatGPT & Claude or YouTube Transcript Generator