How to record screen tutorials with DemoCreator
TL;DR
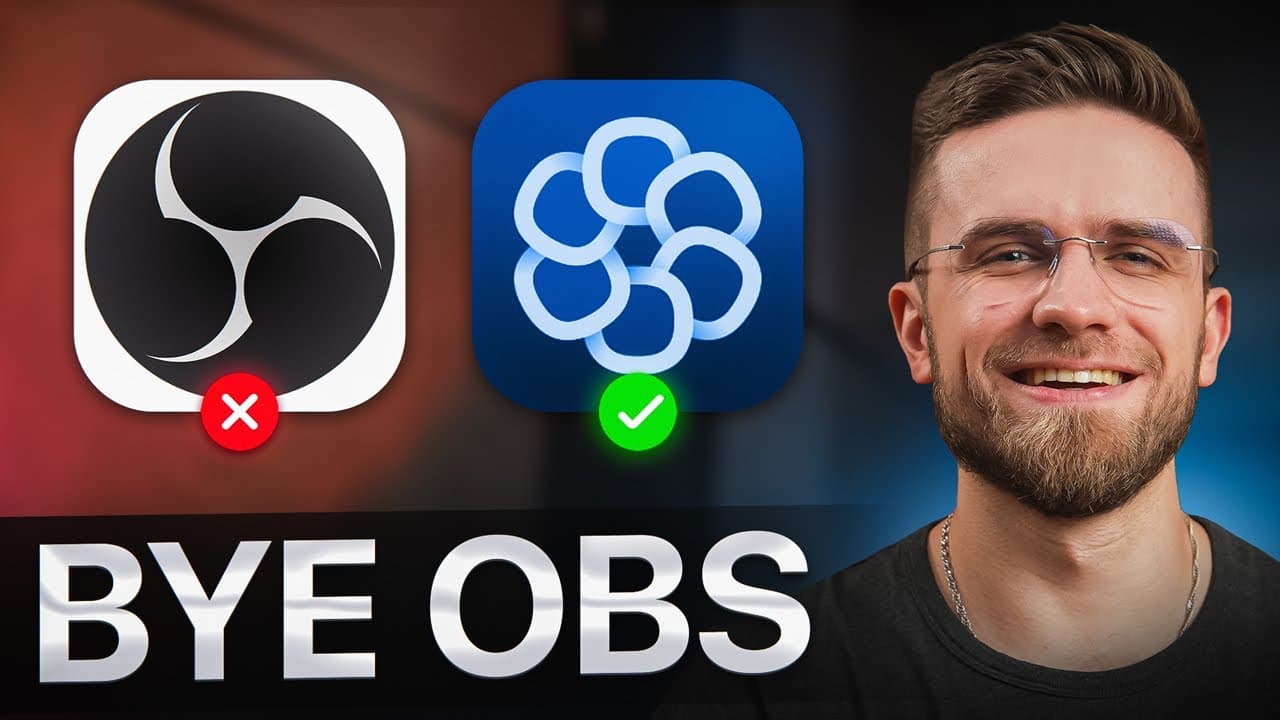
Start with the easiest built in Mac option and then switch to DemoCreator for more control. QuickTime is simple but lacks system audio capture and fails at large file sizes, while DemoCreator offers multi mode recording, AI assisted editing, background removal, subtitles, and a streamlined timeline for clean tutorials.
Transcript
you all saw my Chad gbt guide and my content creation automation guide there's the one key thing that keeps popping up in the comments like how do you record your screen screen recording is the backbone of any of my tutorials and today I'm spilling the beans on exactly how I do it I will break it down into two methods the simple way of course the c... Read More
Key Insights
- Screen recording can be done quickly with built in tools but advanced needs require specialized software.
- DemoCreator offers multiple recording modes including screen, camera, game and virtual avatar to fit various content types.
- It records at high quality while keeping file sizes manageable compared to QuickTime.
- AI features in DemoCreator can auto generate subtitles, separate music tracks by AI, and create voice overs.
- The AI teleprompter helps scripts stay on track while recording
- Background removal and on screen drawing tools improve on camera tutorials without clutter
- Smart Zoom and cursor effects add visual clarity and focus during tutorials
- Editing in DemoCreator is track based allowing independent adjustments to voice, video, and screen layers
- More videos from this channel:
- More from this channel: AI Master
Install to Summarize YouTube Videos and Get Transcripts
Explore YouTube Video Summarizer or Get YouTube Transcript Extractor
Questions & Answers
Q: What is the first step to start screen recording on Mac using built in tools?
The first step is to open QuickTime Player, go to the File menu, and select New Screen Recording. This creates a capture frame to select the recording area and enables options such as showing mouse clicks and capturing audio from the mic. This is the simplest route for quick captures.
Q: Why might someone switch from QuickTime to DemoCreator for screen recordings?
Someone might switch because QuickTime cannot capture system audio and produces large file sizes, making editing and sharing less convenient. DemoCreator offers additional recording modes, smaller optimized files, and built in tools like AI teleprompter, background removal, and more flexible editing in a timeline for easier post production.
Q: What recording modes does DemoCreator offer?
DemoCreator offers multiple recording modes including screen recording, screen and camera, camera only, game recording, virtual avatar mode, and video presentation mode. These modes let creators tailor recordings to tutorials, gameplay, or presentations while keeping output crisp and professionally formatted.
Q: How does the AI teleprompter feature help during recording?
The AI teleprompter uploads a script and scrolls automatically as you speak, saving time and helping maintain natural flow. This keeps content organized, reduces pauses, and supports more consistent pacing across the recording, which is especially valuable for tutorials or lectures that require precise narration.
Q: What editing advantages does DemoCreator provide?
In the timeline, voice, camera, and screen recordings are on separate tracks, allowing independent edits. You can apply noise reduction, boost speech clarity, or strip vocals from music. The AI driven tools also facilitate automatic subtitles, voice dubbing, and easy output customization for branded videos.
Q: What are some features that enhance on screen tutorials in DemoCreator?
Features include on screen drawing tools, a built in whiteboard, highlighter effects, and a background remover to keep visuals clean. These tools let you annotate as you record, highlight key actions, and remove distractions, which improves viewer comprehension and engagement in tutorials.
Q: How does Smart Zoom work in DemoCreator?
Smart Zoom can be turned on during screen and camera recording to automatically apply a zoom animation in the editor. You can also choose from templates for manual zooming and panning if you prefer more control, helping draw attention to important details like buttons or toggles during the video.
Q: What final production steps are highlighted for polished videos?
After recording, you drag clips into the timeline and refine audio with noise removal and voice adjustments, add auto subtitles, choose voice overs, apply watermarking, and insert openings or credits templates. The emphasis is on creating a clean, branded, high quality video that can be shared easily.
Summary & Key Takeaways
-
Demo Creator provides multiple recording modes and features that improve screen tutorials, including screen and camera, game, and virtual avatar modes, with options to adjust resolution and mic input. It also includes AI assisted tools such as auto subtitles and voice dubbing to speed up production. The workflow emphasizes clean, shareable outputs.
-
The built in Mac option (QuickTime) is quick to use but has limitations like no system audio capture and larger file sizes, which is why the creator prefers DemoCreator for more complex videos and easier editing in post. The video also highlights practical tips like AI teleprompter and on screen drawing tools.
-
Advanced features like AI object removal, background removal, and watermarking are presented as ways to keep tutorials polished and branded, even for longer editing sessions, with emphasis on efficient editing in the timeline and automatic enhancements.
Read in Other Languages (beta)
Share This Summary 📚
Summarize YouTube Videos and Get Video Transcripts with 1-Click
Try YouTube Summary with ChatGPT & Claude or YouTube Transcript Generator
Explore More Summaries from AI Master 📚
Summarize YouTube Videos and Get Video Transcripts with 1-Click
Try YouTube Summary with ChatGPT & Claude or YouTube Transcript Generator