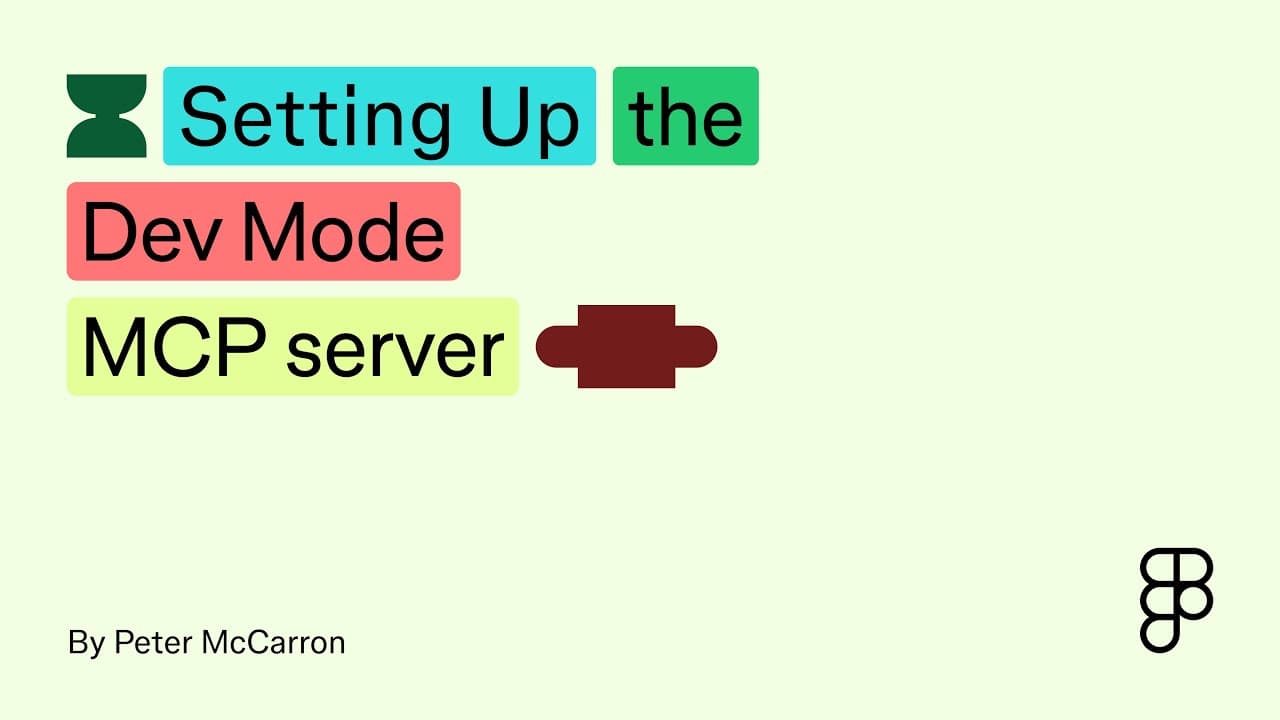
How to Connect Figma Dev Mode MCP to Editors
TL;DR
Enable the MCP server from the Dev Mode panel in a Figma desktop file, then connect it through your editor’s MCP settings or Figma integration. The desktop app must remain running because the server uses a local connection, and access requires a full seat or dev seat. Restart the server or Figma if its tools do not appear.
Transcript
hey everyone In this video we're going to walk you through how to get started with the new Dev Mode MCP server First we're going to show you how to start the server in Figma Then we'll walk through how you can connect it to some of your code editors And finally we'll give you some additional resources to help you in the future If you haven't done s... Read More
Key Insights
- The Dev Mode MCP server requires the Figma desktop app because it currently communicates through a local connection. Download the appropriate desktop application, sign in with Figma credentials, and keep the application running while connecting a supported code editor to the server.
- Access to the MCP server requires either a full seat or a dev seat. After opening a Figma file, switch into Dev Mode and use the MCP server block on the right side of the interface to enable the local server.
- The enabled MCP server remains available when moving into subsequent Figma files. To turn it off, return to a file, open Dev Mode, and disable the same server control that was used during the initial activation process.
- Cursor supports a one-click Figma MCP installation from its tools documentation. The setup opens Cursor with the required server connection information prefilled, after which the user installs it, waits for the tools to load, and opens the AI panel in agent mode.
- VS Code requires chat support for the MCP protocol to be enabled before its AI agents and Copilot can contact the server. The Figma server block is then added through settings.json, and its connection can be checked by viewing the available tools.
- Windsurf provides a Figma integration through the plug-in store in its Cascade settings. Installing that integration makes the MCP server available in Cascade, where the connected tools can be reviewed before beginning an agentic workflow.
- The displayed tool count can change as Figma adds capabilities or consolidates existing tools. The five tools shown during the demonstrations represent the configuration at that time, so users should verify that tools appear instead of expecting a permanently fixed count.
- Connection problems can often be addressed by restarting the MCP server or the Figma desktop application. Figma also displays an error toast near the bottom of the screen when an issue occurs while enabling its local MCP server.
Install to Summarize YouTube Videos and Get Transcripts
Explore YouTube Video Summarizer or Get YouTube Transcript Extractor
Questions & Answers
Q: How do I enable the Figma Dev Mode MCP server?
Install and open the Figma desktop app, sign in with your Figma credentials, and choose a file you plan to use. Switch the file into Dev Mode, locate the MCP server block on the right side, and enable it. The server then becomes available for subsequent files. A full seat or dev seat is required, and any activation error appears as a toast near the bottom of the screen.
Q: Why is the Figma desktop app required for the MCP server?
The Figma desktop app is required because the Dev Mode MCP server currently uses a local connection. The application hosts the server that supported code editors contact, so it must be installed and running during setup and use. If the app was closed after enabling the server, reopen it before attempting to connect Cursor, VS Code, Windsurf, or another editor that supports the MCP protocol.
Q: How do I connect the Figma MCP server to Cursor?
Visit the Cursor tools documentation and use the one-click installation provided for the Figma integration. Continue into Cursor, where the required connection information is already filled in, then select install and wait for the tools to load. Keep the Figma desktop app running throughout the process. Once the tools appear, open Cursor’s AI panel and make sure it is set to agent mode.
Q: How do I configure the Figma MCP server in VS Code?
Open VS Code settings, search for MCP, and enable chat to use the MCP protocol so AI agents and Copilot can contact the server. Next, open settings.json and configure the server block using the local server information. When the connection is active, VS Code provides controls to start or restart the server. Open the AI tab and inspect its tools to verify that the Figma tools are available.
Q: How do I install the Figma MCP server in Windsurf?
Open Windsurf settings, navigate to the Cascade section, and select the option to open the plug-in store. Search for Figma, open the matching integration, and select install. Return to Cascade after installation and confirm that the MCP server and its tools are available. If the tools do not appear, reset the server from Cascade or restart the Figma desktop application before checking again.
Q: What should I do if the Figma MCP tools do not appear?
First confirm that the Figma desktop application is open and that the MCP server is enabled in a Dev Mode file. Restart the server from the editor when that option is available, or turn the server off and back on inside Figma. Restarting the Figma application can also restore the connection. In VS Code, restart the server if no tool count appears, then inspect the AI tools again.
Q: Can the Figma MCP server work with editors other than Cursor, VS Code, and Windsurf?
The Dev Mode MCP server can work with code editors that support the MCP protocol, including tools beyond the three demonstrated. These editors will most likely need to point to the same local server URL, but their setup procedures may differ. Consult the editor’s documentation for instructions on connecting to MCP servers over a local connection, and use Figma’s help center guide for the relevant configuration information.
Q: How do I disable the Figma Dev Mode MCP server?
Open a file in the Figma desktop application and switch into Dev Mode. Find the MCP server block on the right side, then disable the server using the same control that enabled it. Enabling the server makes it available across subsequent files, so turning it off also requires returning to a Figma file rather than closing or changing only the connected code editor’s settings.
Summary & Key Takeaways
-
The setup begins with the Figma desktop app because the Dev Mode MCP server requires a local connection. After signing in, open a file, switch to Dev Mode, find the MCP server block on the right, and enable it. A full seat or dev seat is required to use the server.
-
Cursor offers a one-click installation through its tools documentation. The installer opens Cursor with the necessary connection information already filled in. Keep Figma running during setup, wait for the server tools to load, then open the AI panel and confirm that Cursor is operating in agent mode before interacting with Figma.
-
VS Code requires MCP support to be enabled in chat settings and the server block to be configured through settings.json. Windsurf provides a Figma integration in its plug-in store under Cascade settings. In either editor, restart the MCP server or the Figma application if the expected tools do not appear.
Read in Other Languages (beta)
Share This Summary 📚
Summarize YouTube Videos and Get Video Transcripts with 1-Click
Try YouTube Summary with ChatGPT & Claude or YouTube Transcript Generator
Explore More Summaries from Figma 📚
![How to Create a Responsive Button in Figma, Figma Design for Beginners [6 of 13] thumbnail](/_next/image?url=https%3A%2F%2Fi.ytimg.com%2Fvi%2FPZaBmmI0s4M%2Fhqdefault.jpg&w=750&q=75)

Summarize YouTube Videos and Get Video Transcripts with 1-Click
Try YouTube Summary with ChatGPT & Claude or YouTube Transcript Generator