React Native Crash Course: Build a Shopping List App
TL;DR
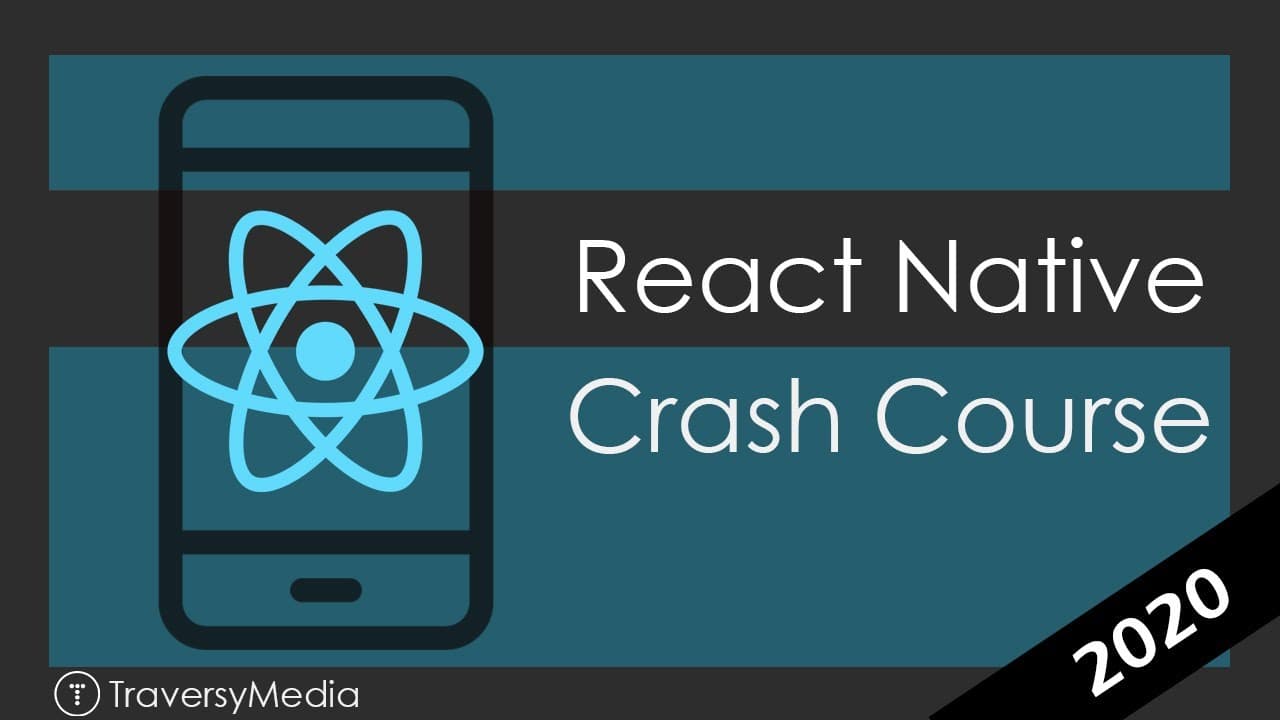
React Native lets you write one JavaScript code base with the React library that compiles to both iOS and Android native apps, saving companies time and money versus maintaining separate Swift and Java/Kotlin projects. You install it via the React Native CLI (with Android Studio for Android and Xcode for iOS), then build UIs from built-in components like View, Text, and FlatList.
Transcript
this video is sponsored by Ella node anyone can build on the node whether you need a development portfolio to land your next job or you're ready to put your app into production lonoa can get you there for $20 in free hosting credit click the link below or sign up at lynda.com / traversée hey what's going on guys welcome to my react native crash cou... Read More
Key Insights
- React Native is a library used alongside React.js that renders native components to mobile devices like iOS and Android, while React DOM is the separate library that renders React to the browser for web apps.
- The same React.js library powers both web and mobile: React works with React DOM for browser client-side apps and with React Native for native mobile apps, so React concepts carry over.
- The biggest advantage of React Native is a single code base that compiles to both iOS and Android, versus native development requiring separate Swift and Java/Kotlin projects with potentially different developers, which is expensive.
- Platform requirements differ by machine: on a Mac you can build, compile, and test for both iOS and Android, but on Windows you can generally only compile and test for Android, not iOS.
- React Native offers built-in component categories including basic components (View, Text, Image, TextInput, ScrollView, StyleSheet), UI components (Buttons, Pickers, Sliders, Switches, FlatList, SectionList), and platform-specific ones like ActionSheetIOS and DatePickerAndroid.
- There are two main ways to start: the Expo CLI, a wrapper needing only Node.js that lets you test on a physical device, or the React Native CLI, which requires Android Studio with the Android SDK and, for iOS, Xcode.
- The React Native CLI is installed globally via NPM (npm install -g react-native-cli), then a project is created with react-native init, and the app runs with react-native run-ios or react-native run-android.
- React state, props, and hooks all work in React Native; the course uses functional components with hooks, and extra packages like react-native-vector-icons (which must be linked) and uuid are added for icons and generating item IDs.
Install to Summarize YouTube Videos and Get Transcripts
Explore YouTube Video Summarizer or Get YouTube Transcript Extractor
Questions & Answers
Q: What is React Native and how does it relate to React?
React Native is a library used together with the React.js library that can render native components to a mobile device like an iOS or Android device. It works alongside React the same way React DOM does for web apps: when you build a web app, React and React DOM render to the browser, whereas React Native renders native mobile UI. In both cases you are using the same React.js library, so React skills transfer directly to mobile development.
Q: Why should you use React Native instead of native languages?
The biggest advantage of React Native is that you have a single code base that can compile to both iOS and Android. If a company wants a mobile app on both platforms using native languages, they would need two completely separate projects, such as a Swift project for iOS and a Java or Kotlin project for Android, possibly with different developers. That is very expensive. One code base for both platforms saves a ton of time and saves the company a lot of money.
Q: What are the requirements for building React Native apps on Mac vs Windows?
If you have a Mac, you can build, compile, and test apps for both iOS and Android. If you are on Windows, you can build for Android and iOS but you cannot compile or test for iOS, so you will usually build and test in Android. There are workarounds using a physical device and other software, but typically Windows users target the Android emulator while Mac users can use the iOS simulator. The tutorial code runs on either platform.
Q: How do you set up the development environment for React Native?
For the React Native CLI you need Android Studio along with the Android SDK, downloaded from developer.android.com/studio, which you definitely want on Windows. Inside Android Studio you use the SDK Manager to confirm the SDK is installed and the AVD Manager to create an emulator, such as a Pixel 2. For iOS testing on a Mac you also need Xcode, best installed through the App Store, which gives you access to the iOS simulator.
Q: What is the difference between the Expo CLI and the React Native CLI?
There are two basic ways to get started. The Expo CLI is a wrapper that abstracts out and runs your React Native application, and all you really need is Node.js; you can even use your physical device to test and run your app. The React Native CLI, which the course uses, requires more setup on your system, including Android Studio with the Android SDK and, for iOS on a Mac, Xcode installed so you have the iOS simulator.
Q: How do you install the React Native CLI and create a new project?
You install the React Native CLI globally using NPM, the node package manager, so make sure Node.js is installed. On a Mac the command uses sudo: npm install -g react-native-cli, with -g meaning global so you can access it from anywhere. Once installed, you initialize an application by running react-native init followed by your project name, such as shopping list. After it finishes it tells you how to run the app on iOS and Android.
Q: What built-in components does React Native provide?
React Native offers many built-in components across categories. Basic components include the View (a container component), Text, Image, TextInput, ScrollView, and StyleSheet. UI components include Buttons, Pickers, Sliders, Switches, and list views like FlatList for displaying many items and SectionList. There are also platform-specific components such as ActionSheetIOS and AlertIOS for iOS, and BackHandler and the DatePicker for Android. The documentation contains a full list of these components.
Q: What dependencies does the shopping list app use and why?
After creating the project, the course installs a couple of dependencies via npm. It uses react-native-vector-icons for icons, and after installing it you must link the assets by running react-native link react-native-vector-icons, which should report that assets have been successfully linked. It also installs uuid version 4, which generates IDs for the shopping list items. The app is built using functional components with hooks, though classes can also be used, and React props and state remain valid.
Summary & Key Takeaways
-
This updated crash course, replacing one made about three years earlier, covers what React Native is, installing and setting up the React Native CLI, exploring fundamental built-in components, and building a small shopping list application. It suggests prior experience with the React.js library since React basics are not re-explained.
-
React Native works with the React library to render native components to iOS and Android devices, unlike React DOM which renders to the browser. Its major benefit is a single code base compiling to both platforms, saving the time and money of maintaining separate native Swift and Java/Kotlin projects.
-
Setup involves Android Studio with the Android SDK and an AVD emulator for Android, plus Xcode and the iOS simulator on a Mac. After installing the React Native CLI globally and running react-native init, dependencies like react-native-vector-icons and uuid are installed for icons and generating shopping list item IDs.
Read in Other Languages (beta)
Share This Summary 📚
Summarize YouTube Videos and Get Video Transcripts with 1-Click
Try YouTube Summary with ChatGPT & Claude or YouTube Transcript Generator
Explore More Summaries from Traversy Media 📚


Summarize YouTube Videos and Get Video Transcripts with 1-Click
Try YouTube Summary with ChatGPT & Claude or YouTube Transcript Generator