How to Edit Photos With AI in Adobe Apps
TL;DR
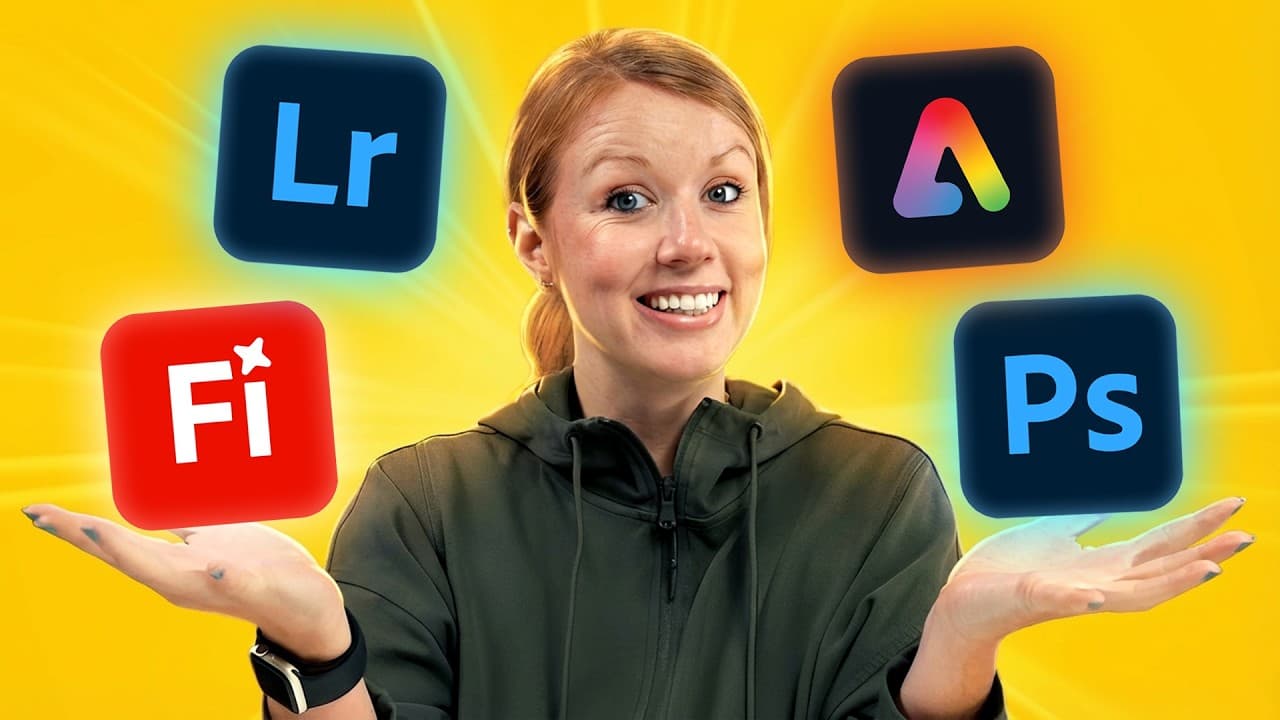
Use Lightroom’s automatic masks and Generative AI Remove to enhance landscapes, retouch portraits, smooth skin, and brighten eyes without manually selecting every area. Photoshop’s Generative Expand can then reframe the edited image for formats such as a landscape YouTube thumbnail or vertical Instagram content, generating multiple cohesive background variations for selection.
Transcript
Photo editing tools have evolved so much over the past year. You can now produce professionallook photos without any manual editing. In today's video, I'm going to show you a variety of AI image enhancement tools, all from the Adobe ecosystem. Let's jump on in. Below, you'll also find the time-coded chapters that showcase each step of this creative... Read More
Key Insights
- Lightroom’s AI masking automatically detects distinct landscape elements, including the sky, mountains, and water. Editors can enhance each region independently, saving the time required to draw precise selections manually and making it easier to coordinate color, contrast, texture, and clarity across the image.
- A dramatic landscape edit can combine increased sky texture and clarity, an aqua hue, added saturation, an S-curve, darker shadows, and slightly brighter highlights. Applying corresponding adjustments to the water helps its appearance remain visually consistent with the enhanced sky.
- Lightroom’s recommended presets are starting points whose intensity remains adjustable. After the application analyzes a photograph, editors can hover over suggestions, choose a suitable look, and reduce the preset amount when the original effect appears too intense for the desired result.
- Generative AI Remove replaces selected portrait blemishes and presents several generated variations. If the initial selection affects a nearby feature, the editor can adjust the selection with the brush, subtract unnecessary coverage, regenerate the area, and choose the most natural-looking replacement.
- Lightroom’s person masks can isolate facial skin, body skin, eye whites, and irises automatically. This segmentation supports focused retouching while excluding features such as the lips and eyes from a facial skin mask, reducing the need for detailed manual selection.
- The Smooth Skin preset works by reducing texture within the automatically generated skin mask. Its strength can be adjusted through the preset amount or through manual texture controls, allowing the portrait to retain natural detail instead of applying the maximum smoothing effect.
- The Enhance Eyes preset subtly increases qualities such as exposure and clarity within masks for the eye whites and irises. Editors can accept the preset as applied or refine its settings manually, then toggle the mask to compare the portrait before and after enhancement.
- Photoshop’s Generative Expand can convert a portrait composition into a 16:9 landscape image by extending the surrounding background. It produces three variations per generation, supports repeated generation, and helps repurpose one photograph for formats such as Instagram content or a YouTube thumbnail.
Install to Summarize YouTube Videos and Get Transcripts
Explore YouTube Video Summarizer or Get YouTube Transcript Extractor
Questions & Answers
Q: How do you enhance a landscape with Lightroom AI masks?
Open Lightroom’s masking section and use its automatic detection to select the sky rather than brushing around it manually. Adjust the selected sky with controls such as texture, clarity, hue, saturation, shadows, highlights, and the point curve. Create another landscape mask for the water, apply corresponding adjustments, and finish with a recommended preset whose amount can be reduced for a subtler result.
Q: How does Lightroom automatically select skies and water?
Lightroom analyzes the photograph through its masking tools and identifies separate landscape regions. In the demonstrated image, it detected the sky first and later offered the sky, mountains, and water as distinct choices. Selecting one of these regions creates a targeted mask, so its color, texture, clarity, shadows, and other settings can be changed without manually tracing its boundaries.
Q: How do you remove portrait blemishes with Generative AI Remove?
Select the Remove panel in Lightroom, enable Generative AI, and adjust the blemish brush to fit the unwanted spot. Brush over the area and choose Remove so Lightroom generates a replacement. Review the available variations and select the most natural option. Repeat the process for other blemishes while preserving the person’s natural appearance rather than removing every visible detail.
Q: What should you do when AI removal distorts a facial feature?
Refine the selected removal area before generating another replacement. In the demonstrated portrait, a selection extended too far and distorted part of the lip. The brush controls were used to subtract coverage around the blemish, reducing the size of the affected region. Running Remove again produced new variations, allowing a better result to be chosen without retaining the distorted feature.
Q: How do you smooth skin automatically in Lightroom?
Create a person mask and choose the skin region that should receive the effect. Lightroom can distinguish facial skin from body skin, so either can be selected separately or both can be combined. Apply the Smooth Skin preset to the resulting mask, then adjust the preset amount or texture setting to control the strength while keeping the portrait’s appearance natural.
Q: How do you make eyes stand out with Lightroom masking?
Create a new person mask and select the eye whites and irises that Lightroom detects automatically. Apply the Enhance Eyes preset to those areas. The demonstrated effect adds a subtle improvement, including some exposure, and its exposure and clarity can be adjusted manually. Toggle the mask off and on to compare the original eyes with the enhanced result.
Q: How do you expand a portrait into a landscape image in Photoshop?
Select the portrait layer, open Photoshop’s Crop tool, and choose the 16:9 aspect ratio. Extend the crop boundary beyond the original portrait while positioning the subject near the center. Select Generative Expand, leave the text field empty, choose Firefly Image 3, and generate. Photoshop then creates three background variations that extend the photograph into the wider landscape composition.
Q: Why is Generative Expand useful for repurposing photos?
Generative Expand lets an editor change the framing of an existing image by creating additional background around it. The same portrait can therefore be adapted to a landscape format for a YouTube thumbnail or a vertical format for Instagram. Each generation offers three variations, and the editor can generate additional sets until a suitable, cohesive extension is available.
Summary & Key Takeaways
-
Lightroom can automatically identify elements such as skies, mountains, water, people, facial skin, body skin, eyes, and irises. These masks let editors apply targeted adjustments, including texture, clarity, hue, saturation, exposure, curves, skin smoothing, and eye enhancement, without manually brushing around every part of the photograph.
-
Generative AI Remove provides a fast method for cleaning portrait blemishes. Editors brush over an unwanted area, generate replacements, and compare several variations. When a replacement distorts a nearby feature such as a lip, the selection can be refined by subtracting excess coverage before generating a more accurate result.
-
Photoshop’s Generative Expand changes an image’s framing by extending its background beyond the original boundaries. The demonstrated workflow selects the Crop tool, chooses a 16:9 ratio, positions the subject, leaves the prompt empty, uses Firefly Image 3, and generates multiple variations suitable for different content platforms.
Read in Other Languages (beta)
Share This Summary 📚
Summarize YouTube Videos and Get Video Transcripts with 1-Click
Try YouTube Summary with ChatGPT & Claude or YouTube Transcript Generator
Explore More Summaries from Premiere Gal 📚



Summarize YouTube Videos and Get Video Transcripts with 1-Click
Try YouTube Summary with ChatGPT & Claude or YouTube Transcript Generator