How to Create Reverb Effects in Premiere Pro
TL;DR
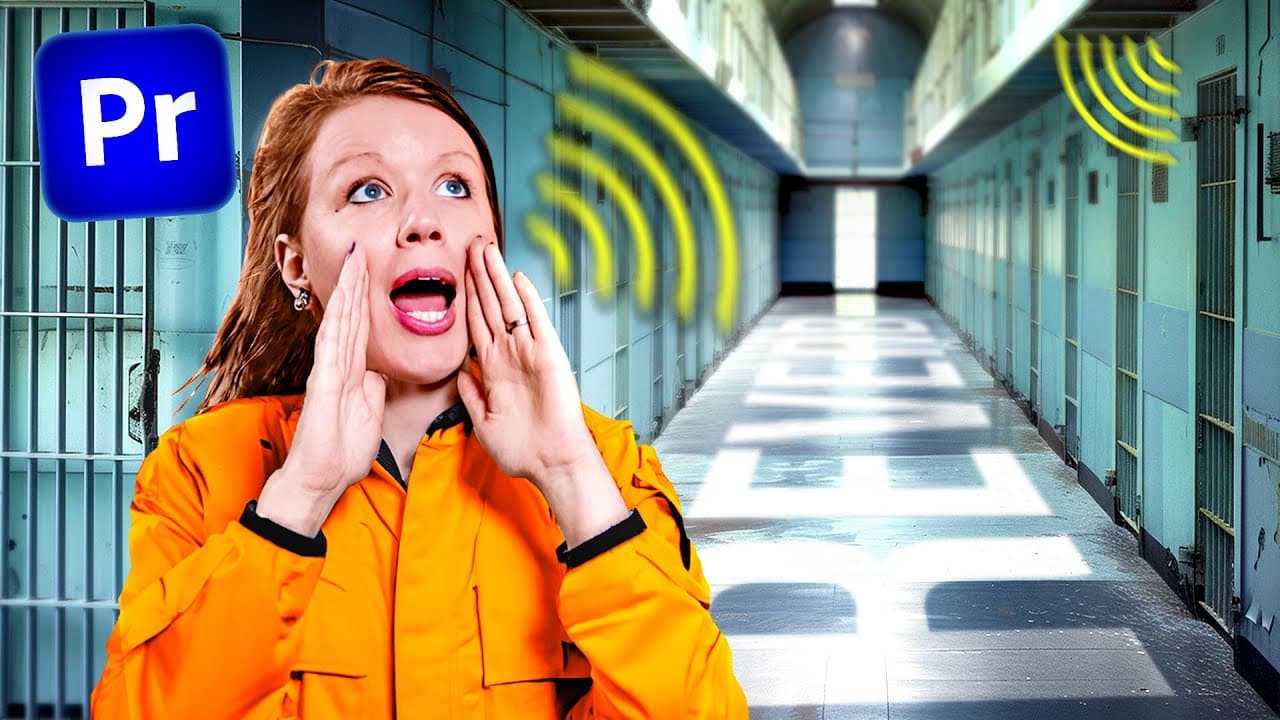
Use Studio Reverb for musical effects and Surround Reverb for modeling physical spaces, then balance the wet, dry, decay, size, mix, damping, and pre-delay controls to fit the scene. Reverb can extend a song ending, establish distance between sounds, intensify tension, transform a song’s mood, and make recorded music feel connected to the environment shown on screen.
Transcript
hey over here can you hear me what you just heard was mainly my voice bouncing off the walls making its way to the microphone and that my friends is called Reverb Reverb is one of the oldest audio effects that us humans have figured out naturally and conveniently it's inside a Premiere Pro here are five creative ways to use it let's Jump On In befo... Read More
Key Insights
- Reverb is sound reflecting through a space before reaching the listener, and those reflections can suggest the size and character of an environment. In cinematic editing, that implied sonic space can support imagination, emotion, realism, and the audience’s understanding of where sounds originate.
- Studio Reverb is presented as a suitable option for music production, while Surround Reverb is useful for imitating real spaces. Both effects are available in Premiere Pro, and their presets provide practical starting points before the editor adjusts individual parameters for a particular scene.
- A reverb-only track is created by setting dry audio to zero and wet audio to 100 percent. Moving a copied section of a song onto that track allows only the processed reflections to be heard, producing a lingering ending when fades are added.
- A nested audio clip needs additional internal duration for its reverb tail to continue. Duplicating the audio inside the nest, extending it, and disabling the duplicate makes Premiere Pro treat the nest as longer without adding another audible copy of the song.
- Spatial storytelling becomes clearer when sound effects are grouped by location. Sounds visible on screen, sounds elsewhere inside a building, and sounds outside can occupy separate tracks, allowing each group to receive reverb settings that communicate a different environment and distance.
- Reverb automation can reinforce movement and tension within a scene. Keyframing a heartbeat so its wet signal increases while its dry signal decreases makes the sound feel more distant and reverberant as the camera moves farther away from its apparent source.
- Equalization and reverb can transform the perceived source and mood of music. Applying the old-time radio preset with Parametric Equalizer, followed by the Drum Plate Small Studio Reverb preset, makes a full song resemble music from a small speaker or a character’s mind.
- Damping and pre-delay shape the character of reflected sound. Low-frequency and high-frequency damping control how much reverb remains in those frequency areas, while pre-delay determines the gap between the initial sound and its first reflection, which can create an echo-like result.
Install to Summarize YouTube Videos and Get Transcripts
Explore YouTube Video Summarizer or Get YouTube Transcript Extractor
Questions & Answers
Q: How do you make a song ring out with reverb in Premiere Pro?
Open the Audio Track Mixer and add Studio Reverb to an unused audio track. Set the effect’s dry level to zero and wet level to 100 percent so the track outputs only reverb. Cut a small portion from the song’s ending, duplicate it onto the processed track, and add fades with Shift+D. The copied ending then produces a reverb tail instead of stopping abruptly.
Q: How do you extend a reverb tail on a nested audio clip?
Cut and duplicate the ending of the song, place the copy on another layer, and nest that copy before applying reverb. Inside the nest, duplicate the same audio, extend it for the desired duration, and disable it with Shift+E. The silent extension makes Premiere Pro treat the nest as longer. Add transitions, then shorten or extend the nest to control where the reverb tail ends.
Q: What is the difference between Studio Reverb and Surround Reverb in Premiere Pro?
Studio Reverb is described as the simpler choice for music production, making it useful for effects such as extending a song ending or changing a track’s mood. Surround Reverb offers presets designed to mimic real spaces. It is used in the demonstrated prison and concert scenes to suggest small rooms, large indoor areas, exterior space, and concert dimensions.
Q: How can reverb make a scene feel more cinematic?
Reverb can place sounds within an implied physical environment instead of leaving every effect loud, close, and disconnected from the image. Different treatments can distinguish visible sounds from noises elsewhere inside a building or outside it. In the prison example, these spatial differences make the setting feel larger and more realistic while also contributing to loneliness, confinement, and tension.
Q: How should sound effects be organized for spatial reverb?
Separate the effects into groups based on where they appear to originate. The demonstrated structure uses one group for sounds visible on screen, another for sounds elsewhere inside the building, and a third for sounds outside the prison’s main building. Place the groups on individual tracks, then apply different Surround Reverb presets and mix levels to communicate each location.
Q: How can reverb make a heartbeat sound farther away?
Apply Studio Reverb directly to the heartbeat sound effect and select a spacious preset such as Great Hall. In Effect Controls, expand the dry and wet parameters and add keyframes. Increase the wet reverb over time while reducing the dry heartbeat. This changing balance makes the heartbeat sound more distant and helps match a shot in which the camera moves farther away.
Q: How can reverb change the mood of a song in Premiere Pro?
First use Parametric Equalizer to reshape the song’s frequencies. The old-time radio preset makes the demonstrated track sound lower in quality, as if it comes from a small speaker or from inside a character’s head. Add Studio Reverb with the Drum Plate Small preset, lower dry to about 50 percent, raise wet to 100 percent, and add a ringing ending to create a lonelier mood.
Q: What do damping and pre-delay control in a reverb effect?
Low-frequency damping and high-frequency damping determine how much reverb affects the lower and higher frequency areas. In the demonstration, increasing low-frequency damping makes the low end clearer, while reducing it creates more low-frequency reverb. Pre-delay controls the time between the initial sound and the first reflected sound. At a high setting, that delayed reflection can sound similar to an echo.
Summary & Key Takeaways
-
Reverb represents sound reflecting through a space, and Premiere Pro includes effects for applying it creatively. Studio Reverb is presented as the simpler choice for music, while Surround Reverb provides presets that mimic physical environments. Adjusting wet and dry levels determines how much processed sound and original audio the listener hears.
-
A song ending can ring out by moving its final portion onto a track with reverb or applying reverb to a nested clip. The nested method requires extending disabled duplicate audio inside the nest, which makes Premiere Pro treat the clip as longer and allows the reverb tail to continue.
-
Reverb can support cinematic storytelling by placing visible, distant indoor, and outdoor sounds on separate tracks with different spatial treatments. Presets, automation, equalization, damping, pre-delay, gain, and mix controls help communicate room size, distance, isolation, movement, tension, and changes in a song’s emotional character.
Read in Other Languages (beta)
Share This Summary 📚
Summarize YouTube Videos and Get Video Transcripts with 1-Click
Try YouTube Summary with ChatGPT & Claude or YouTube Transcript Generator
Explore More Summaries from Premiere Gal 📚




Summarize YouTube Videos and Get Video Transcripts with 1-Click
Try YouTube Summary with ChatGPT & Claude or YouTube Transcript Generator