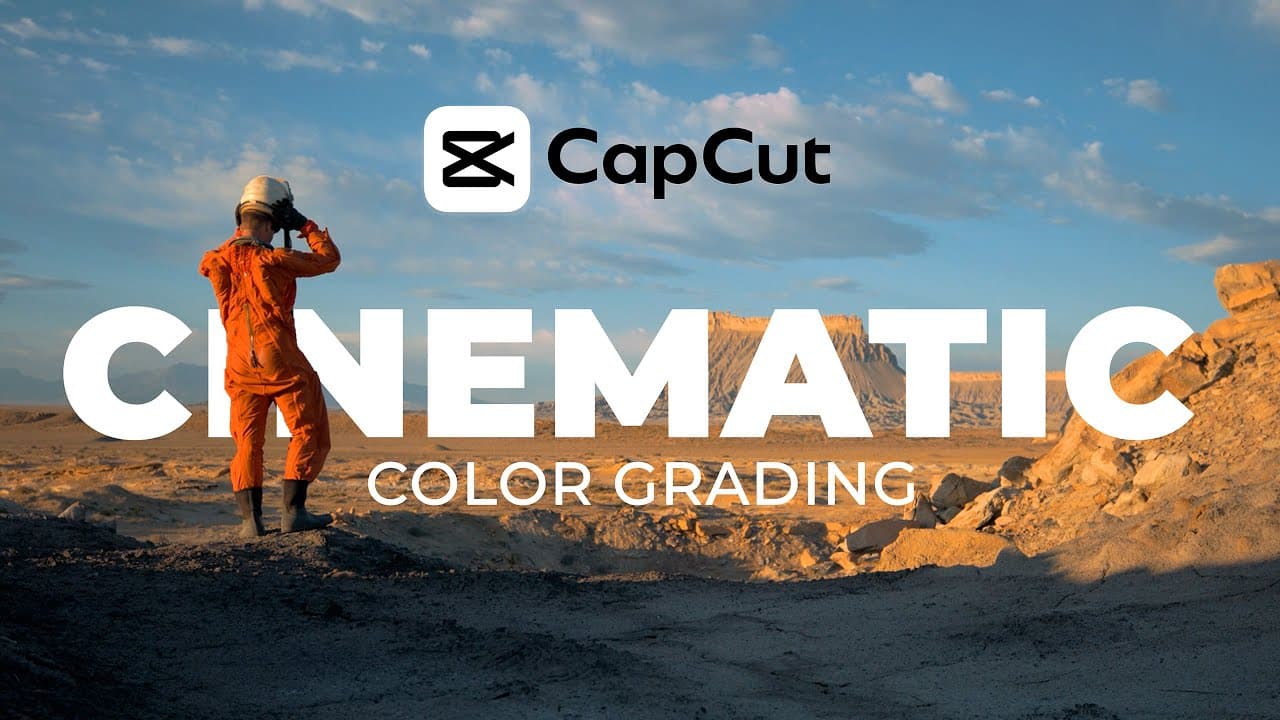
How to Create Cinematic Color Grades in CapCut
TL;DR
Start by correcting log footage with an S-shaped Luma curve, added saturation, and adjustments to temperature and tint. Apply a free CapCut filter for the creative foundation, then refine contrast, brightness, individual colors, and tonal color casts with basic controls, HSL, and RGB curves while using restrained adjustments to avoid an unnatural result.
Transcript
okay so I've been yeah kind of neglecting all you CapCut users and I'm sorry about that but it ends today because cinematic color grading in CapCut that's what we're going to do look all these examples took me literally just 5 minutes to do so this is the easiest and fastest way to color grade in CapCut while still having full control over the ... Read More
Key Insights
- Log footage is a flat recording format with reduced visible contrast and saturation, but it captures more information and dynamic range. It should be normalized before creative grading, while footage recorded with a normal profile can skip this correction stage.
- CapCut’s color oscilloscope provides waveforms and a vectorscope that support more informed correction decisions. The waveform helps show whether shadows, midtones, and highlights are being expanded appropriately or pushed far enough to lose information through clipping.
- An S-shaped Luma curve increases contrast by lowering shadows and raising highlights while expanding the midtones. The curve must be adapted to each shot because lighting, subject matter, existing exposure, and personal preferences affect the appropriate amount of contrast.
- Color correction includes restoring saturation and balancing temperature and tint. Temperature addresses footage that appears too warm or cold, while tint addresses an unwanted green or magenta cast, with more precise work required when perfectly clean whites are the goal.
- A CapCut filter is a creative starting point rather than a finished grade. Free users still have multiple filters available, and any chosen filter can be refined afterward by revisiting earlier controls and changing its contrast, brightness, color balance, or individual colors.
- Basic adjustment sliders are easier to operate than curves but provide less precise control. Shadows, highlights, contrast, and Brilliance can reshape the image, with Brilliance raising the midtones so the picture feels brighter and has more visual pop.
- HSL controls modify the hue, saturation, or lightness of a selected color range. They can shift blue skies toward teal, move greens toward yellow, brighten or darken specific colors, and reduce or increase their saturation without intentionally altering every color.
- RGB curves control red, green, and blue separately across shadows, midtones, and highlights. Lowering red in the shadows adds cyan, while lowering blue in the highlights adds yellow, and anchor points help keep those changes from spreading into unwanted tonal regions.
Install to Summarize YouTube Videos and Get Transcripts
Explore YouTube Video Summarizer or Get YouTube Transcript Extractor
Questions & Answers
Q: How do you color grade log footage in CapCut?
Begin by selecting the log clip and displaying the color oscilloscope, including the waveforms and vectorscope. Open Adjustment, choose Curves, and shape the Luma curve into an S by lowering shadows and raising highlights. Watch the waveform to avoid clipping information. Then increase saturation and use temperature and tint controls to correct footage that looks too warm, cold, green, or magenta.
Q: Can you create a cinematic color grade with free CapCut tools?
Yes, the demonstrated workflow is completed in the free version of CapCut. Although some filters are unavailable to free users, the available selection is sufficient for choosing a creative starting point. The grade can then be customized with basic adjustments, Luma and RGB curves, HSL controls, saturation, temperature, tint, shadows, highlights, contrast, and Brilliance.
Q: Why should you use an S-shaped Luma curve on log footage?
An S-shaped Luma curve restores contrast to footage that looks flat after being recorded in a log profile. Pulling down the lower section deepens shadows, while raising the upper section brightens highlights and expands the tonal range. The waveform should guide the adjustment so highlights are not clipped and useful information is not lost at the top of the signal.
Q: How do you avoid clipping highlights while adjusting curves?
Display CapCut’s waveform and monitor its upper edge as you raise the highlight portion of the Luma curve. If the waveform reaches the top and the highlight information becomes clipped, lower the upper section of the curve until the information returns. The bottom, middle, and top portions of the curve correspond to shadows, midtones, and highlights, respectively.
Q: How should filters be used for cinematic grading in CapCut?
Choose a filter you like, drag it onto the timeline, and treat it as the foundation for the creative grade. It does not need to match the desired result at full strength or without further work. Return to basic adjustments, curves, and HSL controls to correct unwanted color balance, contrast, brightness, or individual colors introduced by the filter.
Q: What does the HSL tool do in CapCut?
The HSL tool lets you select a color range and change its hue, saturation, or lightness. For example, selecting blue and moving its hue toward teal can give the sky a greener appearance. Yellow and green controls can make foliage more yellow, brighter, darker, more saturated, or less saturated. Adjustments should remain restrained so the image still appears believable.
Q: How do RGB curves change shadows and highlights in CapCut?
RGB curves adjust the red, green, or blue channel independently within different tonal regions. The lower curve affects shadows, the middle affects midtones, and the upper curve affects highlights. Pulling down red in the shadows removes red and adds cyan, while pulling down blue in the highlights removes blue and adds yellow. Anchor points can protect other tonal regions from moving.
Q: How can you improve at cinematic color grading in CapCut?
Practice by moving one slider or curve, observing exactly what changes, and connecting that visual result with the control you used. Repeat the workflow on sunny, cloudy, beach, and forest footage because different scenes affect how the tools behave. Start with an S curve when correcting log footage, customize from there, and favor subtle adjustments because excessive HSL or RGB changes can quickly look unpleasant.
Summary & Key Takeaways
-
Log footage requires correction before creative grading because it initially appears flat, with little contrast or saturation. Display CapCut’s waveforms and vectorscope, create an S-shaped Luma curve that expands the tonal range without clipping, increase saturation, and correct unwanted warm, cold, green, or magenta casts with temperature and tint controls.
-
After correction, choose an available CapCut filter and place it on the timeline as a starting point for the creative look. The filter does not need to look perfect immediately because its effect can be customized afterward through basic adjustments, including white balance, tint, contrast, shadows, highlights, Brilliance, and saturation.
-
HSL controls adjust the hue, saturation, and lightness of selected color ranges, while RGB curves add or remove channel colors within shadows, midtones, or highlights. Anchor points can isolate tonal regions and prevent unintended changes elsewhere. Subtle adjustments and repeated practice across varied footage are emphasized as essential for consistent results.
Read in Other Languages (beta)
Share This Summary 📚
Summarize YouTube Videos and Get Video Transcripts with 1-Click
Try YouTube Summary with ChatGPT & Claude or YouTube Transcript Generator
Explore More Summaries from Joris Hermans 📚
Summarize YouTube Videos and Get Video Transcripts with 1-Click
Try YouTube Summary with ChatGPT & Claude or YouTube Transcript Generator