How to Install Jellyfin on Raspberry Pi for Smooth Streaming
TL;DR
To install Jellyfin on a Raspberry Pi, first add the Jellyfin repository and configure the settings to enable hardware decoding. For optimal performance, especially with 4K content, use external USB or NAS storage instead of SD cards. After setup, you can efficiently manage your media libraries and achieve smooth playback with hardware acceleration.
Transcript
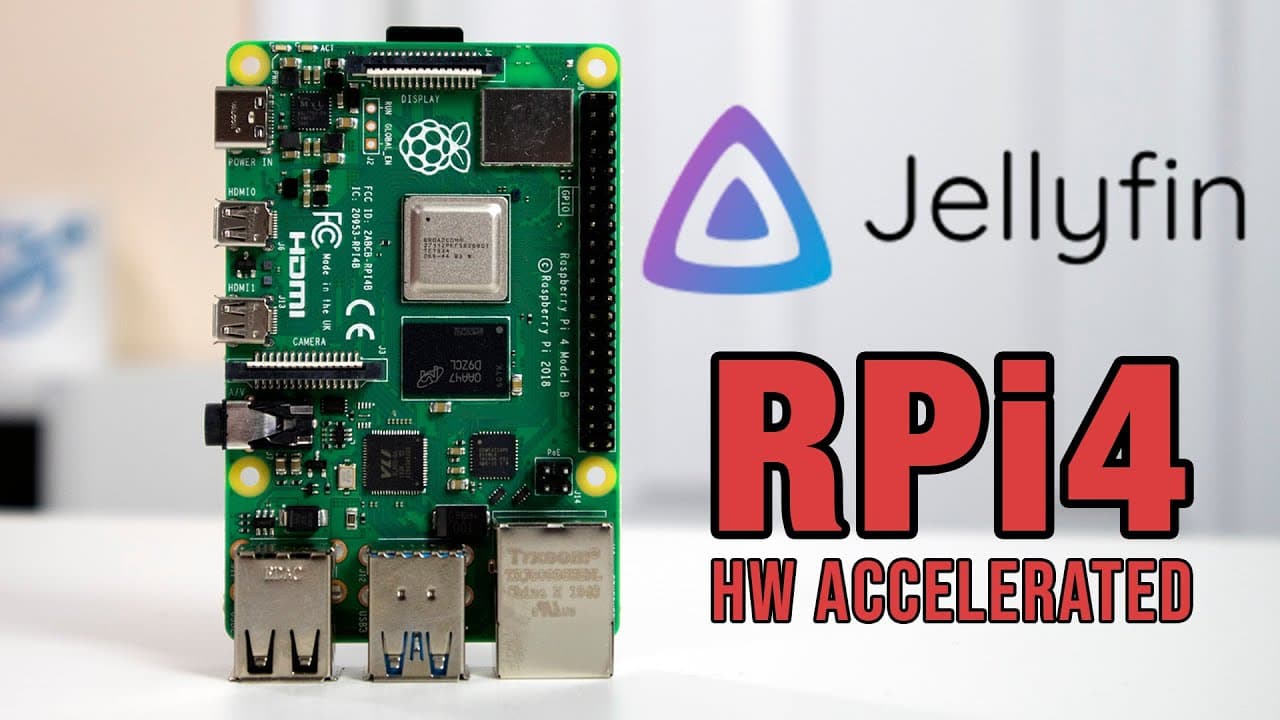
hey guys it's don here from nova spur tech and welcome back to the channel and today we are going to be installing jellyfin on the raspberry pi 4 with the hardware decoded so let's get started jellyfin is a media server software that's very much like plex media server so if you're familiar with plex media server this is basically identical to that ... Read More
Key Insights
- 😄 Jellyfin is a powerful, open-source alternative to Plex, specifically designed for ease of use on devices like the Raspberry Pi 4.
- 👪 Utilizing hardware decoding can significantly improve playback performance for multiple streams, making it suitable for home media setups.
- 🫠 Transcoding demands fast read/write speeds; thus, using external storage solutions like USB drives or NAS is crucial for optimal functionality.
- 💁 Users should consider their Raspberry Pi's GPU memory allocation to handle specific video formats, especially when streaming in 4K.
- ❓ The setup process for Jellyfin is straightforward, requiring only a few terminal commands and configuration steps to optimize performance.
- 🤯 Jellyfin's admin dashboard provides varied settings to enhance playback quality, including options for managing transcoding thread counts.
- 🔉 It's worthwhile to consult additional resources to learn about external device integration with Jellyfin for an expanded media library.
Install to Summarize YouTube Videos and Get Transcripts
Explore YouTube Video Summarizer or Get YouTube Transcript Extractor
Questions & Answers
Q: What is Jellyfin and how does it compare to Plex?
Jellyfin is an open-source media server that provides similar functionalities to Plex, such as streaming movies and TV shows. However, Jellyfin allows users to control their media without needing a subscription and supports hardware decoding on devices like Raspberry Pi 4, which can enhance performance compared to Plex's limitations.
Q: Why is it recommended to use USB or NAS storage instead of an SD card for transcoding in Jellyfin?
Using USB or NAS storage is advised because SD cards often cannot handle the read and write speeds required for effective transcoding. During transcoding heavy media files, SD cards may experience significant buffering or stuttering, making them a poor choice for data storage in media server setups.
Q: How can I enable hardware acceleration on Jellyfin running on Raspberry Pi 4?
To enable hardware acceleration, after installation, you need to access the admin dashboard on Jellyfin, go to playback settings, and select the OpenMAX OMX option. This allows Jellyfin to utilize the Raspberry Pi's hardware codecs for smoother media playback and reduces the overall CPU load.
Q: What are the steps to install Jellyfin on Raspberry Pi 4?
Start by updating Raspberry Pi OS and install the Jellyfin repository through terminal commands. Next, modify the user permissions for hardware decoding and increase GPU memory allocation to handle videos, especially if you intend to stream 4K content. Restart your system to apply these changes.
Q: Can I stream 4K content using Jellyfin on Raspberry Pi 4?
Yes, it is possible to stream 4K content using Jellyfin on Raspberry Pi 4, provided the setup meets certain requirements such as adequate GPU memory and proper storage solutions. Hardware acceleration must be enabled to ensure smooth playback without significant buffering.
Q: What are some recommended practices for setting up media libraries in Jellyfin?
When setting up your media libraries in Jellyfin, make sure to gather all your media files in organized folders. It's also beneficial to use external drives or NAS for storing large files to avoid performance issues. Additionally, familiarize yourself with network drive mapping and how to add source directories for media within Jellyfin.
Summary & Key Takeaways
-
Jellyfin is an open-source media server similar to Plex, specifically optimized for Raspberry Pi 4 with hardware decoding support, allowing efficient streaming.
-
The installation process involves adding the Jellyfin repository, configuring settings, and ensuring optimal transcoding performance using USB or NAS storage instead of SD cards.
-
After setup, users can easily manage media libraries, stream content in high quality, and leverage hardware acceleration for smooth playback.
Read in Other Languages (beta)
Share This Summary 📚
Summarize YouTube Videos and Get Video Transcripts with 1-Click
Try YouTube Summary with ChatGPT & Claude or YouTube Transcript Generator
Explore More Summaries from Novaspirit Tech 📚


Summarize YouTube Videos and Get Video Transcripts with 1-Click
Try YouTube Summary with ChatGPT & Claude or YouTube Transcript Generator