How to create videos from images with Kling AI Elements
TL;DR
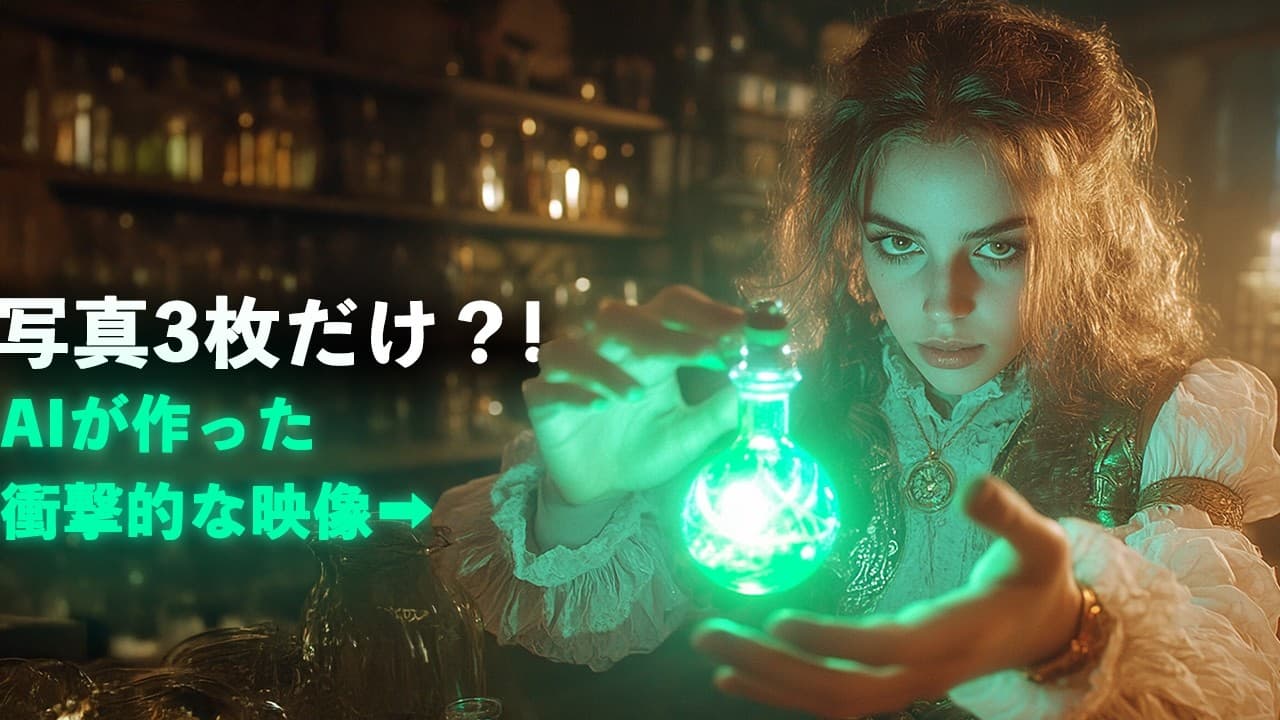
The video demonstrates how Kling AI Elements can analyze up to four uploaded images to generate a video while preserving facial and image consistency. It covers basic usage, practical tips, and common pitfalls, including mode choices, prompt construction, and how to control camera movement for better results.
Transcript
Would you believe that it analyzes multiple images and combines the elements to create a video ? Just a few days ago, the industry-leading video generation AI Clean announced a new feature called ELT. When I tried it out, I was able to quickly create attractive videos for content. I realized that this technology will make it easier to create 500 mi... Read More
Key Insights
- Images uploaded with Kling AI Elements stay consistent throughout the video.
- The element function can combine up to four images to generate a scene.
- Portrait style requires clear and close-up faces for accuracy.
- Multiple people in a scene reduce consistency and can lead to distractions.
- Adding locations and accessories helps create promotional style videos.
- Prompts must explicitly mention included elements to reflect them correctly.
- Camera movement can disrupt results; static shots are more reliable.
- Professional mode yields higher resolution but uses more credits.
Install to Summarize YouTube Videos and Get Transcripts
Explore YouTube Video Summarizer or Get YouTube Transcript Extractor
Questions & Answers
Q: What is Kling AI Elements and how does it create a video from images?
Kling AI Elements is a feature that analyzes multiple input images and combines them to form a single video. You upload up to four images, specify the scene with prompts, and the AI maintains the consistency of subjects across frames. The process can produce promotional style clips or narrative sequences, depending on the prompts and settings you choose.
Q: How should I prepare prompts to ensure the elements are reflected in the video?
You should clearly list the elements included in the image on the front page and describe the actions or scenes you want. For example, specify objects, people, background, and actions, and consider adding notes like the environment or mood. This helps the AI reproduce the intended elements consistently throughout the video.
Q: What are the differences between Standard and Professional modes, and when should I use them?
Standard mode saves credits and is suitable for quick or draft videos, while Professional mode produces higher quality 1080 pixel results but costs more credits. Use Professional mode when you need sharper details and more polished visuals, and switch to Standard mode for basic experiments or when credits are limited.
Q: How can I control camera movement in the generated video?
Camera movement can be managed by the input prompts and by using specific keywords. To prevent unwanted movement, add Static Shot at the front of the prompt. For more dynamic visuals, you can instruct slow motion or use slow zoom prompts. Controlling movement helps keep subjects consistent and reduces distortions.
Q: What are common limitations when generating scenes with multiple people?
When more elements or people are included, the AI’s consistency can deteriorate, leading to mismatched faces or awkward postures. A practical workaround is to limit scenes to two people, or three at most, to maximize facial consistency and keep the overall composition coherent.
Q: How can I ensure logos or branding appear naturally in the video?
You should avoid relying on logos alone and test with various inputs. The AI may struggle with precise branding placement, so it helps to include the item in prompts and choose test cases like generic goods before attempting branded logos. This reduces misalignment and keeps the focus on the overall scene.
Q: What role does the MONICA extension play in creating prompts?
MONICA is a Chrome extension that facilitates writing prompts in Japanese and translating them to English on the spot. It simplifies crafting prompts for image prompts when you are not comfortable with English, helping you produce clearer instructions and better results.
Q: What tips improve overall video quality when using Kling AI Elements?
Start by generating a close approximation of the desired image with an image generation tool, then convert it to a video using the image video function. Write clear prompts for elements and actions, use the negative prompts to avoid errors, and test different settings and compositions to find a reliable workflow that yields higher quality outputs.
Summary & Key Takeaways
-
The video explains how to use Kling AI Elements to build videos from multiple images by uploading up to four pictures and letting the AI analyze and combine them into a coherent scene. It emphasizes maintaining consistency across frames and discusses optimal settings and prompts for beginners and advanced users.
-
The presenter shares practical tips for improving video quality, such as using the frame function to control camera movement, writing clear prompts, and leveraging features like negatives and the MONICA extension to streamline English prompts from Japanese.
-
The video also covers limitations when composing groups of people, handling logos or branding on products, and advice on balancing elements to avoid distortions, with guidance on when to prefer standard versus professional modes and how to manage credits and time when creating videos.
Read in Other Languages (beta)
Share This Summary 📚
Summarize YouTube Videos and Get Video Transcripts with 1-Click
Try YouTube Summary with ChatGPT & Claude or YouTube Transcript Generator
Explore More Summaries from RKJ VIDEO 【イケている動画を作りたいなら】 📚
Summarize YouTube Videos and Get Video Transcripts with 1-Click
Try YouTube Summary with ChatGPT & Claude or YouTube Transcript Generator