How to Edit Professional Reels With Adobe
TL;DR
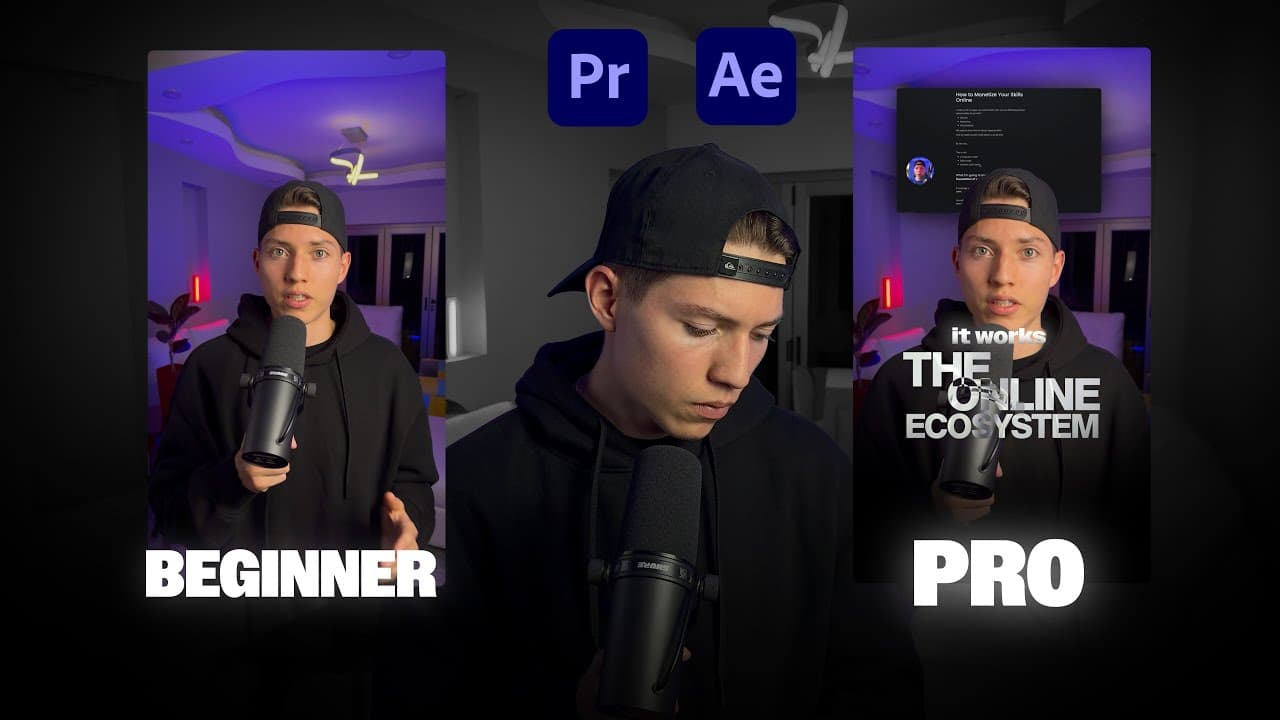
Build high-quality reels by preparing footage and color in Premiere Pro, creating animations and effects in After Effects, then returning to Premiere Pro for sound, music, subtitles, and captions. Organize files and reusable assets before editing, establish a consistent editing style, and create templates in both applications to make the workflow more efficient.
Transcript
in this video we will go from complete beginners to professional video editors using Adobe Premiere Pro and after effects but before we start guys let me show you how you will be able to edit by the end of this tutorial basic content is dying but let me actually tell you why that is good news based on the LinkedIn expert Justin Welsh posting genera... Read More
Key Insights
- An efficient reel-editing workflow starts with file organization, a defined visual style, and reusable project templates. The recommended computer structure separates personal work, editing assets, and client projects, while asset libraries use categories such as presets, backgrounds, overlays, and sound effects.
- Premiere Pro is used to prepare footage and audio, perform color correction, and complete the final assembly. After the animation stage, the project returns to Premiere Pro so sound effects, music, subtitles, captions, and other finishing details can be added.
- After Effects is used for the reel’s animations and advanced visual work. The demonstrated techniques include rotoscoping, creating elements with shape layers, working with keyframes and null objects, applying effects, using 3D cameras, and editing visual elements alongside a path.
- A consistent editing style is created by collecting the assets repeatedly used for a personal or client brand. Keeping overlays, sound effects, presets, backgrounds, and related materials organized within that style makes them easier to locate and reuse across multiple reel projects.
- The course structure progresses from efficient workflow to editing fundamentals and then advanced editing. Beginners can follow every chapter to understand the complete process, while editors with more experience can use the chapter list to move directly to specific advanced techniques.
- The reel-production process begins before animation with footage preparation and ideation. Planning the visual treatment first provides the basis for the After Effects work, including the hook, created elements, effects, subtitles, path-based sequences, and the call-to-action section.
- The recommended practice challenge is one to two hours per day for 30 consecutive days, with the process documented on X. Afterward, aspiring freelancers can focus on obtaining their first one to three clients, while personal creators can concentrate on improving their own content.
- Adobe Creative Cloud provides the applications and fonts used in the demonstrated workflow. The instructor reports paying about $30 per month during the first year in his country, while noting that pricing depends on the country and that purchasing the subscription is optional.
Install to Summarize YouTube Videos and Get Transcripts
Explore YouTube Video Summarizer or Get YouTube Transcript Extractor
Questions & Answers
Q: How do you edit a professional reel with Adobe?
Start in Premiere Pro by organizing the project, preparing the footage and audio, and performing color correction. Develop an idea for the visual treatment, then move the project into After Effects for animations, rotoscoping, shape layers, keyframes, null objects, effects, 3D cameras, and path-based elements. Return to Premiere Pro to add sound effects, music, subtitles, captions, and the final details.
Q: How should reel-editing files and assets be organized?
Create three main locations on the computer or disk: one for personal content, one for editing assets, and one for client projects. Personal work can be divided into categories such as reels, YouTube videos, and courses. Organize the asset library into smaller categories, including presets, backgrounds, overlays, and sound effects, so frequently used materials remain easy to locate.
Q: What is Premiere Pro used for in the reel workflow?
Premiere Pro is used at both the beginning and end of the workflow. At the start, it prepares the footage and audio and handles color correction. After animations are created in After Effects, the edit returns to Premiere Pro for finishing work, including sound effects, music, subtitles, captions, and other details needed to complete the reel.
Q: What is After Effects used for when editing reels?
After Effects handles the animation and advanced visual portions of the reel. The covered techniques include rotoscoping, creating graphic elements, working with shape layers and keyframes, controlling animation through null objects, applying After Effects effects, using 3D cameras, and editing elements along a path. It is also used when building the hook and call-to-action visuals.
Q: Why should reel editors create reusable templates?
Reusable Premiere Pro and After Effects templates are part of the course’s efficient workflow system. They provide an established project structure before detailed editing begins and support repeated use of a consistent style. Combined with organized files and a dedicated asset library, templates reduce the need to rebuild the same working setup for personal content or client brands.
Q: Which parts of the Adobe reel course should beginners watch?
Beginners are encouraged to follow the complete course because it establishes the foundations before introducing advanced techniques. The modules cover file organization, editing style, Premiere Pro and After Effects templates, footage preparation, ideation, animation fundamentals, advanced effects, audio, subtitles, and captions. More experienced editors can instead use the listed chapters to reach the advanced material relevant to them.
Q: How can a beginner practice reel editing for 30 days?
The instructor proposes practicing video editing for one to two hours every day for 30 consecutive days and documenting the complete process on X. After finishing that period, someone pursuing freelance work can focus on securing their first one to three clients during the following 30 days. Someone editing for a personal brand can instead focus on improving and producing stronger content.
Q: What assets are needed to follow the reel-editing tutorial?
The description provides a Google Drive folder containing the footage, while Gumroad offers free and paid editing resources. The transcript mentions downloading the reel video, audio, microphone recording, and the asset options needed for the exercises. Large asset collections should be downloaded gradually rather than all at once, selecting the materials that are relevant to the project.
Summary & Key Takeaways
-
The course begins by establishing an efficient workflow built around organized files, a defined editing style, and a reusable Premiere Pro template. It recommends separating personal content, editing assets, and client work into main folders, then subdividing assets into practical categories such as presets, backgrounds, overlays, and sound effects.
-
Premiere Pro handles footage preparation, audio work, color correction, and final assembly, while After Effects handles animation and advanced visual techniques. The course covers ideation, rotoscoping, shape layers, keyframes, null objects, effects, 3D cameras, subtitles, path-based editing, and the reel’s call-to-action section in a structured sequence.
-
The final workflow returns to Premiere Pro for sound effects, music, subtitles, captions, and finishing details. Beginners are encouraged to follow the complete course, while experienced editors can navigate directly to relevant chapters. The instructor also proposes practicing for one to two hours daily for 30 days and documenting the process on X.
Read in Other Languages (beta)
Share This Summary 📚
Summarize YouTube Videos and Get Video Transcripts with 1-Click
Try YouTube Summary with ChatGPT & Claude or YouTube Transcript Generator
Explore More Summaries from Pablo Quesada 📚
Summarize YouTube Videos and Get Video Transcripts with 1-Click
Try YouTube Summary with ChatGPT & Claude or YouTube Transcript Generator