How to Edit Viral Reels in CapCut for 2025
TL;DR
Start by building a reusable CapCut template containing your preferred backgrounds, overlays, effects, audio, and transitions. Prepare each reel by selecting the 9:16 ratio, synchronizing external microphone audio with the camera footage, removing duplicated camera audio, creating a compound clip, reframing the speaker, and leaving room for captions, icons, and zoom effects.
Transcript
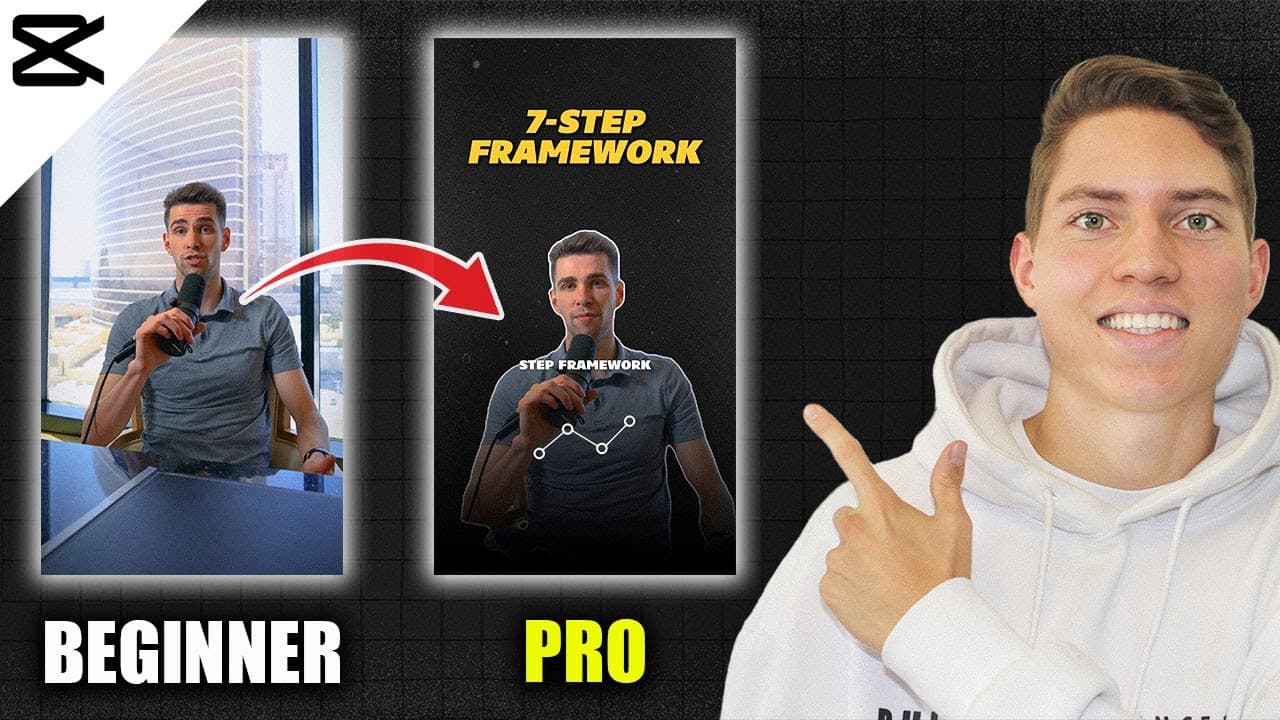
in this video I'm going to show you how to go from a complete beginner in capcut to editing like a pro in less than 80 minutes but before we do that let's actually take a look at how you're going to be editing by the end of this tutorial if you're looking to start or scale an airb business in 2024 if you have at least 5 to seven hours a week to put... Read More
Key Insights
- A reusable CapCut template is a project containing backgrounds, overlays, effects, audio, and other assets that can be reused across new edits. It reduces repetitive importing and makes frequently selected transitions and sound effects immediately available on the timeline.
- The correct format for a reel is the 9:16 ratio available through CapCut's ratio controls. Choosing the intended aspect ratio early provides an appropriate frame for positioning the speaker and planning captions, icons, text, and later movement.
- Overlay transitions can be prepared by placing the overlay above the main footage, cutting out the desired section, rotating it by 90 degrees, adjusting its size, and changing its blending mode to Screen so the black background disappears.
- Sound effects can be paired with visual transitions by trimming a preferred whoosh from an imported audio collection, aligning it with the overlay, and lowering its volume when necessary. Keeping that selected sound on the template avoids searching through the folder again.
- Footage preparation includes color correction, trimming, reframing, and handling external microphone audio before the main creative edit begins. The tutorial separates this preparation into a new project rather than immediately working inside the reusable template.
- External microphone audio is synchronized by selecting the relevant media and using CapCut's Sync Video to Sound command. Because synchronization leaves duplicated sound, the camera audio is then extracted from the video and deleted before editing continues.
- A compound clip is created by selecting the synchronized video and external microphone recording together, right-clicking them, and choosing the compound clip option. This packages the prepared picture and preferred audio into one manageable timeline item.
- Speaker framing should remove excessive empty space while preserving room for later creative elements. The demonstrated footage is enlarged and moved upward, but the composition deliberately retains space for zoom-ins, zoom-outs, icons, captions, and text.
Install to Summarize YouTube Videos and Get Transcripts
Explore YouTube Video Summarizer or Get YouTube Transcript Extractor
Questions & Answers
Q: How do you create a reusable CapCut reel template?
Create a new CapCut project, name it as a template, and import organized folders containing the backgrounds, effects, overlays, audio, and other editing assets you expect to reuse. Place preferred items, such as selected transitions and whoosh sounds, on the timeline and leave them there. Future edits can begin from this prepared project instead of an empty timeline that requires every asset to be imported again.
Q: How do you format a CapCut project for a reel?
Open CapCut's ratio control and select 9:16 to create the vertical format used for the reel in the tutorial. Apply the ratio before making final framing decisions, then enlarge and reposition the subject as needed. The tutorial also shows a different ratio option for YouTube videos, so the intended publishing format should guide the project setting.
Q: How do you remove a black background from an overlay in CapCut?
Place the overlay on a track above the main video, enlarge the timeline view if necessary, and cut out the portion of the overlay you want to use. Rotate that selected overlay by 90 degrees, adjust its size to cover the frame, open the mode setting, and choose Screen. In the demonstrated edit, this process removes the visible black area while retaining the transition effect.
Q: How do you add a whoosh sound to a CapCut transition?
Import the folder containing the audio effects and place the available whoosh sounds on the timeline. Listen for a suitable sound, cut around the chosen portion with the split command, delete the unwanted material, and align the remaining sound with the visual overlay. Adjust its volume if it sounds too loud, then retain the preferred effect in the reusable template for future projects.
Q: How do you sync external microphone audio with video in CapCut?
Import the raw camera video and the separate recording made by the external microphone, then place both on the timeline. Select the relevant clips, right-click, and choose Sync Video to Sound so CapCut aligns them. After synchronization, the audio is duplicated because the camera sound still exists, so extract the audio from the video clip and delete that original camera track.
Q: Why should you create a compound clip after syncing audio?
A compound clip combines the synchronized camera footage and preferred microphone recording into one timeline item. After removing the duplicated camera audio, select the remaining video and external audio together, right-click, and choose the compound clip command. This keeps the prepared picture and sound connected, making the footage easier to move to the start of the timeline and handle during later editing.
Q: How should you frame a speaker in a vertical reel?
Inspect the source footage for unnecessary empty space, then increase the clip's scale and reposition the speaker within the vertical frame. In the example, the subject is enlarged because substantial unused space appears around him, and he is moved upward because he initially sits too low. The final position still preserves enough space for captions, icons, text, zoom-ins, and zoom-outs.
Q: What should be completed before editing a reel's hook?
The workflow first creates a reusable asset template, then prepares the footage by handling color correction, trimming, external audio, and framing. Personalized captions are added afterward, followed by defining the video's big idea by dividing it into segments. The chapter order places hook editing after those stages, with CapCut features and final details addressed later before the finished result is shown.
Summary & Key Takeaways
-
The workflow begins with a reusable CapCut template that stores frequently used backgrounds, video effects, overlays, transitions, and sound effects. Keeping selected assets directly on the template timeline removes the need to import and locate the same materials whenever a new piece of content is edited.
-
Before creative editing begins, the raw footage and separate microphone recording are imported into a temporary project. CapCut synchronizes the video to the external sound, after which the original camera audio is extracted and deleted. The remaining video and microphone audio are combined into a compound clip for easier handling.
-
The reel is formatted vertically with a 9:16 ratio, while a YouTube video can use the alternative landscape ratio shown in CapCut. The speaker is enlarged and repositioned to reduce unused space, but enough surrounding room remains available for later captions, icons, text, zooms, and other visual elements.
Read in Other Languages (beta)
Share This Summary 📚
Summarize YouTube Videos and Get Video Transcripts with 1-Click
Try YouTube Summary with ChatGPT & Claude or YouTube Transcript Generator
Explore More Summaries from Pablo Quesada 📚
Summarize YouTube Videos and Get Video Transcripts with 1-Click
Try YouTube Summary with ChatGPT & Claude or YouTube Transcript Generator