How to Hide Jump Cuts Smoothly in Premiere Pro
TL;DR
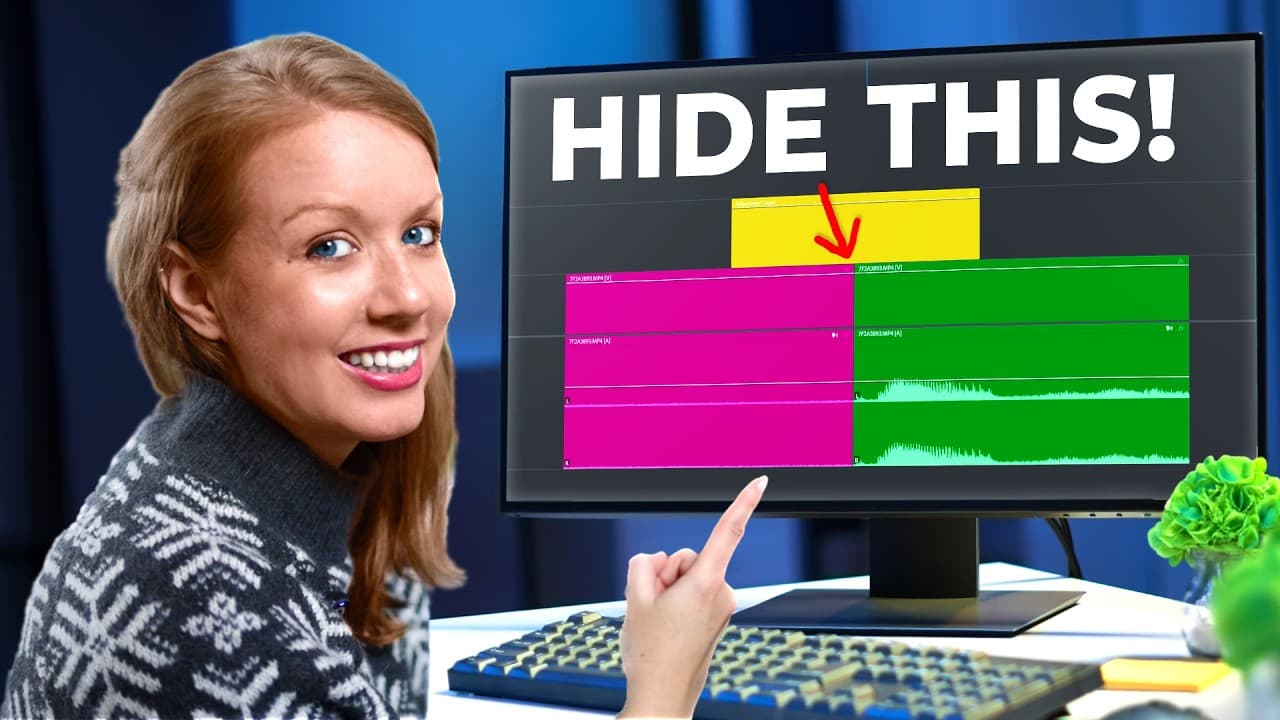
Hide jump cuts by reframing 4K footage, switching camera angles, placing relevant B-roll before each cut, or masking subtle movement with graphics, blur, and motion. Smooth the result by cutting dialogue near silence, applying short audio crossfades, and matching zooms or animated transitions with sound effects and carefully timed music.
Transcript
in this video you're going to learn how to hide jump Cuts let's Jump On In so what even is a jump cut well you just saw it so a jump cut basically happens when you cut out a section of a continuous shot causing the subject to abruptly move this is often used to communicate time passing in films which you've probably seen a time lapse of somebody mo... Read More
Key Insights
- A jump cut is created by removing part of a continuous shot, causing the subject to move abruptly between the remaining clips. It can communicate passing time or tighten online videos by eliminating filler, hesitation, and unnecessary dialogue.
- Reframing footage is a simple way to disguise a jump cut. Scaling and repositioning the second clip creates the appearance of another angle, while a wide shot recorded in 4K provides additional image area for cropping without overusing the effect.
- A real second camera angle can eliminate the visual disruption of jump cuts. After synchronizing both angles, editors can cut between them by disabling and reenabling layers, while projects using three or more cameras may benefit from a multicamera sequence.
- Relevant B-roll can conceal several jump cuts without adding a transition to every edit. Placing the B-roll before the dialogue cut makes the underlying change less obvious because the visual cut and the audible sentence change do not occur simultaneously.
- Graphic animation can distract viewers from a subtle jump cut. An adjustment layer with animated Gaussian blur, combined with a partially transparent black solid, cross dissolves, and an overlaid title, can temporarily obscure the underlying footage while the graphic enters or exits.
- Motion blur can hide a cut by turning it into a purposeful zoom transition. Applying the Transform effect to an adjustment layer, keyframing scale and position, easing the motion, and increasing shutter angle helps cover the cut, especially when the subject moves toward one side.
- Audio effects can give visual concealment techniques a clear motivation. A whoosh can support an animated zoom, dramatic effects can emphasize a reframed cut, and carefully timed music starts or stops can make an otherwise repetitive visual change feel intentional.
- Short audio crossfades can reduce clicks and pops where dialogue clips meet. Editors should cut near silence when possible, inspect visible waveforms, and apply brief crossfades across the edited dialogue after removing filler or separating words that have no natural pause.
Install to Summarize YouTube Videos and Get Transcripts
Explore YouTube Video Summarizer or Get YouTube Transcript Extractor
Questions & Answers
Q: What is a jump cut in video editing?
A jump cut occurs when part of a continuous shot is removed and the remaining sections are joined, causing the subject to move abruptly. Editors use jump cuts to suggest that time has passed and to tighten YouTube or social media videos by removing filler, hesitation, and unnecessary speech. However, too many obvious jump cuts can become visually jarring for viewers.
Q: How can reframing hide jump cuts in Premiere Pro?
Reframing hides a jump cut by making one clip appear to come from a different camera composition. In Premiere Pro, select the clip, open Effect Controls, increase its scale, and optionally reposition the subject toward the left or right. Recording the main angle as a wide shot in 4K provides more room for this crop. Use variation carefully so repeated changes do not make viewers dizzy.
Q: How can a second camera angle conceal jump cuts?
A second camera provides another shot to display whenever dialogue must be shortened. After synchronizing both angles in the Premiere Pro timeline, make the necessary cuts and press Shift E on the upper footage to disable it and reveal the layer below. Editors can alternate the layers manually for two angles. With three or more angles, a multicamera sequence may be more suitable.
Q: When should B-roll begin to hide a dialogue cut?
B-roll should begin before the underlying jump cut rather than exactly when the dialogue changes. If the picture switches to B-roll at the same moment that one sentence jumps to another, both changes reinforce the presence of an edit. Starting the B-roll earlier separates those events, making the dialogue cut harder to detect and producing a smoother viewing experience. The B-roll should also relate to what is being discussed.
Q: How can graphics and blur cover a jump cut?
Place a graphic over the footage, then add an adjustment layer beneath the graphic and apply Gaussian blur. Keyframe the blur from zero to about 50, then animate it back to zero as the graphic leaves. A black solid with reduced opacity can darken the footage underneath, while cross dissolves smooth its entrance, exit, and the cut itself. This method works best when the subject moves only subtly.
Q: How can motion blur disguise a jump cut?
Place a short adjustment layer over the cut, with the cut point near its center, and apply the Transform effect. Keyframe scale and position so the image zooms at the cut, ease the keyframes, and raise the shutter angle to create strong motion blur. Moving the subject toward one side ensures the face is affected by the blur. A side graphic can fill the open space and reinforce the animation.
Q: How does audio make hidden jump cuts feel smoother?
Audio connects visual edits and helps animated concealment feel intentional. A whoosh sound can accompany a motion-blurred zoom, while dramatic effects can emphasize a simple reframing change. Music can also begin or stop at a chosen cut. For dialogue, editors should cut near silent waveform sections whenever possible and add short crossfades between clips to reduce abrupt changes, clicks, and pops.
Q: How can multiple dialogue jump cuts be smoothed efficiently?
After trimming a long dialogue sequence, inspect the audio waveforms and place cuts in silent areas whenever possible. Some filler words run directly into the next phrase, so cutting between them may create clicks or pops. Once the talking footage is edited, select all the audio clips and press Shift D to add very short crossfades in bulk, helping the many separate cuts sound more continuous.
Summary & Key Takeaways
-
Jump cuts remove sections from continuous shots, helping creators eliminate filler and communicate ideas faster. Too many visible cuts can feel jarring, so editors should first aim for solid takes. When cuts remain necessary, reframing wide 4K footage or switching to a synchronized second camera angle can disguise abrupt visual changes.
-
Editors can cover jump cuts with relevant B-roll, transitions, graphics, blur, darkened overlays, or motion-blurred zooms. B-roll works more smoothly when it begins before the dialogue cut. Graphic-based concealment is most effective when subject movement is subtle, while motion blur can hide cuts by moving the subject away from the frame center.
-
Audio helps unify edits that would otherwise feel abrupt. Dialogue cuts should be placed in silent waveform areas whenever possible, while short crossfades can reduce clicks and pops across many clips. Whoosh effects, dramatic accents, and music starts or stops can also give visual zooms and animations a clear purpose.
Read in Other Languages (beta)
Share This Summary 📚
Summarize YouTube Videos and Get Video Transcripts with 1-Click
Try YouTube Summary with ChatGPT & Claude or YouTube Transcript Generator
Explore More Summaries from Premiere Gal 📚
Summarize YouTube Videos and Get Video Transcripts with 1-Click
Try YouTube Summary with ChatGPT & Claude or YouTube Transcript Generator