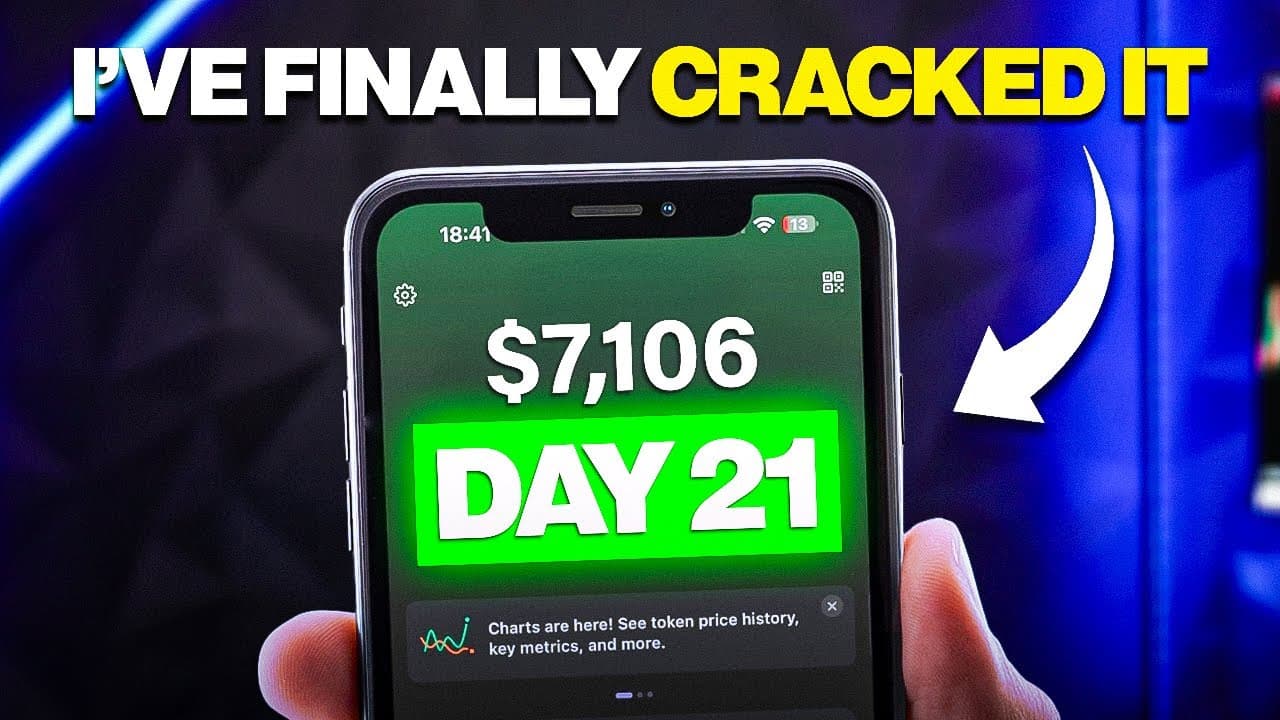
How Did He Turn $100 Into $7,106 in 21 Days Trading Forex?
TL;DR
The forex approach was to trade with the higher-time-frame trend only after price broke a defined area, retested it, and confirmed the expected direction. During the challenge, the trader reported growing $100 to $2,100 and then $4,100, while also blowing the first account and planning to risk roughly half of a $4,160 balance. Read on for the setup rules, AUD/JPY entry signals, and substantial risks.
Transcript
so we are in week four of making history in 60 days I'm gonna turn these hundred dollars into a million dollars absolutely everything is going to be documented here on my YouTube on my telegram Discord Instagram so not only you guys can see the journey but also learn and copy from me all of the trades before I take it they're gonna take it after I ... Read More
Key Insights
- A break-and-retest setup requires price to cross an identified area, return to test that area, and then continue in the anticipated direction. The trader repeatedly refused to enter EUR/GBP and GBP/CAD because price had not completed all required conditions.
- Higher-time-frame alignment was the basis for choosing trade direction. When the weekly, daily, and four-hour charts pointed upward on GBP/CAD and AUD/JPY, the plan favored long positions instead of trades against the observed bullish direction.
- Waiting for confirmation prevented an immediate loss on Monday. EUR/GBP never broke above its designated area of interest, so no position was opened, demonstrating that a forecast alone was not treated as sufficient justification for entering.
- AUD/JPY produced the week’s first active setup after price reacted from the selected zone. The entry plan used a one-hour inverted head-and-shoulders pattern, with a left shoulder, head, right shoulder, and pullback forming the basis for long positions.
- The AUD/JPY trade used a stated 1-to-2.6 risk-reward target and a relatively large stop loss. The trader initially described the position as relatively low risk compared with the much more aggressive account-level risk contemplated for the week.
- Multiple technical signals were used to evaluate an AUD/JPY pullback. The anticipated area combined the pattern neckline with the daily, four-hour, and one-hour exponential moving averages, while a rejection candlestick was required before adding another position.
- The account strategy involved exceptionally concentrated risk. With a starting week-four balance of $4,160 and a goal of $10,000, the trader said the first position might risk half of the account or slightly more, despite acknowledging that this was high risk.
- Forex trading was explicitly described as highly speculative and potentially volatile. The description states that traders may lose some or all of their initial investment, that past performance does not indicate future results, and that comparable profitability is not promised.
Install to Summarize YouTube Videos and Get Transcripts
Explore YouTube Video Summarizer or Get YouTube Transcript Extractor
Questions & Answers
Q: How does the break-and-retest forex strategy work?
First, identify an area of interest and wait for price to break through it. Then wait for price to return to that area and react in the anticipated direction before entering with the broader trend. If the break or retest does not occur, no trade is taken.
Q: How did the trader grow the forex account during the challenge?
After blowing the first account, the trader restarted with $100 and reported growing it to $2,100. The account then increased from $2,100 to $4,100 the following week. Week four began with a displayed balance of $4,160 and a goal of reaching $10,000 by the end of the week.
Q: Why did the trader avoid EUR/GBP and GBP/CAD entries on Monday?
Neither pair completed the required break above its marked area of interest. Because the plan required a break followed by a retest before going long, the trader opened no position. The trader said that following this rule avoided a loss.
Q: How was the trading direction chosen for each forex pair?
The trader compared the weekly, daily, and four-hour charts and aimed to trade with their shared direction. GBP/CAD and AUD/JPY were described as bullish across those time frames, so the plan favored long positions. The trader specifically avoided buying AUD/JPY while price remained below the selected zone.
Q: Which forex pairs were on the week-four watch list?
The watch list consisted of EUR/GBP, GBP/CAD, AUD/JPY, and NZD/USD. EUR/GBP, GBP/CAD, and AUD/JPY were evaluated for long setups after breaks and retests. NZD/USD was monitored for a retest into an area of interest followed by a sell entry.
Q: What confirmed the AUD/JPY long setup?
AUD/JPY first produced a reaction from the selected area and broke higher. On the one-hour chart, the trader then watched for an inverted head-and-shoulders pattern with a left shoulder, head, and right shoulder. The planned long entry depended on a pullback into the marked area of interest.
Q: What profit target and additional-entry conditions were used for AUD/JPY?
The AUD/JPY position used a stated 1-to-2.6 risk-reward target and a relatively large stop loss. Another position was considered only after a pullback into a confluence area containing the pattern neckline and the daily, four-hour, and one-hour exponential moving averages. A rejection candlestick was also required before adding the position.
Q: How risky was the $100 forex trading challenge?
The approach involved exceptionally high account-level risk. With a week-four balance of $4,160, the trader considered risking half of the account or slightly more on the first trade and acknowledged that this was high risk. The first attempt had already blown an account, and the provided disclaimer warns that traders may lose some or all of their initial investment.
Summary & Key Takeaways
-
The challenge began with $100 and targeted $1 million within 60 days, with trades documented across YouTube, Telegram, Discord, and Instagram. After the first account was blown, the account was restarted and reportedly grew from $100 to $2,100, then to $4,100 before week four began.
-
The week-four plan focused on EUR/GBP, GBP/CAD, AUD/JPY, and NZD/USD. The primary method was to identify the prevailing direction on weekly, daily, and four-hour charts, wait for price to break an area of interest, observe a retest, and trade in the trend’s direction.
-
Patience prevented premature entries when EUR/GBP and GBP/CAD failed to complete the required breakout conditions. AUD/JPY later produced the anticipated pullback and inverted head-and-shoulders structure, leading to two long positions with a stated 1-to-2.6 risk-reward target while additional positions were considered after another confirmed rejection.
Read in Other Languages (beta)
Share This Summary 📚
Summarize YouTube Videos and Get Video Transcripts with 1-Click
Try YouTube Summary with ChatGPT & Claude or YouTube Transcript Generator
Explore More Summaries from fxalexg 📚





Summarize YouTube Videos and Get Video Transcripts with 1-Click
Try YouTube Summary with ChatGPT & Claude or YouTube Transcript Generator