How to Build a Flask Website with User Login
TL;DR
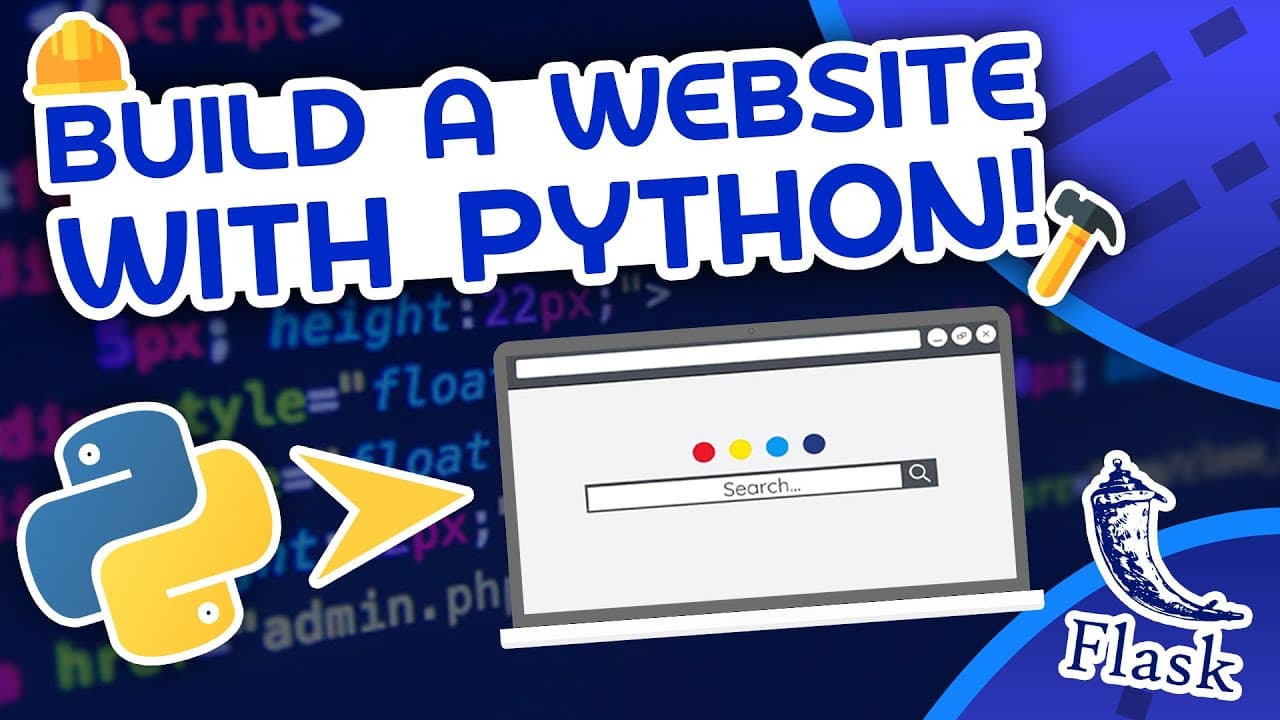
Build a Python website by organizing Flask routes, templates, authentication logic, and SQLAlchemy database models into a reusable application structure. The finished notes app lets users create accounts, log in and out, add or delete personal notes, and retrieve their own stored notes after signing in from another computer.
Transcript
hello everybody. And welcome to another YouTube video. So in this video, I'm going to be showing you how to make a website with Python. Now, the goal of this video is going to be to give you a finished product that you can tweak and turn into whatever website you'd like. So I want to show you all of the fundamental and important things you need to ... Read More
Key Insights
- The completed application is a user-specific notes website where visitors create accounts, authenticate, add notes, delete notes, and sign out. Notes remain associated with the correct account, so logging back in restores that user's stored information rather than showing another user's notes.
- Flask is presented as a lightweight Python framework for creating websites quickly and easily. The tutorial chooses it because it is simpler than Django for this starter project and is suitable for learning web-development fundamentals, building an MVP, or creating a small website.
- The project structure separates responsibilities across main.py and a website package containing static, templates, auth.py, models.py, views.py, and init.py. This organization keeps authentication routes, database definitions, main URL endpoints, templates, and static resources in distinct locations.
- The init.py file turns the website directory into an importable Python package. Its contents run automatically when the folder is imported, making it the location where the tutorial begins defining the create_app function and initializing the Flask application.
- Flask-Login is installed to support user login functionality, while Flask-SQLAlchemy provides a database layer that simplifies creating, adding, and deleting database models. Both packages are installed with pip alongside Flask before application development begins.
- Authentication protects access to the application's main page. After a user logs out, attempting to return to the homepage does not succeed because the user is no longer signed in, while logging in again restores access to that account's notes.
- Database relationships are essential for keeping information user-specific. The tutorial associates each note with a particular user through database models and foreign-key relationships, allowing different accounts to display different collections of notes within the same application.
- The front end is intentionally limited because the primary focus is backend development with Python. Bootstrap supplies light styling, JavaScript knowledge is unnecessary, and extensive HTML experience is not required because the tutorial introduces the relevant templates and markup while building the pages.
Install to Summarize YouTube Videos and Get Transcripts
Explore YouTube Video Summarizer or Get YouTube Transcript Extractor
Questions & Answers
Q: How do you build a website with Python and Flask?
Create a project folder with main.py and a website package, then add static and templates directories plus init.py, auth.py, models.py, and views.py. Install Flask, Flask-Login, and Flask-SQLAlchemy with pip. Initialize the Flask application in a create_app function, define routes and templates, handle GET and POST requests, and connect authentication logic to database models.
Q: What does the finished Flask notes application do?
The finished application allows a visitor to create an account using an email, name, and password, then access a notes page after successful registration. An authenticated user can add multiple notes, delete individual notes, log out, and log back in later. The application stores notes by user, so separate accounts see their own information rather than a shared list.
Q: How should a Flask website project be organized?
The tutorial places main.py at the project root as the file used to start the web server. Application code goes inside a website folder containing static and templates subfolders. The package also includes init.py for application initialization, auth.py for authentication behavior, models.py for database models, and views.py for the main views and URL endpoints.
Q: Why is init.py used in the website folder?
The init.py file makes the website directory behave as a Python package that can be imported. The tutorial emphasizes using two underscores before and after init. Code inside this file runs automatically when the package is imported, so it is used to begin setting up the Flask application and define the create_app function that initializes it.
Q: Which Python packages are required for the Flask project?
The tutorial installs three packages with pip: Flask, Flask-Login, and Flask-SQLAlchemy. Flask supplies the lightweight framework used to create the website. Flask-Login supports logging users into their accounts, while Flask-SQLAlchemy provides a simpler interface for working with SQL-backed database models, including creating, adding, and deleting model records during application development.
Q: How does the Flask app keep each user's notes separate?
The application associates stored information with a specific user through database models and foreign-key relationships. When one account signs in, the notes page displays notes belonging to that account. A different account can have an empty or different notes collection. Logging out and returning through the first account restores the notes connected to that user's stored account data.
Q: Do you need JavaScript or advanced HTML for this Flask tutorial?
JavaScript knowledge is not required because the project focuses on Python backend development rather than extensive front-end programming. Advanced HTML knowledge is also unnecessary, although the tutorial introduces some HTML and uses Jinja templates to build pages. Bootstrap provides modest styling so the finished application looks presentable without turning the project into a dedicated front-end tutorial.
Q: How does authentication control access to the notes page?
Users first create an account or enter credentials on the login page. After successful authentication, they are brought to the notes page and can manage their own stored notes. Logging out ends that access, and an attempt to return directly to the homepage is rejected because the user is not signed in. Logging in again restores authorized access.
Summary & Key Takeaways
-
The project is a simple notes website designed as a reusable starting point for other applications. Each user can create an account, sign in, add notes, delete notes, sign out, and later recover the notes associated with that account by logging in again.
-
The application separates its code into a website package containing static files, templates, authentication routes, database models, and general views. A separate main.py file starts the web server, while the package's init.py file runs when the website folder is imported and initializes the Flask application.
-
Flask provides the lightweight web framework, Flask-Login supports user login behavior, and Flask-SQLAlchemy simplifies database operations through models. The tutorial also introduces routes, Jinja templates, HTML pages, GET and POST requests, flashed messages, database creation, and foreign-key relationships between users and their stored notes.
Read in Other Languages (beta)
Share This Summary 📚
Summarize YouTube Videos and Get Video Transcripts with 1-Click
Try YouTube Summary with ChatGPT & Claude or YouTube Transcript Generator
Explore More Summaries from Tech With Tim 📚



Summarize YouTube Videos and Get Video Transcripts with 1-Click
Try YouTube Summary with ChatGPT & Claude or YouTube Transcript Generator