How to Build Agentic AI Apps With LangGraph and MCP: Crash Course Part 1
TL;DR
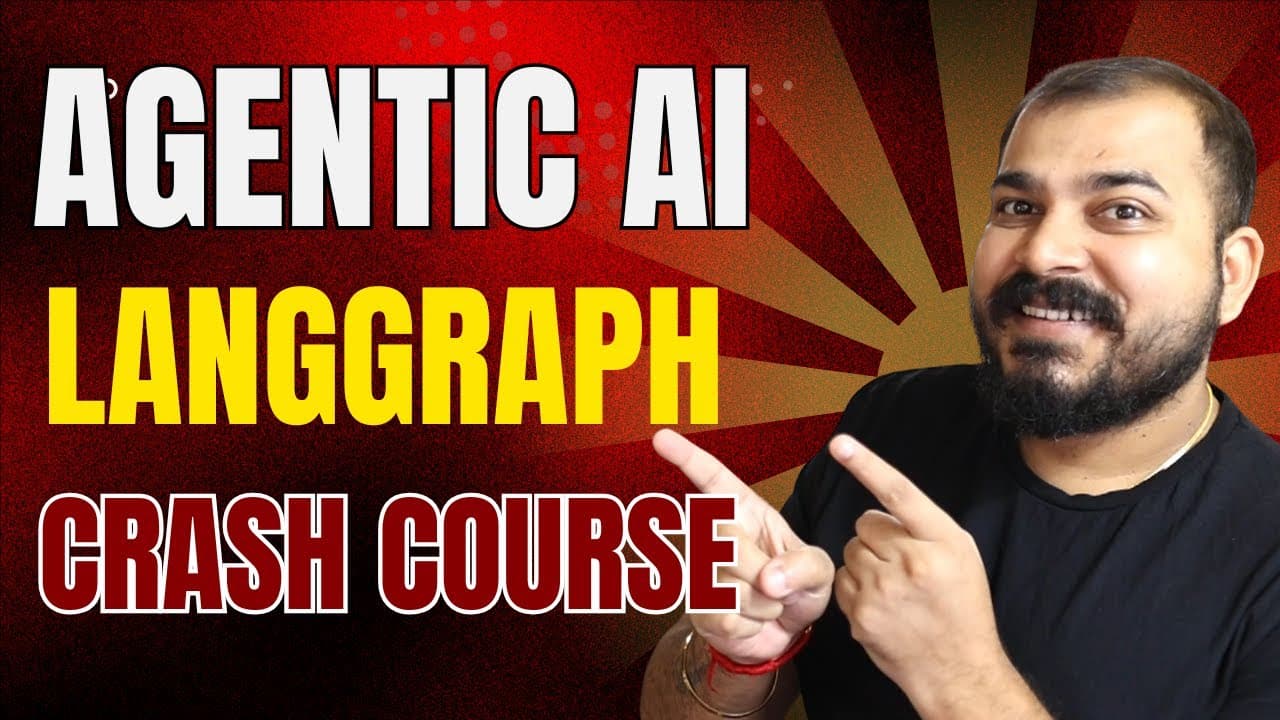
Build agentic AI applications by learning LangGraph’s graph API, including states, nodes, edges, chatbots, tool integration, memory, human feedback, streaming, and MCP from scratch. This roughly 2-hour-50-minute Part 1 also sets up a Python 3.13.2 environment with UV, which is described as 10 to 100 times faster than pip. Read on for the course roadmap, setup commands, and core LangGraph concepts.
Transcript
hello guys so welcome to this amazing crash course on building agentic AI application with the help of Langraph this entire crash course has been divided into three important parts and each and every part will be somewhere around 2 to three hours of videos right and here you can basically see what in which way we are going to cover all the topics a... Read More
Key Insights
- The crash course is divided into three parts, each roughly two to three hours long. Part 1 covers fundamentals (~2h50m), Part 2 covers advanced concepts (~2h), and Part 3 focuses on end-to-end projects and deployment.
- Part 1 teaches core building blocks: how to build a chatbot, integrate one or multiple tools, add memory, add human-in-the-loop feedback, use streaming techniques, and build MCP completely from scratch using the graph API.
- LangGraph is built for reliability and controllability, letting developers steer agent actions with moderation checks and human-in-the-loop approvals while persisting context for long-running workflows to keep agents on course.
- The UV package manager is used instead of conda for environment setup. Written in Rust, it is described as 10 to 100 times faster than pip and replaces tools like pip, poetry, pyenv, and twine in one.
- Part 2 covers advanced LangGraph concepts including multi-agent workflows where agents communicate with other agents to solve complex tasks, multi-state management, the functional API, and debugging in LangGraph Studio.
- Part 3 focuses on building end-to-end projects, covering the LLMOps pipeline, deployment techniques, and evaluation metrics using open-source tools like MLflow, AWS for tracking, Grafana for reports, and Hugging Face Spaces for deployment.
- The graph API is presented as the most efficient way to learn LangGraph. A functional API also exists and is covered later, but the instructor recommends starting with the graph API to understand core components.
- Project setup uses uv init to initialize the workspace (creating gitignore, python-version, main.py, and pyproject.toml), uv venv to create the virtual environment on Python 3.13.2, and uv add ipykernel to enable running code in Jupyter notebooks.
Install to Summarize YouTube Videos and Get Transcripts
Explore YouTube Video Summarizer or Get YouTube Transcript Extractor
Questions & Answers
Q: How do you build agentic AI applications with LangGraph and MCP?
Start with LangGraph’s graph API and learn its three important components: state, nodes, and edges. Part 1 applies these fundamentals to a basic chatbot, single and multiple tools, memory, human-in-the-loop feedback, streaming techniques, and an MCP implementation built from scratch.
Q: What does LangGraph and MCP Crash Course Part 1 cover?
Part 1 covers fundamental techniques for developing agentic AI applications with LangGraph. Its topics include chatbots, tool integration, memory, human feedback during graph execution, streaming, MCP, and the graph API concepts of states, nodes, and edges.
Q: How is the complete LangGraph crash course structured?
The crash course is divided into three parts, with each part planned to run for roughly two to three hours. Part 1 teaches fundamentals, Part 2 covers advanced workflows and multi-agent applications, and Part 3 focuses on end-to-end projects, LLMOps, evaluation, and deployment.
Q: How do you set up a LangGraph project with the UV package manager?
Run uv init to initialize the workspace, then use uv venv to create a virtual environment. The demonstrated setup creates files including .gitignore, .python-version, main.py, and pyproject.toml, and the virtual environment uses Python 3.13.2.
Q: Which libraries are used for the LangGraph project?
The setup adds LangGraph, LangChain, and LangSmith as the basic project libraries. LangGraph and LangChain provide functionality for generative AI, chatbot, and agentic AI applications, while LangSmith is used for application tracking and evaluation.
Q: Why does the course use UV instead of pip or conda?
UV is presented as a fast Python package and project manager written in Rust. The course describes it as 10 to 100 times faster than pip and says it can replace tools including pip, pip-tools, pipx, Poetry, pyenv, and Twine.
Q: Why does the course begin with LangGraph’s graph API?
The instructor considers the graph API the most efficient way to learn LangGraph and understand its core components. A functional API also exists, but it is introduced later in the advanced part of the course.
Q: What advanced topics are covered after LangGraph fundamentals?
Part 2 covers workflows in which agents communicate to solve complex tasks, along with multi-state management, the functional API, and debugging and monitoring in LangGraph Studio. Part 3 moves to end-to-end projects, LLMOps, evaluation with tools such as MLflow, metric tracking with AWS, reports in Grafana, and deployment through Hugging Face Spaces.
Summary & Key Takeaways
-
This Part 1 crash course teaches building agentic AI applications with LangGraph. The full course spans three parts of two to three hours each. Part 1 covers fundamentals including chatbots, tool integration, memory, human-in-the-loop feedback, streaming, and MCP, plus core concepts like states, graphs, nodes, and edges.
-
Part 2 addresses advanced LangGraph concepts, focusing on workflows and agents that communicate with other agents to solve complex tasks. It also covers multi-state management, the functional API as an alternative to graph APIs, and debugging and monitoring applications in LangGraph Studio toward production-grade builds.
-
Part 3 targets end-to-end projects, the LLMOps pipeline, and deployment techniques. It explores evaluation metrics for LLMs using open-source tools like MLflow, AWS for metric tracking, and Grafana for displaying reports, with deployment handled through Hugging Face Spaces.
-
For setup, the course uses the UV package manager, a fast Rust-based Python tool that is 10 to 100 times faster than pip. Steps include uv init to initialize the workspace, adding libraries like langgraph, langchain, and langsmith to requirements, and uv venv to create a virtual environment.
-
The hands-on portion begins by building a basic chatbot using LangGraph's graph API in a Jupyter notebook. The instructor selects a kernel, adds ipykernel via uv, and prepares to explain the important components of LangGraph before writing the chatbot code, emphasizing step-by-step practice.
Read in Other Languages (beta)
Share This Summary 📚
Summarize YouTube Videos and Get Video Transcripts with 1-Click
Try YouTube Summary with ChatGPT & Claude or YouTube Transcript Generator
Explore More Summaries from Krish Naik 📚

Summarize YouTube Videos and Get Video Transcripts with 1-Click
Try YouTube Summary with ChatGPT & Claude or YouTube Transcript Generator