How to Start Editing Videos in Premiere Pro
TL;DR
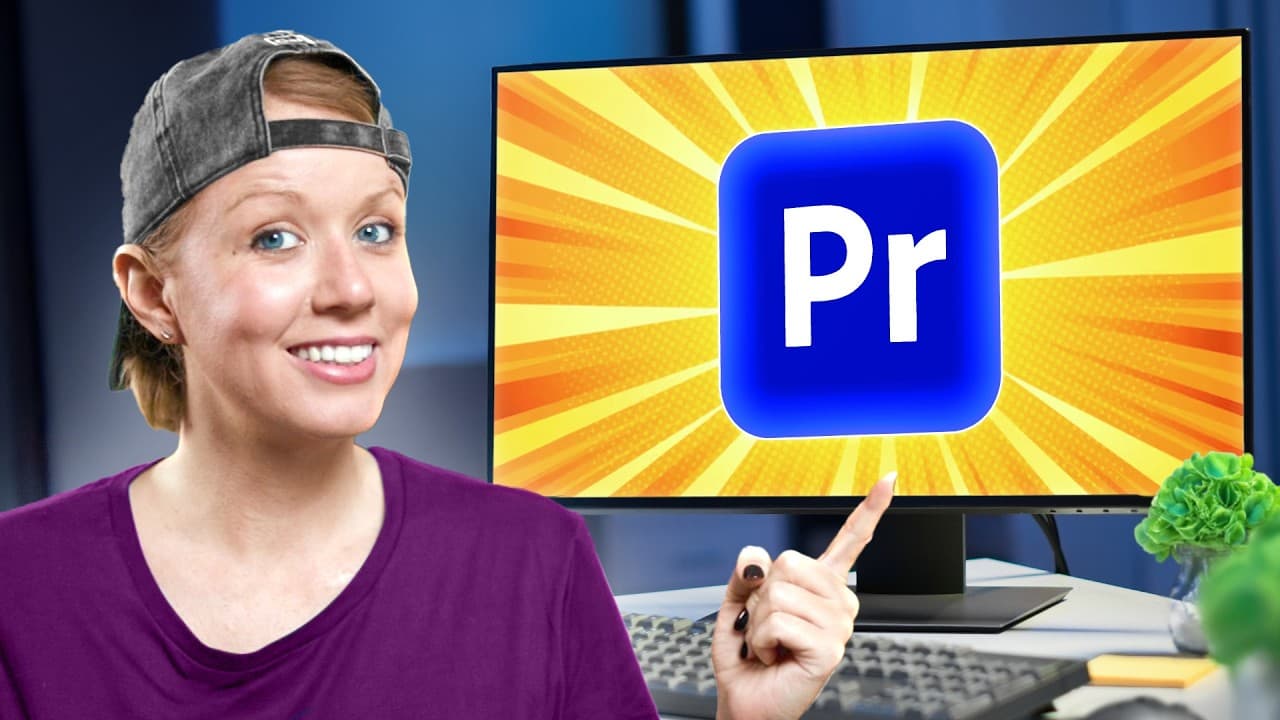
Start by storing the Premiere Pro project file and its media in the same folder, then enable frequent auto-saves and create a sequence that matches the footage. Import clips into the Project panel, organize them in bins, mark selections with I and O, add them to the timeline, enable snapping and waveforms, and cut efficiently with Command K or Control K.
Transcript
It's been a while since I've produced an introduction to Premiere Pro. Now, you can't learn everything there is to know about Premiere Pro in this video, but it's going to give you a great start. And remember, there are time-coded chapters down below that you can review at any time. Without further ado, let's jump on in. So, if you're new here, I w... Read More
Key Insights
- Premiere Pro projects are easier to manage when the project file and all related media are stored in the same folder. That folder can be located on an internal drive, portable SSD, or shared server, depending on available space and the editing team’s workflow.
- Auto-save is a backup mechanism that can preserve recent versions of a Premiere Pro project. The tutorial recommends an interval of every 3 minutes, while normal saves remain available through Command S on a Mac or Control S on a PC.
- Premiere Pro workspaces are panel arrangements optimized for particular workflows. Selecting the Audio workspace, for example, opens relevant tools such as the Essential Sound panel and Audio Clip Mixer, while custom arrangements can be saved as new workspaces for repeated use.
- A Premiere Pro sequence defines settings such as resolution and frame rate for the edit. Users can choose presets for HD, social, UHD, or 4K projects, customize settings such as a 24 fps time base, or create a sequence directly from a source clip.
- Footage imports into the Project panel through several equivalent methods. Users can drag individual clips or whole folders into the panel, right-click an empty area and choose Import, select File and Import, or browse footage visually through the Import tab.
- Bins are folders inside the Project panel that organize editing assets such as sound effects, stock footage, and recorded clips. A bin can be opened as its own panel, helping editors narrow their view and locate the material needed for a particular part of the edit.
- In and out points define the selected portion of a source clip before it is added to the timeline. Pressing I marks the beginning and O marks the end, but unused material remains available and can be restored by extending the clip’s edges later.
- Timeline cutting is faster when editors combine visible clip information with keyboard shortcuts. Snapping makes edits magnetic, thumbnails and waveforms improve visual guidance, C activates the Razor tool, and Command K or Control K creates a cut at the playhead without requiring a mouse click.
Install to Summarize YouTube Videos and Get Transcripts
Explore YouTube Video Summarizer or Get YouTube Transcript Extractor
Questions & Answers
Q: How do you create a new Premiere Pro project?
Open Premiere Pro and select New Project from the welcome page. Give the project a clear name, choose the location for its project file, and then create it. The tutorial recommends storing the project file and all associated media in the same folder. That folder may be on an internal drive, a portable SSD, or a shared server with enough capacity for video files.
Q: What Premiere Pro settings should beginners change first?
Beginners should first review the auto-save and appearance settings. The tutorial recommends configuring auto-save to create project backups every 3 minutes, although users can choose another interval that fits their workflow. The interface offers darkest, dark, and light appearances, plus accessible color contrast for easier reading. Other customizable options include label colors, label names, and default transition duration.
Q: How do Premiere Pro workspaces and panels work?
Workspaces are preset arrangements of panels designed for different editing tasks. The Starter workspace provides a minimal layout, while the Audio workspace opens panels relevant to sound work, including Essential Sound and the Audio Clip Mixer. Any panel can be moved or resized, and additional panels can be opened from the Window menu. A personalized arrangement can also be saved as a new custom workspace.
Q: How do you create a sequence in Premiere Pro?
Open the Project panel, select the page-peel icon, and choose Sequence. Premiere Pro provides presets for formats including HD, social, UHD, and 4K video. To customize a preset, open its settings and change an option such as the time base to 24 fps, then save the configuration as a custom preset. A sequence can also be created directly from a clip.
Q: How do you make a sequence match the source footage?
Right-click the source clip in the Project panel and select New Sequence from Clip. Premiere Pro then creates a sequence based on that footage, matching its resolution and frame rate. This method is especially useful when beginning an edit with a primary talking-head recording. The resulting sequence appears in the Project panel and opens automatically in the timeline, where it can be renamed.
Q: What are the ways to import footage into Premiere Pro?
Footage can be imported by dragging individual clips or entire folders directly into the Project panel. Users can also right-click an empty area of that panel and select Import, choose Import from the File menu, or open the Import tab to browse clips visually before selecting them. Each method has the same core result: the chosen media becomes available within the Project panel.
Q: How do you select part of a clip before adding it to the timeline?
Preview or scrub through the source clip, press I where the desired section should begin, and press O where it should end. Dragging the clip afterward adds only that marked portion to the timeline. The remaining footage is not discarded. Editors can extend either end of the timeline clip later to reveal more of the original media when the edit requires a longer section.
Q: How do you make cuts quickly in the Premiere Pro timeline?
Move the playhead to the desired cut position and press C to activate the Razor tool, then click the clip. A faster keyboard-based method is Command K on a Mac or Control K on a PC, which creates the cut at the playhead automatically. Before cutting, enable the magnetic snapping icon and display video thumbnails, names, keyframes, audio waveforms, and audio keyframes for clearer guidance.
Summary & Key Takeaways
-
Premiere Pro projects begin at the welcome page, where users can name a project and choose its storage location. Keeping the project file and media together makes the editing materials easier to manage. The project can reside on an internal drive, a portable SSD, or a shared server with adequate space.
-
Before editing, users can configure auto-save frequency, interface appearance, accessible color contrast, label colors, and transition duration. Workspaces rearrange panels for specific activities such as audio editing. Panels can be moved, resized, opened from the Window menu, and saved as a custom workspace suited to an individual editing process.
-
Footage can be imported by dragging files or folders into the Project panel, using an Import command, or browsing through the Import tab. Clips can then be organized into bins, previewed, marked with in and out points, added to a matching sequence, and cut with either the Razor tool or a keyboard shortcut.
Read in Other Languages (beta)
Share This Summary 📚
Summarize YouTube Videos and Get Video Transcripts with 1-Click
Try YouTube Summary with ChatGPT & Claude or YouTube Transcript Generator
Explore More Summaries from Premiere Gal 📚



Summarize YouTube Videos and Get Video Transcripts with 1-Click
Try YouTube Summary with ChatGPT & Claude or YouTube Transcript Generator