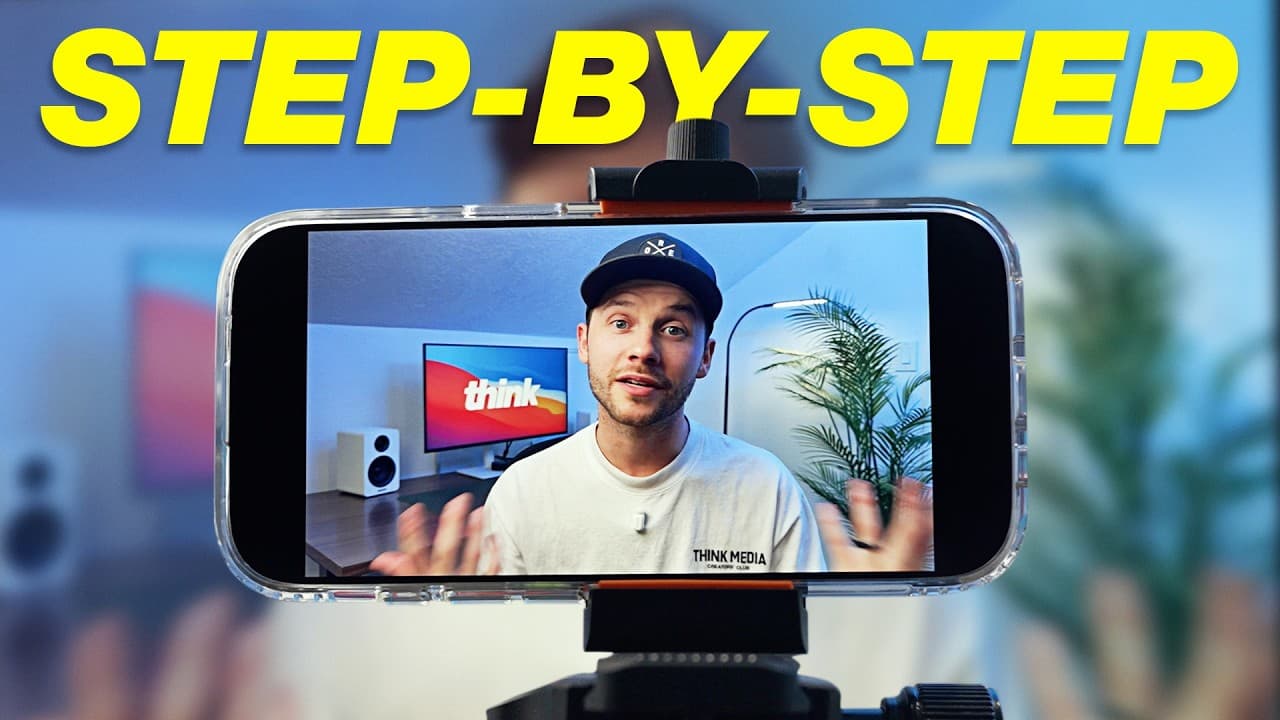
How to Film Your First YouTube Video by Phone
TL;DR
Start with one specific question, outline a simple introduction, main section, and ending, then record with the smartphone you already own. For a talking-head video, use 4K when available, choose 24 or 30 fps, stabilize the phone, prioritize clear audio, and lock settings such as white balance, focus, and exposure when filming in a controlled environment.
Transcript
If you want to make your very first YouTube video, by far the easiest way to do so is by using the smartphone that you already have. So, in this video, I'm going to walk you through step by step how to record your first YouTube video with your smartphone. Now, step one is to decide what is your first video going to be about before we get into all o... Read More
Key Insights
- A first YouTube video is primarily a learning experience, so the practical goal is to choose one simple idea and begin creating consistently. A short outline covering the introduction, main body, and conclusion is enough preparation for an initial smartphone recording.
- The ASQ method is a content-planning framework based on answering a specific question. A beginner can identify something a YouTube user might search for, then structure the entire video around providing a direct and useful answer to that question.
- Location scouting is the process of finding an intentional background with acceptable sound. Walking around a bedroom, home office, or house with the selfie camera helps reveal useful angles, while listening exposes echo, road noise, and other distractions.
- The main rear camera is typically the best smartphone lens for image quality, while the selfie camera remains suitable when monitoring the frame is helpful. Ultra-wide and telephoto cameras may provide lower quality, and digital zoom should be avoided.
- A 4K recording provides four times the resolution count of 1080p, creating a sharper image with more pixels available for editing. Recording at 1080p remains appropriate when a phone lacks 4K capability or available storage is especially limited.
- A frame rate of 24 or 30 fps is appropriate for ordinary talking-head footage. The 24 fps option suits YouTube-style presentations, while 30 fps suits vertical social content. Rates of 60 or 120 fps are useful when footage will be slowed during editing.
- Grid lines and the level improve composition before recording begins. The level helps keep the horizon straight, while the grid provides horizontal and vertical guides. For a talking-head shot, positioning the eyes near the upper-third line creates a more natural composition.
- Locked camera settings create consistency in a controlled recording environment. Locking white balance prevents color shifts, while locking focus and exposure prevents hunting or brightness changes. White-balance lock is less suitable for vlogging across changing sunny, cloudy, or indoor conditions.
Install to Summarize YouTube Videos and Get Transcripts
Explore YouTube Video Summarizer or Get YouTube Transcript Extractor
Questions & Answers
Q: How should I plan my first YouTube video?
Choose one simple idea and avoid treating the first upload as a perfect final product. Write a few notes that define the introduction, the main body, and the conclusion. A practical approach is the ASQ method, which means answering one specific question that a YouTube user might search for. This keeps the topic focused and gives the recording a clear purpose.
Q: How do I choose a background for a smartphone video?
Turn on the phone's selfie camera and walk around the bedroom, home office, or house to compare possible angles. Select a frame that looks intentional, and rearrange a few objects if necessary. Also listen to the room before recording. Avoid spaces with excessive echo and positions near windows where traffic or road noise could interfere with the audio.
Q: What smartphone resolution should I use for YouTube?
Use 4K resolution when the phone supports it and sufficient storage is available. The transcript states that 4K provides four times the resolution count of 1080p, giving the image more pixels and a sharper appearance. Use 1080p when the phone does not offer 4K or when limited storage makes the larger recording format impractical.
Q: What frame rate should I use for a YouTube video?
Choose 24 or 30 frames per second for standard talking-head recordings. The 24 fps setting is preferred for YouTube-style presentation videos, while 30 fps is appropriate for vertical content intended for YouTube Shorts, Instagram, or TikTok. Use 60 or 120 fps only when you plan to slow the footage during post-production for slow-motion or cinematic sequences.
Q: Which phone camera lens is best for talking-head videos?
Use the main camera on the rear of the smartphone when possible because it typically produces the best image quality. The front-facing selfie camera is also acceptable when seeing yourself during recording makes framing easier. Ultra-wide and telephoto cameras can be lower quality. Avoid pinching to apply digital zoom, and physically move the phone closer or farther away instead.
Q: How do grid lines improve smartphone video composition?
Grid lines provide horizontal and vertical references that make it easier to compose the frame deliberately. For a talking-head recording, place the subject's eye line near the upper-third line instead of directly in the center. Turn on the phone's level as well, since a straight horizon prevents an awkward tilt and avoids corrective cropping during editing.
Q: Should I turn off HDR when recording YouTube videos?
Turning HDR off can make footage more consistent and simplify editing. Different mobile and desktop editing programs handle HDR footage differently, and its appearance can also vary between YouTube, Instagram, and other social platforms. Disabling HDR reduces these compatibility differences, making the recording easier to edit and helping files maintain a more predictable look across the workflow.
Q: How can I improve smartphone video audio and lighting?
Place the phone in a stable position using an inexpensive tripod, books, or a water bottle. If available, connect a smartphone-compatible microphone because the internal microphone may perform poorly when the phone is farther from the speaker. Added lighting is optional, but it can improve smartphone image quality and reduce grain compared with relying only on interior household lighting.
Summary & Key Takeaways
-
Begin by choosing one simple topic and outlining the introduction, core content, and conclusion. The ASQ method provides a useful framework: answer one specific question that a YouTube user might search for. The first upload should be treated as a learning experience that helps establish consistency, rather than as a perfect production.
-
Choose a quiet, visually intentional recording location by walking through available rooms with the selfie camera. Rearrange a few objects to improve the frame, and listen for echo or nearby traffic. Use the main rear camera for maximum image quality, or the front camera when seeing yourself is more important.
-
Configure the phone for consistent footage before recording. Use 4K when available and storage permits, with 24 or 30 fps for talking-head content. Turn on the level and grid, avoid digital zoom, consider disabling HDR, and lock white balance, focus, and exposure when working in a controlled setting.
Read in Other Languages (beta)
Share This Summary 📚
Summarize YouTube Videos and Get Video Transcripts with 1-Click
Try YouTube Summary with ChatGPT & Claude or YouTube Transcript Generator
Explore More Summaries from Think Media 📚



Summarize YouTube Videos and Get Video Transcripts with 1-Click
Try YouTube Summary with ChatGPT & Claude or YouTube Transcript Generator