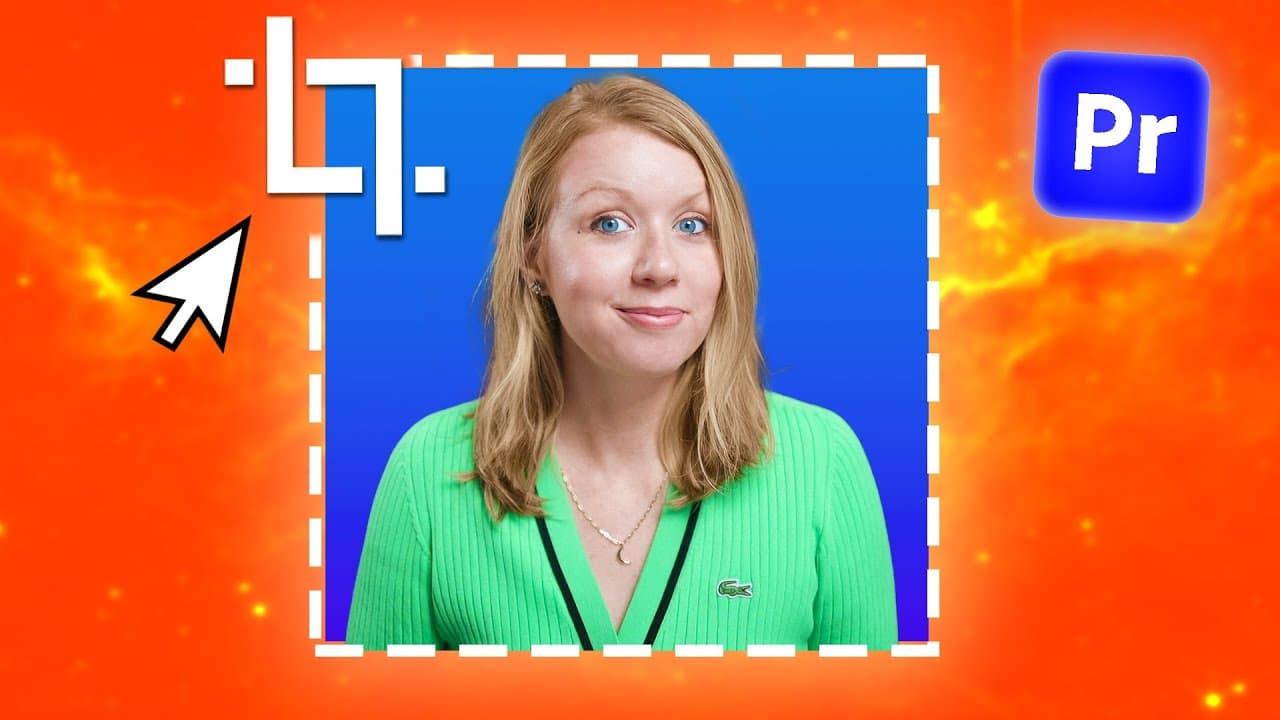
How to Create 5 Crop Effects in Premiere Pro
TL;DR
Use Premiere Pro’s Crop effect to build split screens, cinematic letterboxes, animated text reveals, clip transitions, and picture-in-picture layouts. The Properties panel provides direct cropping in version 25 and above, while the Effects panel version adds edge feathering for softer reveals and wipes. Keyframes, easing, guides, and responsive design handles make the results smoother and reusable.
Transcript
In my opinion, the crop effect is the most underrated tool in Premiere Pro. And after all, some of the most simple tools can do the most useful things. So, let's show you some creative ways on how you can use a crop effect inside of Premiere Pro. Let's jump on in. Since Premiere Pro's update of version 25 and above, you can now find the crop effect... Read More
Key Insights
- Premiere Pro version 25 and above includes cropping controls in the Properties panel. Selecting a clip or adjustment layer allows editors to enter crop percentages directly or activate the crop tool and manipulate the visible area inside the Program Monitor.
- The Effects panel version of Crop provides edge feathering. Editors can drag the effect onto a timeline clip, open Effect Controls, and soften a cropped boundary, making this version particularly useful for animated text reveals and transitions between video clips.
- A precise split screen is created by stacking and repositioning two clips, then cropping the upper clip to a midpoint guide. Enabling rulers and guides in the Program Monitor makes it possible to place the division at exactly 50% for an equal layout.
- A dividing line can clarify the boundary between split-screen clips. The rectangle tool creates a thin shape over the midpoint, while the Properties panel controls its fill color and dimensions. This technique can be adapted to sequences with different aspect ratios.
- An animated text reveal works by keyframing a Crop parameter from a position that hides the text to one that displays it. Applying edge feathering around 100 softens the reveal, while Ease In and Ease Out settings replace linear motion with a smoother curve.
- Responsive design handles preserve the timing of a graphic’s entrance and exit animations when its duration changes. After defining the protected regions, the graphic can be exported as a motion graphics template and reused while retaining its crop animation.
- A crop wipe transition works by placing one clip above another and animating the upper clip’s crop from 0% to 100%. Edge feathering, shown at more than 100 in the tutorial, softens the wipe, and spreading the keyframes slows the transition.
- A sound effect can reinforce the movement of a crop transition. The tutorial adds a whoosh beneath the video clips and uses its waveform to align the sound with the visual animation, creating a closer connection between the wipe and its audio cue.
Install to Summarize YouTube Videos and Get Transcripts
Explore YouTube Video Summarizer or Get YouTube Transcript Extractor
Questions & Answers
Q: How do you find the Crop effect in Premiere Pro?
In Premiere Pro version 25 and above, select a clip or adjustment layer and use the cropping controls in the Properties panel. You can enter percentages for individual edges or activate the crop tool and adjust the visible area directly in the Program Monitor. Alternatively, search for Crop in the Effects panel, apply it to a clip, and edit its settings under Effect Controls.
Q: What is the difference between the two Crop controls in Premiere Pro?
The Properties panel offers convenient cropping controls and direct manipulation inside the Program Monitor. The traditional Crop effect, applied through the Effects panel and adjusted in Effect Controls, also includes edge feathering. The tutorial chooses the effect-based version whenever a soft boundary is required, especially for animated text reveals and transitions between stacked video clips.
Q: How do you create an equal split screen with the Crop effect?
Create a sequence, place two clips on separate video layers, and reposition one toward the top and the other toward the bottom. Enable rulers and guides from the Program Monitor’s View menu, then drag a guide to the 50% midpoint. Apply Crop to the upper clip and set its bottom crop to meet that guide, producing an equal division.
Q: How do you add a line between split-screen clips?
Select the timeline, choose the shape tool, and use the rectangle tool to draw a narrow rectangle over the split-screen boundary. Change the rectangle’s fill color in the Properties panel, then return to the selection tool to refine its width and placement. The line acts as a clear visual separator between the two cropped video regions.
Q: How do you animate a text reveal using Crop?
Apply the Effects panel version of Crop to the text graphic, then open Effect Controls. Choose the edge that matches the intended reveal direction, adjust it until the text is hidden, and create a starting keyframe. Move forward to the reveal time and reduce that crop value until the text is visible. Edge feathering can soften the moving boundary.
Q: How do you make a crop animation move smoothly?
Open the animated Crop parameter in Effect Controls and change the keyframe interpolation from linear movement to Ease In and Ease Out. This creates a curved speed change rather than a constant rate. You can also adjust the distance between keyframes: moving them farther apart makes the crop animation slower, while placing them closer together makes it quicker.
Q: How do you save an animated text reveal for reuse?
Define the entrance and exit animations with Crop keyframes, then position the responsive design handles so they protect those animated regions when the graphic duration changes. Control-click the graphic and export it as a motion graphics template. Save it to the local templates folder and include a video preview, making it available through the Graphics Templates panel for future timelines.
Q: How do you create a crop wipe transition between two clips?
Place the outgoing clip on video layer 2 above the clip that should be revealed on video layer 1. Apply the Effects panel version of Crop to the upper clip, create a keyframe for the left parameter, then move later and raise that crop value to 100%. Add easing and edge feathering to smooth the wipe, and adjust keyframe spacing to control its speed.
Summary & Key Takeaways
-
Premiere Pro version 25 and above places cropping controls in the Properties panel, where editors can enter percentages or adjust the crop inside the Program Monitor. The traditional Crop effect remains available through the Effects panel and Effect Controls. Its primary advantage is edge feathering, which creates softer boundaries for animations and transitions.
-
A vertical split screen can be assembled by stacking two clips, repositioning them, and placing a guide at the 50% midpoint. Cropping keeps the enlarged footage within its assigned half. A narrow rectangle placed over the dividing point creates a customizable solid line, and the same method works with other aspect ratios.
-
Crop parameters can be animated with keyframes to reveal text or transition between clips. Ease In and Ease Out settings create smoother movement, while edge feathering softens the visible boundary. Responsive design handles preserve entrance and exit timing when a graphic changes duration, allowing the result to become a reusable motion graphics template.
Read in Other Languages (beta)
Share This Summary 📚
Summarize YouTube Videos and Get Video Transcripts with 1-Click
Try YouTube Summary with ChatGPT & Claude or YouTube Transcript Generator
Explore More Summaries from Premiere Gal 📚



Summarize YouTube Videos and Get Video Transcripts with 1-Click
Try YouTube Summary with ChatGPT & Claude or YouTube Transcript Generator