How to Build a Faster Premiere Pro Workflow
TL;DR
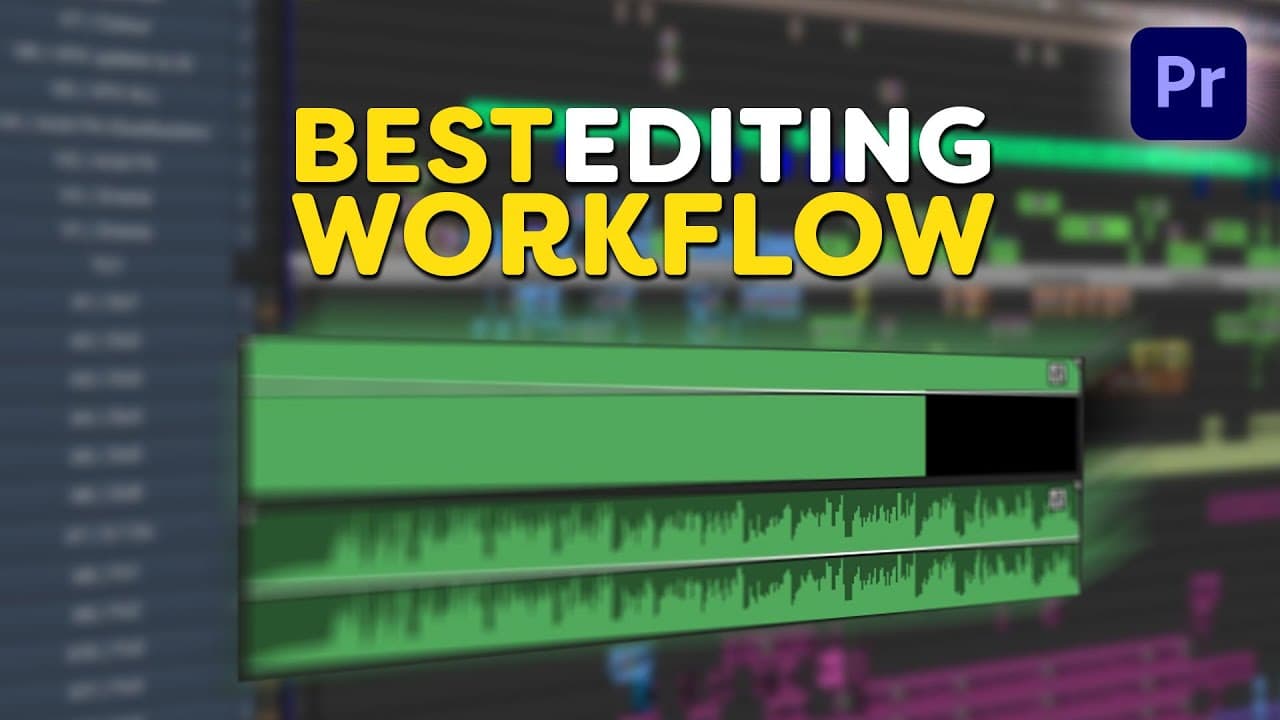
Organize assets into named bins, select usable footage in a dedicated sequence, and build the final edit with stacked sequences and clearly assigned tracks. Complete the workflow with master-clip corrections, adjustment-layer grading, structured sound design, removal of unused assets, and Apple ProRes 422 previews that Premiere Pro can reuse for a faster H.264 export.
Transcript
hey guys jordy here for premiere basics a weekly series where we teach you all the ins and outs of adobe premiere pro unfortunately jill has a bad migraine today which is why i'm taking over so go ahead and wish him well in the comments guys now today i'm going to teach you the best editing workflow that you can have for any project in adobe premie... Read More
Key Insights
- Named bins are the foundation of an organized Premiere Pro project. Separating rushes or footage, music, sound effects, overlays, and other assets before editing prevents the Project panel from becoming an unstructured collection of imported files.
- Pancake editing is a workflow that stacks a footage-selection sequence above the final project sequence. Editors can review every shot, mark useful portions with In and Out points, collect those selections, and drag chosen clips directly into the edit below.
- Consistent track assignments make a timeline easier to understand. A-roll can occupy the first video track, B-roll can use the second and third tracks, and titles or animations can sit on higher tracks, with track names identifying each category immediately.
- Color labels are visual organization tools for clips and clip selections. Premiere Pro allows editors to choose label colors, customize those colors through Preferences in the Edit menu, and assign keyboard shortcuts that make repeated labeling faster.
- Duplicating a VFX clip protects the original media before an After Effects replacement. The duplicated copy can be placed on an upper track, while Replace with After Effects Composition changes one version and leaves the source available if the effect fails or needs revision.
- Master-clip correction applies one adjustment across every timeline segment created from a long source take. This is useful when an interview has been divided into many pieces, because exposure or color changes do not need to be repeated on each individual edit.
- An adjustment layer provides non-destructive grading across all clips beneath it. Making the layer as long as the complete edit applies one shared look throughout, while limiting its duration applies the grade only to a selected portion of the sequence.
- Apple ProRes 422 preview files can accelerate the final export when rendered previews already exist. Setting QuickTime and Apple ProRes 422 under Video Previews, then enabling Use Previews during H.264 export, lets Premiere Pro reuse those rendered files.
Install to Summarize YouTube Videos and Get Transcripts
Explore YouTube Video Summarizer or Get YouTube Transcript Extractor
Questions & Answers
Q: How should assets be organized before editing in Premiere Pro?
Create separate bins before beginning the edit, and name each bin for the type of material it will contain. The demonstrated categories include rushes or footage, music, sound effects, overlays, and other assets. Import files into their appropriate bins instead of leaving everything loose in the Project panel. This structure makes the project easier to navigate throughout selection, editing, sound design, color work, and export.
Q: How does pancake editing work in Adobe Premiere Pro?
Create one sequence called footage and another for the actual project edit. Review every recorded shot, use In and Out points to select the portions you like, and place those selections in the footage sequence. Then stack the footage sequence above the project sequence. This layered arrangement, called pancake editing, lets you drag selected clips from the upper sequence into the final edit below, including edits timed to a chosen song.
Q: How should video tracks be structured in a Premiere Pro timeline?
Assign each type of visual material to a consistent track. Place interview footage, described as A-roll, on the first track. Put supporting B-roll on the second track and, when necessary, the third. Titles and animations can occupy the fourth track or higher tracks. Right-click a track and choose Rename Track to identify its contents, then use clip color labels for another immediate visual guide.
Q: How can original clips be protected before sending shots to After Effects?
Duplicate every shot that requires visual effects and place the duplicate on an upper track before creating the After Effects link. When Replace with After Effects Composition is selected, Premiere Pro replaces that clip with the associated After Effects project item. Keeping another copy preserves the original footage, which remains available if the effect goes wrong or if the editor later wants to change the untreated source.
Q: How can color correction be applied to a long interview efficiently?
When one long interview take has been cut into multiple pieces, select one of its clips, open the Effect Controls panel, and select the master clip. Apply the color correction at that master level rather than correcting every timeline segment separately. The correction then affects the interview clips derived from that source, avoiding repetitive work across all the individual pieces used throughout the edit.
Q: How should an adjustment layer be used for color grading?
Create an adjustment layer from the Project panel and place it above the clips that need a shared grade. The layer is transparent and does not add visible content itself, but effects applied to it affect everything underneath. Extend it across the entire edit for one consistent look, or limit it to a particular section. Individual shots can still receive separate exposure and color-temperature corrections before the shared grade is applied.
Q: How should sound effects be organized and mixed in Premiere Pro?
Separate sound effects by purpose and place each group on a dedicated, labeled track. Atmospheric sounds can include city or forest ambience. Essential sounds correspond to visible elements such as birds, cars, machines, bikes, or people. Another track can hold swooshes, whips, risers, and transition elements. Adjust reverb, gain, loudness, keyframes, and equalization as needed, then mix the project so different sounds have appropriate volumes instead of making everything equally loud.
Q: How can rendered previews speed up a Premiere Pro export?
Open Sequence Settings and configure Video Previews to use QuickTime with the Apple ProRes 422 codec. After rendering the sequence for smoother editing playback, open the export menu with Ctrl+M. For a YouTube delivery, choose H.264 and either Match Source High Bitrate or a provided YouTube preset. Enable Use Previews so Premiere Pro reuses the rendered ProRes files, which the tutorial says drastically speeds up exporting.
Summary & Key Takeaways
-
Begin by sorting footage, music, sound effects, overlays, and other assets into named bins. Create separate footage and project sequences, review every shot, mark useful sections with In and Out points, and collect them in the footage sequence. Stack both sequences for pancake editing and move selected clips into the project timeline.
-
Structure the project by assigning A-roll, B-roll, titles, animations, music, voice-over, and sound effects to consistent tracks. Rename tracks and apply color labels for faster identification. Preserve original clips before replacing VFX shots with After Effects compositions, then use master-clip corrections and adjustment layers to manage color efficiently and non-destructively.
-
Build depth and realism with atmospheric, essential, and transition-focused sound effects, then adjust their gain, loudness, reverb, equalization, and relative volume. Delete unused project items before delivery. For export, choose H.264 and an appropriate source-matching or YouTube preset, then enable Use Previews to reuse rendered Apple ProRes 422 preview files.
-
Key Insights Error
Read in Other Languages (beta)
Share This Summary 📚
Summarize YouTube Videos and Get Video Transcripts with 1-Click
Try YouTube Summary with ChatGPT & Claude or YouTube Transcript Generator
Explore More Summaries from Premiere Basics 📚
Summarize YouTube Videos and Get Video Transcripts with 1-Click
Try YouTube Summary with ChatGPT & Claude or YouTube Transcript Generator