How to Get Started with Motion Graphics in After Effects
TL;DR
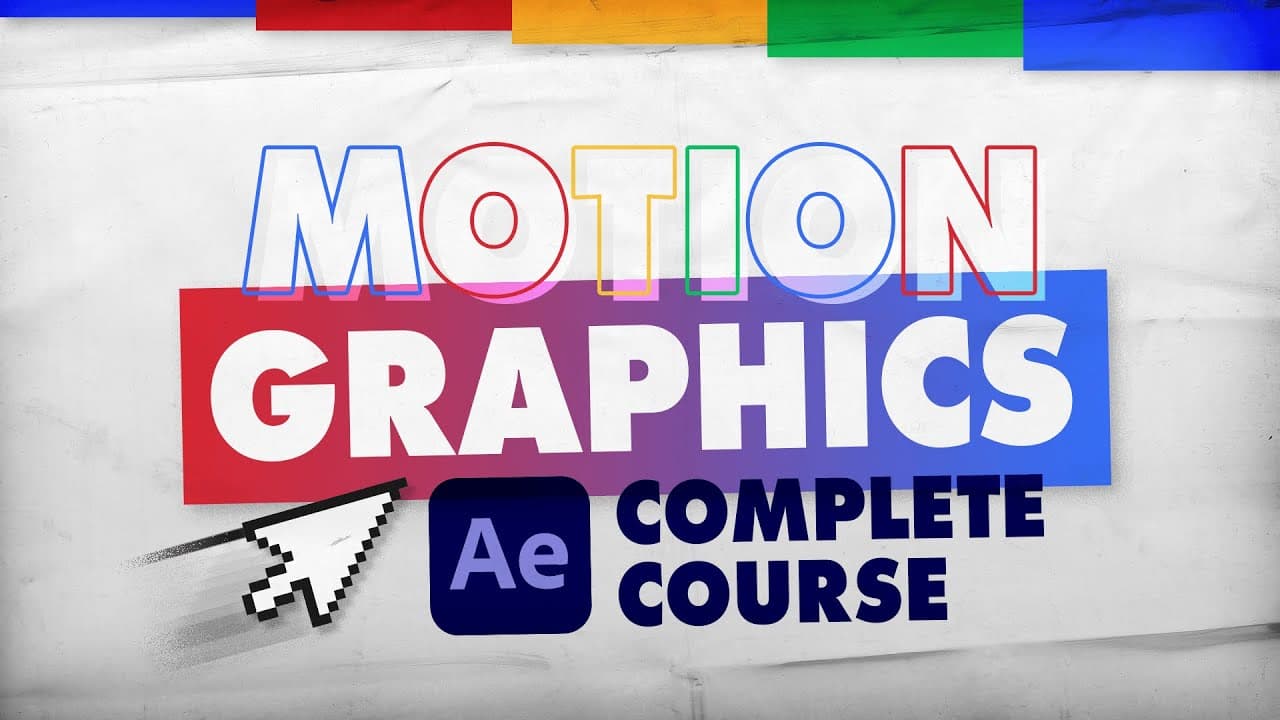
Motion graphics beginners in After Effects start by building a composition (here 1920x1920 at 30fps, 10 seconds) and dropping in a reference image locked at 10% opacity. Text is converted with Create > Shapes from Text so letters can be squashed, stretched and stroked. Layers are duplicated and stripped down so each letter animates separately.
Transcript
this video compiles my entire intro to motion graphics 2021 series into a single video don't worry about the fact that it's now 2022 all techniques are still absolutely relevant and you'll be able to follow along no problem at all i'm releasing it for free here on youtube in its entirety so let's jump right in hello everybody welcome back to tiptoe... Read More
Key Insights
- A composition is the container required before any asset can be worked with in After Effects. Assets collected in the project window must be dragged into a composition's timeline, created here as a square 1920 by 1920 pixel comp for social media.
- Frame rate of 30 frames per second means 30 different pictures per second of footage. The project comp uses that rate with a 10 second duration and a black background, settings the tutorial says are fine for this beginner build.
- Ctrl+Y creates a new solid layer, the same result as going to Layer, New, Solid. A white solid renamed background is generated at the composition size and dragged below the reference image layer so it sits behind the artwork.
- The shortcut T brings up a layer's opacity, described as see-throughness. The reference image is dropped from 100 to 10 so it stays faintly visible, then locked with the lock box so it cannot be selected or moved by accident.
- Ctrl+Alt+Home snaps a layer's anchor point to the middle so rotation happens around the centre rather than the bottom right corner. The pan behind tool, shortcut Y, does the same job manually for keyboards without a Home key.
- The character window controls fill and stroke, swapped using the small arrow between them. Fill colours the shape itself while stroke adds a line around its edge, and the tutorial sets the intro text stroke to two pixels.
- Right clicking a text layer and choosing Create, then Shapes from Text converts editable type into shapes. It produces a new outlines layer, hides the original text layer, and lets letters be squashed, stretched and manipulated as vector paths.
- Pre-composing bundles selected layers into their own composition, with the second option, move all attributes, chosen here. Double clicking the resulting intro layer opens that nested comp so the word can be worked on in isolation from the main build.
Install to Summarize YouTube Videos and Get Transcripts
Explore YouTube Video Summarizer or Get YouTube Transcript Extractor
Questions & Answers
Q: What composition settings does this After Effects tutorial use?
The composition is created with the new composition button and named main. It is square at 1920 by 1920 pixels because the piece is intended for social media and Instagram, runs at 30 frames per second, which the tutorial explains means 30 different pictures per second of footage, and has a duration of 10 seconds. The default black background colour is kept, and the tutorial notes the remaining settings will be learned as you go.
Q: How do you convert text to shapes in After Effects?
Type the word with the horizontal type tool, shortcut T, then right click the text layer in the timeline, go to Create, and choose Shapes from Text. It looks like little has happened, but a duplicated layer called intro outlines appears and the original text layer becomes invisible. The new outlines layer is no longer editable as type, yet properties such as stroke thickness can be changed, and the letters can now be squashed and stretched as shapes.
Q: How do you set up a reference image in After Effects?
Download the reference image, find it in your file explorer, and drag the PNG directly over the project window in After Effects, then drag it down into the timeline to place it in the composition. Because the background colour is wrong, create a solid with Ctrl+Y, rename it background, and drag it below the reference layer. Select the reference layer, press T to bring up opacity, lower it from 100 to 10, then click the lock box so the layer cannot be selected.
Q: Where do you get the resources for this motion graphics tutorial?
Two resources are needed. The reference image comes from tiptut.xyz, with the link in the description: go to the resources page, click the image labelled intro to motiongraphics2021, and it opens a Google Drive download. For colour, the tutorial uses coolors.co, also linked in the description, where clicking the start the generator button and pressing the space bar produces a new five colour palette each time. Hovering over a colour and clicking copy hex gives the hex code.
Q: Why should you move the anchor point to the centre of a layer?
By default the anchor point sits in the bottom right of the layer, so pressing R to bring up rotation makes the text spin around that corner rather than around itself. Moving the little circle to the middle makes the layer rotate around its centre. The fastest way is the shortcut Ctrl+Alt+Home, which snaps it into the middle. If your keyboard has no Home key, select the pan behind tool with the shortcut Y and drag the anchor point into position manually.
Q: What is pre-composing used for in After Effects?
Pre-composing takes selected layers and places them inside their own composition. In this project the intro text layer and its outlines layer are selected with a click and shift click, right clicked, and pre-composed into a comp named intro, with the second option, move all attributes, selected. Double clicking the resulting intro layer opens that nested composition, letting the word be built and animated in isolation before it is added back into the main composition.
Q: How do you separate letters onto individual layers in After Effects?
Inside the pre-composition, twirl down the layer to reveal the contents box, which holds each individual letter. Because working with all letters on one layer is difficult, duplicate the layer with Ctrl+D until there is one layer per letter, five for the word intro. Then twirl down each copy's contents, rename the layer to the letter you want by pressing Enter, and delete every other letter on that layer. The tutorial admits there may be a faster way but avoids introducing plugins in a basic series.
Q: What do you do if a panel is missing from your After Effects interface?
The tutorial addresses this directly for complete beginners: if a window is used that you cannot see on your own screen, go to the Window box on the toolbar at the top, and the panel will be somewhere in that list. Clicking it, for example brushes, brings that panel up somewhere in your interface. The advice is not to panic when the instructor is using a panel that is not currently visible in your own workspace, since every panel can be recalled this way.
Summary & Key Takeaways
-
The full Intro to Motion Graphics 2021 series is compiled into one free YouTube video, and the creator notes that although it is now 2022, every technique remains relevant and viewers can follow along without any problem. The series is an update to an older one and covers the basics a complete beginner to After Effects needs.
-
Preparation involves two resources: a reference image downloaded from the resources page at tiptut.xyz via a Google Drive link, and a five-colour palette generated at coolors.co by pressing the space bar in the generator. Hex codes are copied by hovering and clicking copy hex, and a saved palette is used throughout the project.
-
The project is built by creating a composition named main at 1920 by 1920 pixels, 30 frames per second, 10 seconds long with a black background. The reference PNG is dragged into the timeline, a white solid renamed background is placed beneath it with Ctrl+Y, and the reference is set to 10% opacity and locked.
Read in Other Languages (beta)
Share This Summary 📚
Summarize YouTube Videos and Get Video Transcripts with 1-Click
Try YouTube Summary with ChatGPT & Claude or YouTube Transcript Generator
Explore More Summaries from TipTut 📚
![How to Merge Animation and Film [2/3] thumbnail](/_next/image?url=https%3A%2F%2Fi.ytimg.com%2Fvi%2FemjKD_a68Uw%2Fhqdefault.jpg&w=750&q=75)
Summarize YouTube Videos and Get Video Transcripts with 1-Click
Try YouTube Summary with ChatGPT & Claude or YouTube Transcript Generator