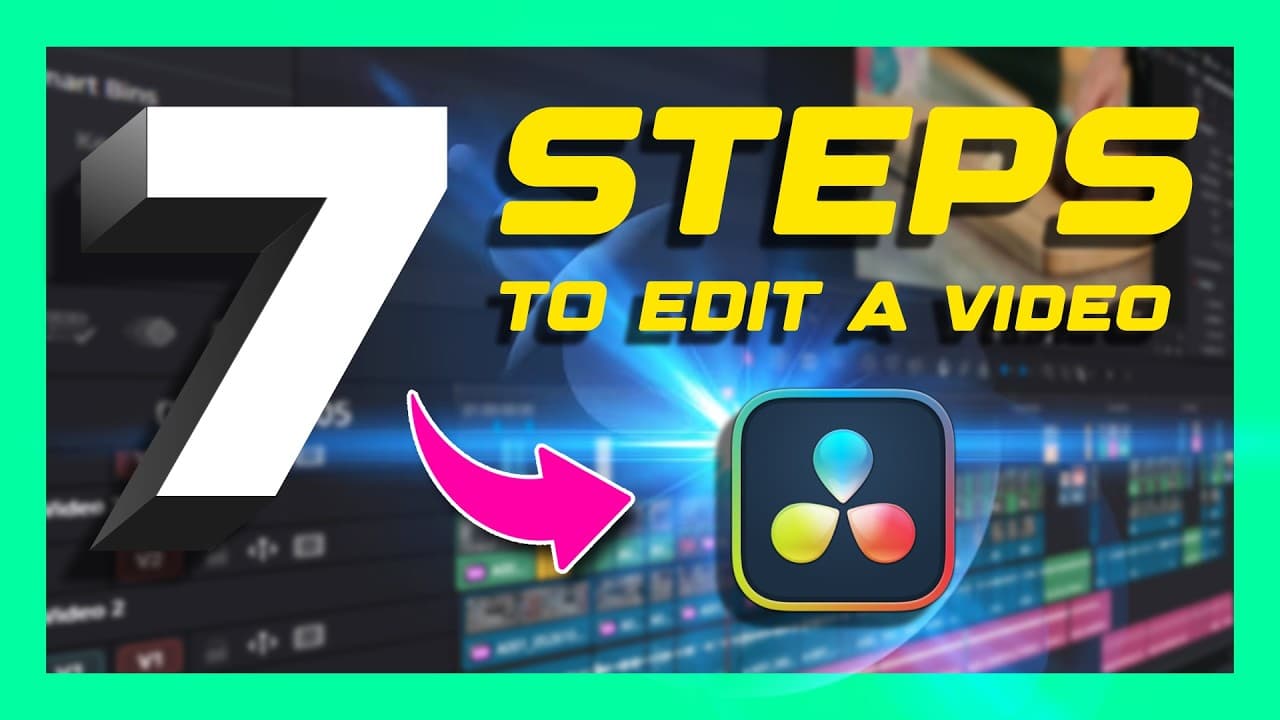
How to Edit Videos in DaVinci Resolve from Scratch
TL;DR
Set the project resolution and frame rate to match your intended output and main footage, then create proxies if playback or scrubbing feels slow. Build the first timeline around essential footage, solve major structural problems such as picture-in-picture placement and synchronization, and postpone detailed polishing until the core edit works.
Transcript
Today we're learning seven steps to edit a video in Da Vinci Resolve from scratch, start to finish. I've been doing this for over 20 years, and I'm telling you, this is the best workflow. Let's do it. So, we have Da Vinci Resolve open, and we have some footage that we've recorded for a gaming video imported. All you got to do is find your footage o... Read More
Key Insights
- Project settings are the foundation of the edit because they determine the timeline format and help prevent unexpected output problems. The most important initial choices are the timeline resolution, frame rate, and, when relevant, the color-management configuration used for flat-looking log footage.
- The timeline frame rate should usually match the main footage. Resolve may offer to change the project frame rate when footage is first imported, while Clip Attributes provides a direct way to inspect a clip when its recorded frame rate is unknown.
- Timeline resolution depends on the intended delivery format and the source footage. The project settings support standard horizontal output, higher-resolution footage, and vertical layouts, with a vertical-resolution option that switches the dimensions for portrait-oriented content.
- Proxy media is optional when original footage already scrubs and plays smoothly. Even small delays can accumulate across repeated timeline movements, so visible lag is a practical signal that lighter editing copies would improve the workflow.
- Proxy media works by creating copies with identical timing but a format and resolution that are easier for the computer to play. Resolve can prefer these lower-quality copies during editing, and the editor can switch back to the sharper camera originals when desired.
- The first timeline assembly should focus on the essential large pieces rather than polished details. Interviews, required locations, screen recordings, camera footage, or other indispensable material should be placed and made functional before refining introductions, music, or small visual touches.
- Picture-in-picture layouts are created by placing camera footage on a layer above the underlying screen recording. The Inspector provides zoom, position, and crop controls that can shrink the upper clip, move it into a corner, and remove unwanted edges.
- Automatic audio-waveform alignment can synchronize separately recorded clips when both contain some version of the same sound. Selecting the related clips and using Resolve's automatic alignment command allows the software to compare their shared audio and correct a major timing mismatch.
Install to Summarize YouTube Videos and Get Transcripts
Explore YouTube Video Summarizer or Get YouTube Transcript Extractor
Questions & Answers
Q: How do you start editing footage in DaVinci Resolve?
Import the recorded clips by locating them on the computer and dragging them into the media pool. Before building the timeline, open the project settings and confirm the intended resolution and frame rate. These choices establish the working format for the project and reduce the chance of unexpected quality, playback, or timing problems later in the edit.
Q: How should you choose a timeline resolution in DaVinci Resolve?
Choose the timeline resolution according to the intended output and the resolution of the footage. The demonstrated settings accommodate ordinary horizontal video, higher-resolution camera material, and portrait-oriented content. For a vertical project, enable the vertical-resolution option so Resolve switches the timeline dimensions. The important point is to decide the delivery shape and quality before detailed editing begins.
Q: How do you match the timeline frame rate to your footage?
Use the frame rate of the main footage as the timeline frame rate in most cases. When media is first added to an empty project, Resolve may ask whether the project should change to match it. If the source rate is unknown, right-click the footage, open Clip Attributes, and read the video frame-rate information shown there.
Q: When should you create proxy media in DaVinci Resolve?
Create proxies when opening a clip and moving the playhead produces noticeable lag or delayed visual updates. If scrubbing is already immediate and smooth, proxies are optional. Even a small delay can become disruptive after many editing movements, so the practical test is whether the original media responds quickly enough for a comfortable editing session.
Q: What does proxy media do in DaVinci Resolve?
Proxy media creates alternate copies of source clips that preserve the original timing while using settings that are easier for the computer to play. Resolve can prefer these lighter copies during editing, producing smoother scrubbing at reduced visual quality. The editor can still switch back to the camera originals when a sharper view of the footage is needed.
Q: How do you generate proxy media in DaVinci Resolve?
Open the project settings, find the optimized media and render cache section, and choose a proxy format and reduced proxy resolution. Save those settings, select the footage in the media pool, right-click it, open the proxy-media options, and generate the proxies. Resolve processes copies of the selected clips and can then prefer them during editing.
Q: How do you build the first rough timeline for a video?
Identify the large pieces that must appear in the finished video and create a timeline from those clips. Arrange the essential recordings first and solve major structural problems before polishing anything. For the demonstrated gaming edit, that means layering the camera recording over the gameplay, adjusting its size and position, and addressing synchronization before refining the introduction, music, or small visual details.
Q: How do you synchronize separate recordings in DaVinci Resolve?
Select the recordings that need synchronization, right-click them, and use the automatic clip-alignment command with audio-waveform synchronization. This method works when the clips contain some recording of the same sound, such as game audio captured by a microphone or a voice captured in the screen recording. Resolve compares that shared audio to align their timing automatically.
Summary & Key Takeaways
-
Begin by importing footage into the media pool and configuring the project before editing. Choose a timeline resolution appropriate for the intended format, including horizontal or vertical output, and match the timeline frame rate to the main footage. Clip Attributes can reveal a source clip's frame rate when it is unknown.
-
Test editing performance by opening a clip and scrubbing through it. If playback responds without lag, proxies may be unnecessary. If it hesitates, generate proxy media using a lower resolution and an easier-to-play format. Resolve can prefer these temporary copies during editing while retaining access to the camera originals.
-
Create the initial timeline from the major pieces that the finished video must contain. Arrange foreground and background footage, resize or crop overlays, and correct major technical issues before refining details. When separate recordings contain shared audio, Resolve can automatically align them by comparing their audio waveforms.
Read in Other Languages (beta)
Share This Summary 📚
Summarize YouTube Videos and Get Video Transcripts with 1-Click
Try YouTube Summary with ChatGPT & Claude or YouTube Transcript Generator
Explore More Summaries from Casey Faris 📚
Summarize YouTube Videos and Get Video Transcripts with 1-Click
Try YouTube Summary with ChatGPT & Claude or YouTube Transcript Generator