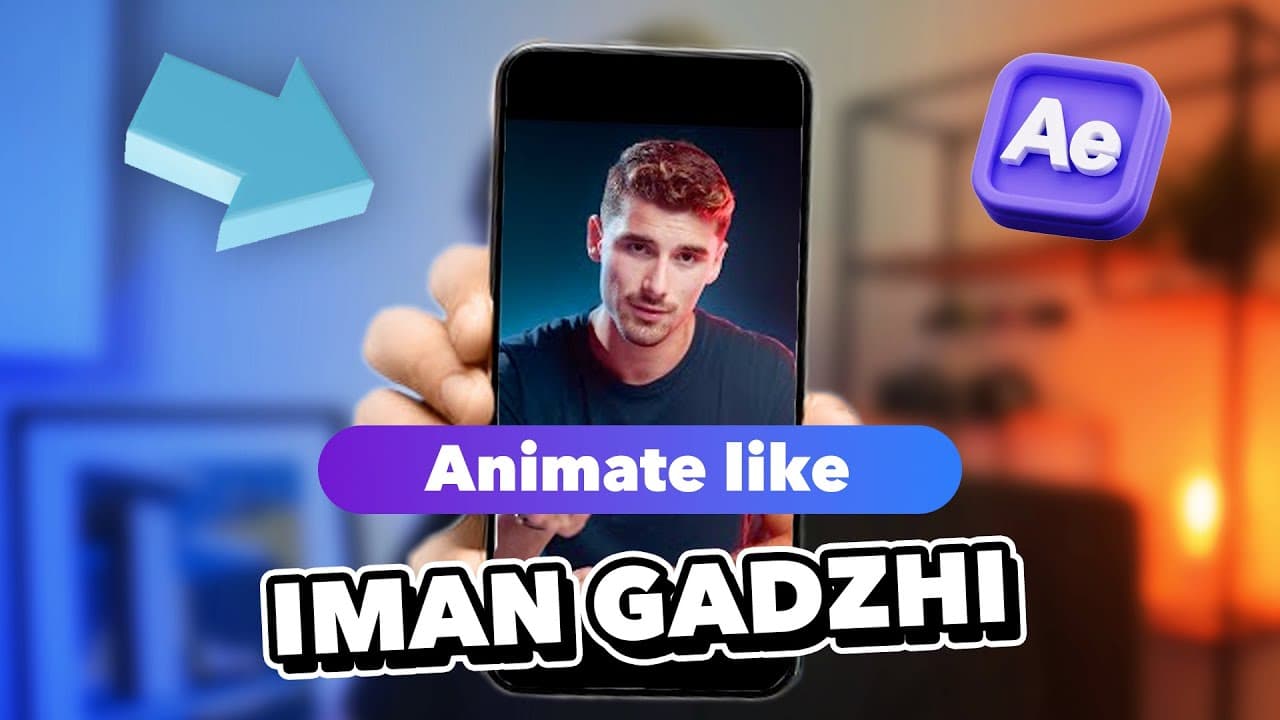
How to Make Iman Gadzhi Style After Effects Animations
TL;DR
Build the animation in three stages: create a radial gradient and grid background, assemble the shapes, text, and money emoji, then animate each element. Use position and scale keyframes, Easy Ease, motion blur, Puppet Position Pins, and Trim Paths to produce smooth movement, moving wings, a growing circle, and a drawn outline in After Effects.
Transcript
creating Iman gaji's style is quite easy and I'm gonna show you how and for example this animation is what we're going to create today it's in this last video and make sure to keep watching because I'm going to show you some secret techniques this can be done in multiple animation programs but we're going to use after effects for today we... Read More
Key Insights
- The workflow is divided into three stages: creating the background, building the visual elements, and animating those elements. This structure keeps the composition organized and allows the background, shapes, icons, and motion to be developed in a clear sequence.
- The composition is configured at 4K resolution, 25 frames per second, and 10 seconds in duration. A black background provides the starting canvas before solid layers, effects, shapes, text, and imported emoji artwork are added.
- The background is created with a radial Gradient Ramp using lighter and darker blue colors. Centering the ramp controls the visual focus, while Ramp Scatter reduces visible gradient banding and helps the color transition appear smoother.
- The grid texture is generated on a separate solid layer with the Grid effect. Lowering its opacity and adjusting its corner settings produces a subtler, more square pattern that sits over the blue gradient without replacing it.
- The main shapes are built with After Effects shape tools. They include a lime-green circle with no fill and a thick stroke, a thin white rounded rectangle, and a filled red rounded bar designed to communicate a warning.
- The money graphic is an emoji placed at the center of the composition and enhanced with a large drop shadow. Bold white text, dollar amounts, arrows, and warning copy complete the layout before animation begins.
- The money icon enters by moving upward from below through position keyframes. Easy Ease softens the timing between keyframes, and motion blur adds visual smoothness while the object travels into its final position.
- The wing movement is created with Puppet Position Pins placed across the money artwork. Additional pins stabilize the central area, while repeated and adjusted pin keyframes make the wings move without excessively distorting the money icon.
- The circle animation combines scale keyframes with an adjusted anchor point and a duplicated outline. Trim Paths animates the top outline from zero to its completed state, creating the appearance that the circle is being drawn around the icon.
Install to Summarize YouTube Videos and Get Transcripts
Explore YouTube Video Summarizer or Get YouTube Transcript Extractor
Questions & Answers
Q: How do you create an Iman Gadzhi style animation in After Effects?
Create the effect in three stages. First, build a blue radial gradient background and overlay a subtle grid. Second, construct the circle, rounded rectangle, red warning bar, money emoji, dollar amounts, arrows, and warning text. Third, animate the elements with position and scale keyframes, Easy Ease, motion blur, Puppet Position Pins, and Trim Paths.
Q: What composition settings are used for this After Effects animation?
The tutorial starts with a new 4K composition running at 25 frames per second. The background color is set to black, and the composition duration is set to 10 seconds. These settings establish the canvas before the gradient background, grid texture, shape layers, text, money emoji, and animated effects are added.
Q: How do you make the blue gradient background in After Effects?
Create a new solid layer and apply the Gradient Ramp effect from the effects panel. Change the ramp shape to radial, center the gradient, and choose a lighter blue for one color and a darker blue for the other. Keep the difference relatively restrained, then increase Ramp Scatter to make the gradient transition appear smoother.
Q: How do you add the grid texture behind the animation?
Add another solid layer above the gradient background, then apply the Generate Grid effect. Reduce the grid's opacity so it remains subtle rather than dominating the composition. Adjust the corner-related settings until the cells look more square. This produces the textured grid appearance used behind the foreground icon, labels, and warning elements.
Q: How are the circle and rounded interface shapes created?
Use the Ellipse tool while holding Shift to create a true circle. Disable its fill, enable its stroke, choose a lime-green color, and center the shape. Use the Rounded Rectangle tool for the white outlined label and the red warning bar. Adjust stroke width, fill, roundness, size, and alignment for each shape separately.
Q: How do you animate the money icon entering the composition?
Select the money icon and press P to reveal its Position property. Add a keyframe at the final location, move to the beginning, and place the icon lower so it travels upward into view. Select the keyframes and apply Easy Ease, then enable motion blur to make the movement into the composition look smoother.
Q: How do you animate wings with the Puppet Position Pin tool?
Choose the Puppet Position Pin tool and place pins on the wing areas and across the money artwork. Extra pins help keep the center from moving too much while the wings are repositioned. Reveal the generated keyframes by pressing U, apply Easy Ease, copy keyframes where needed, and adjust intermediate wing positions to create repeated flying motion.
Q: How do you animate the circle drawing around the money icon?
First animate the circle's Scale property from zero to its final size and apply Easy Ease. If it grows from the wrong location, move the anchor point with the Pan Behind tool. Duplicate the circle, change the underlying copy to white, add Trim Paths to the top copy, and animate the End value from zero.
Summary & Key Takeaways
-
The project begins with a 4K composition set to 25 frames per second, a black background, and a 10-second duration. A solid layer receives a radial Gradient Ramp with light and dark blue colors. Ramp Scatter smooths the gradient, while a second solid and Grid effect create the textured background.
-
The foreground design combines a lime-green stroked circle, a thin white rounded rectangle, and a filled red rounded bar. Additional elements include a money emoji with a large drop shadow, bold white dollar text, arrows, a ten-thousand-dollar target, and warning copy describing the hardest income level to reach.
-
Animation begins by keyframing the money icon's position so it enters from below, then applying Easy Ease and motion blur. Puppet Position Pins animate the wings while stabilizing the central artwork. Scale keyframes reveal the circle, Trim Paths draw its outline, and the remaining text animation is assigned to a separate tutorial.
Read in Other Languages (beta)
Share This Summary 📚
Summarize YouTube Videos and Get Video Transcripts with 1-Click
Try YouTube Summary with ChatGPT & Claude or YouTube Transcript Generator
Explore More Summaries from TomsProject 📚

Summarize YouTube Videos and Get Video Transcripts with 1-Click
Try YouTube Summary with ChatGPT & Claude or YouTube Transcript Generator