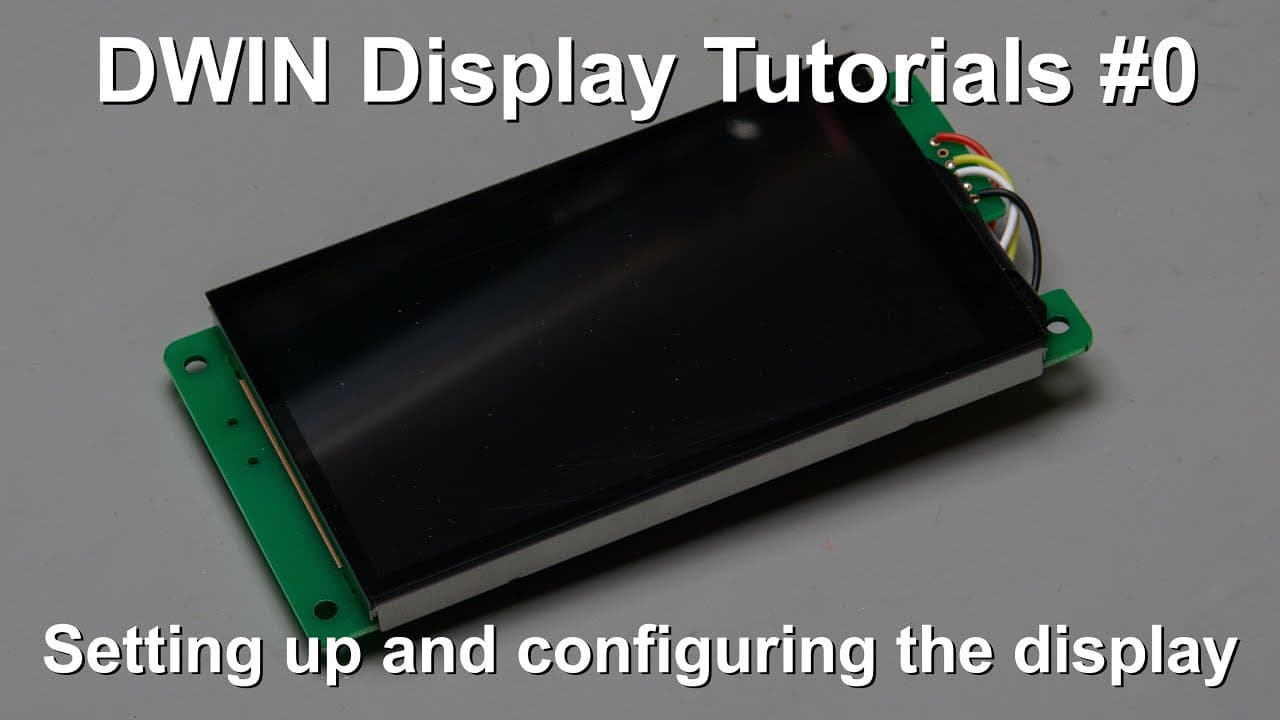
DWIN Display Tutorials #0 - Setting up and configuring the display
TL;DR
Learn how to set up your display device and upload code effectively.
Transcript
welcome everyone in this video I'm going to show you how to configure your divin display and this will allow you to upload your future code for it so this should be basically where you should begin with the display so now you can see that I have already opened the diving digas tool but I will also show you how to get this tool and how to kind of in... Read More
Key Insights
- ❓ Proper installation and configuration of display software are critical for optimal performance.
- 💁 Attention to detail in filename conventions and format settings is essential for effective system integration.
- ❓ The display's functionality can be enhanced by exploring advanced features through software configuration.
- ☠️ Formatting the SD card correctly—FAT32 and under 32GB—is necessary for reliable operation with the display.
- 👻 Developers can support creators by contributing to platforms like Patreon, allowing for further development of tutorials and useful resources.
- ☠️ Clear visibility of changes in configurations, such as baud rate settings, impacts the overall communication between devices.
- 👤 Regularly updating and using tutorials can significantly improve user experience and understanding of the display device.
Install to Summarize YouTube Videos and Get Transcripts
Explore YouTube Video Summarizer or Get YouTube Transcript Extractor
Questions & Answers
Q: What software is required to configure the display device?
The display configuration requires the "Davin Digas" tool, which can be downloaded from Davin's website. The installation process involves downloading a ZIP file, extracting it, and using the executable file provided within the extracted folder.
Q: How do I create a new project in the software?
To start a new project, click the new button in the software, or navigate through the file menu to select 'new'. You'll then need to specify the display resolution based on its orientation (landscape or portrait) and set the file path for saving the project files.
Q: Why is it important to follow filename conventions for the image files?
Following filename conventions, such as starting with "00", is crucial for image recognition and display order. This ensures that multiple images are shown in the correct sequence on the display, allowing for an organized and functional user interface.
Q: What are the key configuration settings to modify before uploading to the display?
Important settings to modify include ensuring the touch-sensitive variable is set to "auto" to receive updates during interactions, setting the baud rate to 9600 for Arduino compatibility, and adjusting display orientation preferences as needed.
Q: How do I format the SD card for use with the display?
Use the command "format /Q [DriveLetter]: /FS:FAT32" in the command line to format the SD card. Make sure to replace [DriveLetter] with the appropriate letter for the connected SD card to avoid accidental formatting of other drives.
Q: What steps should I take to successfully upload files to the display?
After preparing the project files and formatting the SD card, copy all necessary files to the SD card, insert it into the display, and power the display on. The display should automatically recognize and upload the contained files.
Q: What should I do if the display doesn't show the uploaded files correctly?
If the display shows unexpected behavior, double-check the resolution settings, file names, and ensure that files are in the correct format. Additionally, validate that the SD card is functioning properly and that you're using the right configuration settings.
Summary & Key Takeaways
-
The video provides a step-by-step guide on configuring a specific display device, from setup to uploading code, while emphasizing the correct resolutions and configurations necessary for proper functionality.
-
Key steps include downloading necessary software, creating project folders, and ensuring the image and font files are formatted correctly for use with the display, highlighting the importance of filename conventions.
-
The final steps include formatting an SD card for compatibility, transferring files, and successfully powering up the display device, which can then interact with other hardware like an Arduino.
Read in Other Languages (beta)
Share This Summary 📚
Summarize YouTube Videos and Get Video Transcripts with 1-Click
Try YouTube Summary with ChatGPT & Claude or YouTube Transcript Generator
Explore More Summaries from Curious Scientist 📚
![Building a Peltier cooler-based cooling box - First iteration, improvements [Part 2/6] thumbnail](/_next/image?url=https%3A%2F%2Fi.ytimg.com%2Fvi%2F0YlNw0EGnzI%2Fhqdefault.jpg&w=750&q=75)


Summarize YouTube Videos and Get Video Transcripts with 1-Click
Try YouTube Summary with ChatGPT & Claude or YouTube Transcript Generator