How to Build a Coil Winder: Updates and Improvements
TL;DR
To build an effective coil winder, focus on refining mechanics and electronics—such as using version 1.1 of the PCB to fix previous errors. This includes improving the bobbin handling system and offering source code access for custom modifications. The process emphasizes adaptability, user feedback, and open-source collaboration to enhance functionality.
Transcript
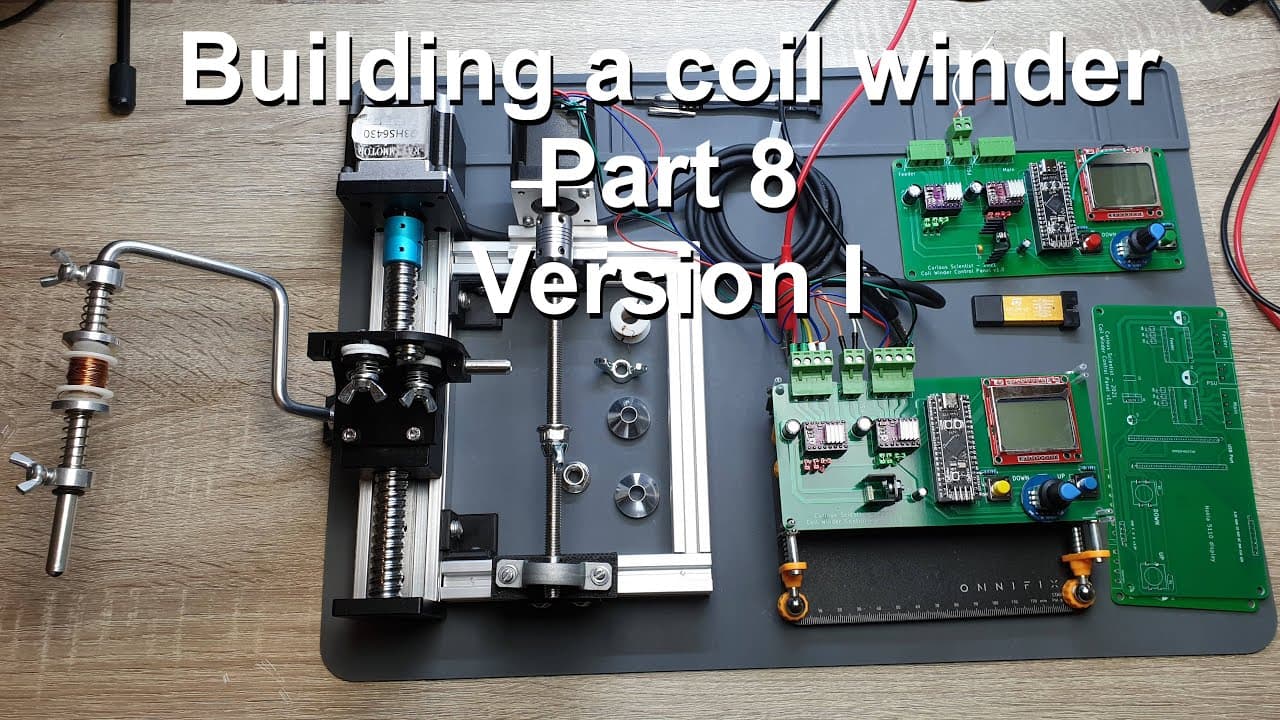
welcome everyone this is the eighth part of my coilbinder building series so i have another big progress or considerable progress so i would like to share the details with you and i would like to show you some new stuff that i have implemented in this stuff so you could see it on my earlier videos that i'm more or less done with the structural part... Read More
Key Insights
- 🦾 The project reflects a meticulous approach to building a coilbinder, ensuring both mechanics and electronics are tuned for optimal performance.
- 😒 The use of advanced microcontrollers like the STM32F401 expands capabilities and handles complex tasks within the coilbinder’s operations effectively.
- 🤗 Emphasizing open-source principles, the creator encourages collaboration by providing access to critical project resources, including code and PCB designs.
- 🦾 The mechanical structure of the coilbinder emphasizes adaptability, showcasing designs tailored for variable bobbin sizes and ensuring stability during operation.
- 🥺 Iterative design processes led to notable improvements with the introduction of PCB version 1.1, aptly correcting previous errors and enhancing functionality.
- 👤 The auto-winding feature directly addresses user experience by allowing post-layer interactions, indicating responsiveness to user feedback.
- 🍝 A systematic approach to addressing potential issues helps in refining project implementation while learning from past oversights.
Install to Summarize YouTube Videos and Get Transcripts
Explore YouTube Video Summarizer or Get YouTube Transcript Extractor
Questions & Answers
Q: What significant updates have been made to the coilbinder project?
The project has seen considerable progress on both the mechanical and electronic aspects. A custom feeder and PCB version 1.1 were developed, addressing previous errors. These improvements ensure the coilbinder can produce aesthetically pleasing coils and operate more efficiently, showcasing overall enhancements in functionality.
Q: How does the new version of the PCB differ from the previous version?
Version 1.1 of the PCB rectifies mistakes from version 1.0, specifically regarding the pinout for the display. It has been redesigned to have better components layout and connectivity, leading to improved functionality without extensive changes to the core components. This redesign minimizes external protrusions of connectors, facilitating neater assembly and operation.
Q: Can you explain the code uploading process for the STM32 microcontroller used in this project?
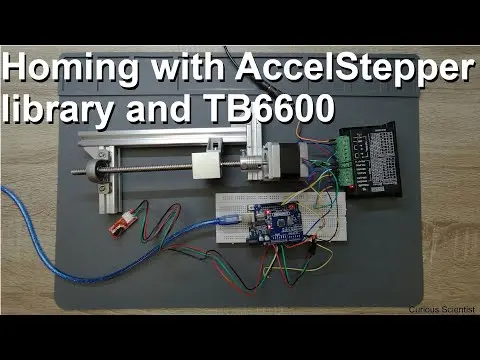
The upload process involves setting up the Arduino IDE to recognize the STM32 microcontroller. Users need to input specific board URLs into the IDE's preferences and install packages for STM32 boards. The code is uploaded via an ST-Link programmer instead of USB, highlighting its specialized setup process, which is more streamlined for advanced microcontroller programming.
Q: What features and functionalities were displayed during the update demonstration?
The update showcased several functionalities: a welcome message on the display, the blinking LED indicating the main loop's operation, a navigation menu for setting parameters like speed and wire diameter, and an innovative auto-winding feature that pauses after each layer. These features enhance user interaction and control during coil binding operations.
Q: What recommendations are made regarding mechanical components used in the coilbinder?
It’s advised to procure several holder cones designed for the bobbin, allowing for versatility in accommodating various internal diameters. This flexibility prevents play and misalignment during operation, ensuring that the bobbin is securely held in place, which is crucial for maintaining coil precision during binding.
Q: What is the significance of sharing the source code and design files?
Sharing the source code and design files allows fellow enthusiasts and builders to replicate or modify the coilbinder project according to their needs. This open-access approach encourages collaboration and innovation in the maker community, ultimately promoting knowledge sharing and advancements in electronics and mechanics.
Q: What errors in the previous PCB caused functionality issues, and how were they rectified?
The previous PCB version had an incorrectly oriented pin layout for the display, causing operational failures while interfacing. The new version corrected this mistake by repositioning the connectors and using clearer pathways for signals. The enhancements ensure stable operations, as the layout now guides proper connections without interference.
Q: How did the project address microcontroller shortages and limitations?
The creator opted for the STM32F401 microcontroller over the more scarce STM32F103 Blue Pill, primarily due to its higher processing power at a lower cost. This strategic choice reflects an adaptation to current market conditions while maintaining project quality and performance, ensuring reliable and effective operations within budget constraints.
Summary & Key Takeaways
-
The creator shares updates on the coilbinder project, highlighting advancement in the structural and electronic parts, including the development of a custom PCB.
-
A new version of the PCB (version 1.1) corrects earlier mistakes and works reliably, showing improvements in mechanical design, especially for bobbin handling and wire feeding.
-
The creator gives insights into coding, specifically how to set up the Arduino IDE for programming a specific microcontroller used in the project, along with detailed source code access.
Read in Other Languages (beta)
Share This Summary 📚
Summarize YouTube Videos and Get Video Transcripts with 1-Click
Try YouTube Summary with ChatGPT & Claude or YouTube Transcript Generator
Explore More Summaries from Curious Scientist 📚
![Building a Peltier cooler-based cooling box - First iteration, improvements [Part 2/6] thumbnail](/_next/image?url=https%3A%2F%2Fi.ytimg.com%2Fvi%2F0YlNw0EGnzI%2Fhqdefault.jpg&w=750&q=75)


Summarize YouTube Videos and Get Video Transcripts with 1-Click
Try YouTube Summary with ChatGPT & Claude or YouTube Transcript Generator