How to Rotoscope Between Premiere and After Effects
TL;DR
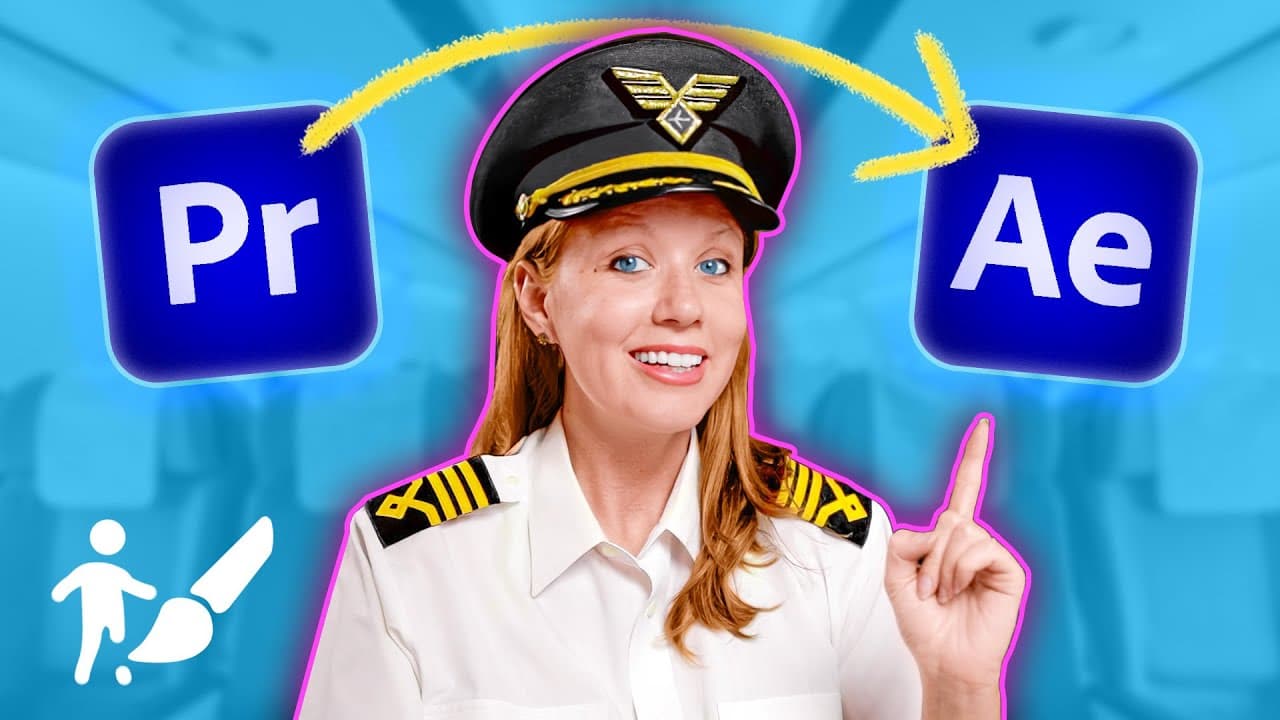
Duplicate the footage in Premiere Pro, replace the upper copy with an After Effects composition, and isolate the subject there with the Roto Brush and Refine Edge tools. Freeze the finished mask, save the project, and return to Premiere, where graphics can be placed between the masked subject and the original footage. Render and Replace can improve choppy playback while preserving an editable backup.
Transcript
Captain gal here reporting for Duty have you ever tried to put Graphics behind your subject in your videos but then you go over to use the masking tool in Premiere Pro and it's just so slow and clunky and then you try to track the mask and then it just doesn't work and it's so slow and well let's not do that don't worry today I'm going to show you ... Read More
Key Insights
- Premiere Pro masking is designed for relatively simple selections, such as roughly following a subject's head. Detailed full-body isolation can be completed more efficiently by sending a duplicated clip to After Effects and using its dedicated Roto Brush workflow.
- Dynamic Link connects the After Effects composition to Premiere Pro, so saved masking changes appear in the editing timeline. Duplicating the footage before creating the link preserves an unmasked lower layer, provides a backup, and establishes the background needed for layered graphics.
- Rotoscoping begins in the After Effects Layer panel, which opens after double-clicking the composition. Green brush strokes identify the foreground subject, while holding Alt or Option produces red strokes that remove unwanted regions from the automatically generated selection.
- Roto Brush propagation works by carrying the initial selection forward as the footage plays. When the boundary becomes unstable, return to the earliest incorrect frame and correct the selection there, teaching After Effects what visual areas should remain inside or outside the subject mask.
- Refine Edge is intended for complicated, partially transparent boundaries such as loose hair or trees. Painting along those areas creates a detailed matte in which white represents included regions and gray represents varying transparency, preserving finer edge detail than the standard selection alone.
- Mask refinement controls can soften edges, increase edge contrast, shift the boundary inward or outward, and reduce visible chatter. Motion blur can smooth fast-moving regions, while edge-color decontamination may improve or worsen a particular shot and should be tested visually.
- Freezing the Roto Brush result prevents the mask from being recalculated whenever the composition plays. This reduces unnecessary processing and helps avoid inconsistent results after the selection and edge settings have been reviewed and approved.
- Render and Replace can make a dynamically linked layer play more smoothly in Premiere Pro. Keeping a disabled duplicate preserves future editability, while choosing QuickTime ProRes 444 retains transparency so the isolated subject does not acquire a rendered black background.
Install to Summarize YouTube Videos and Get Transcripts
Explore YouTube Video Summarizer or Get YouTube Transcript Extractor
Questions & Answers
Q: How do you send Premiere Pro footage to After Effects for rotoscoping?
Duplicate the footage in the Premiere Pro timeline so an unmasked copy remains available beneath the effect. Right-click the upper copy and choose Replace with After Effects Composition. After Effects opens the linked composition, and saving its project turns the Premiere clip into a dynamically linked layer. Any saved masking work performed in After Effects is then reflected in Premiere Pro.
Q: How do you select and correct a subject with the Roto Brush?
Open the linked composition in After Effects, double-click it to enter the Layer panel, and select the Roto Brush. Paint green strokes over the subject so After Effects can estimate the foreground boundary. If unwanted areas enter the selection, hold Alt or Option and paint red strokes over them. Resize the brush when needed to work accurately around narrow or detailed regions.
Q: How do you make a Roto Brush mask track through a clip?
Create a satisfactory selection on the starting frame, then press the space bar so After Effects plays the footage and propagates the mask across subsequent frames. Watch the boundary as it advances. If the selection becomes unstable, pause, return to the earliest frame where the error begins, and correct it with foreground or subtraction strokes before continuing the propagation.
Q: When should you use Refine Edge instead of only Roto Brush?
Use Refine Edge when the subject contains complicated boundaries that the regular Roto Brush cannot represent cleanly, especially moving hair or similarly intricate details such as trees. Paint over the difficult edge to create a more nuanced matte. White areas remain included, while gray areas become partially transparent, allowing fine strands and soft boundaries to survive the cutout more naturally.
Q: How can you improve the edges of a rotoscoped mask?
Open the effect controls for the Roto Brush and Refine Edge tools, then adjust the matte according to the shot. Softness can reduce harsh boundaries, contrast can define the edge, and edge shifting can move the selection inward or outward. Chatter reduction helps blinking boundaries, motion blur smooths moving areas, and edge-color decontamination should be tested because its results vary by footage.
Q: Why should you freeze a Roto Brush mask in After Effects?
Freezing locks the completed mask after its propagation and refinements look correct. Without freezing, After Effects can recalculate the Roto Brush result whenever the footage plays, which may slow the computer and produce inconsistent appearances. The freeze step therefore stabilizes the approved cutout and prevents repeated real-time processing before the project is saved and returned to Premiere Pro.
Q: How do you place graphics behind a rotoscoped subject in Premiere Pro?
Keep the original, unmasked footage on a lower track and place the dynamically linked, masked subject on an upper track. Add the graphic, overlay, or other visual element on a track between those layers. The lower clip supplies the original background, while the upper cutout covers the inserted element wherever the foreground subject should appear in front of it.
Q: How do you improve choppy Dynamic Link playback while keeping transparency?
Duplicate the dynamically linked layer so one copy remains available for later After Effects adjustments, then disable that backup. Apply Render and Replace to the active copy and choose QuickTime ProRes 444, which preserves the transparent portion of the isolated subject. The resulting video file should play more smoothly than the live linked composition, while the disabled duplicate retains an editable route back to the original work.
Summary & Key Takeaways
-
Premiere Pro is suitable for simple masks, but detailed, full-body isolation is faster with the Roto Brush in After Effects. Duplicating the source clip before creating a dynamically linked composition preserves an unmasked background and provides a backup that remains available when the isolated subject returns to the Premiere timeline.
-
Inside the After Effects Layer panel, paint over the subject with the Roto Brush, subtract unwanted selections, and correct frames where tracking becomes unstable. Use Refine Edge for difficult details such as moving hair, then adjust softness, contrast, edge position, chatter reduction, motion blur, and edge-color decontamination as needed.
-
Freeze the approved mask so After Effects stops recalculating it, then save to update the dynamically linked clip in Premiere Pro. Place graphics between the isolated subject and original footage. If playback is choppy, preserve an editable linked copy and use Render and Replace with QuickTime ProRes 444 for transparency.
Read in Other Languages (beta)
Share This Summary 📚
Summarize YouTube Videos and Get Video Transcripts with 1-Click
Try YouTube Summary with ChatGPT & Claude or YouTube Transcript Generator
Explore More Summaries from Premiere Gal 📚
Summarize YouTube Videos and Get Video Transcripts with 1-Click
Try YouTube Summary with ChatGPT & Claude or YouTube Transcript Generator