How to Style HTML with Tailwind CSS Utilities
TL;DR
Tailwind CSS styles webpages by placing utility classes directly on HTML elements, reducing the need to switch between HTML and separate CSS files. Beginners can test it by adding the Play CDN script to an HTML page, previewing changes with Live Server, and combining utilities for color, spacing, flexbox, padding, and cursor behavior.
Transcript
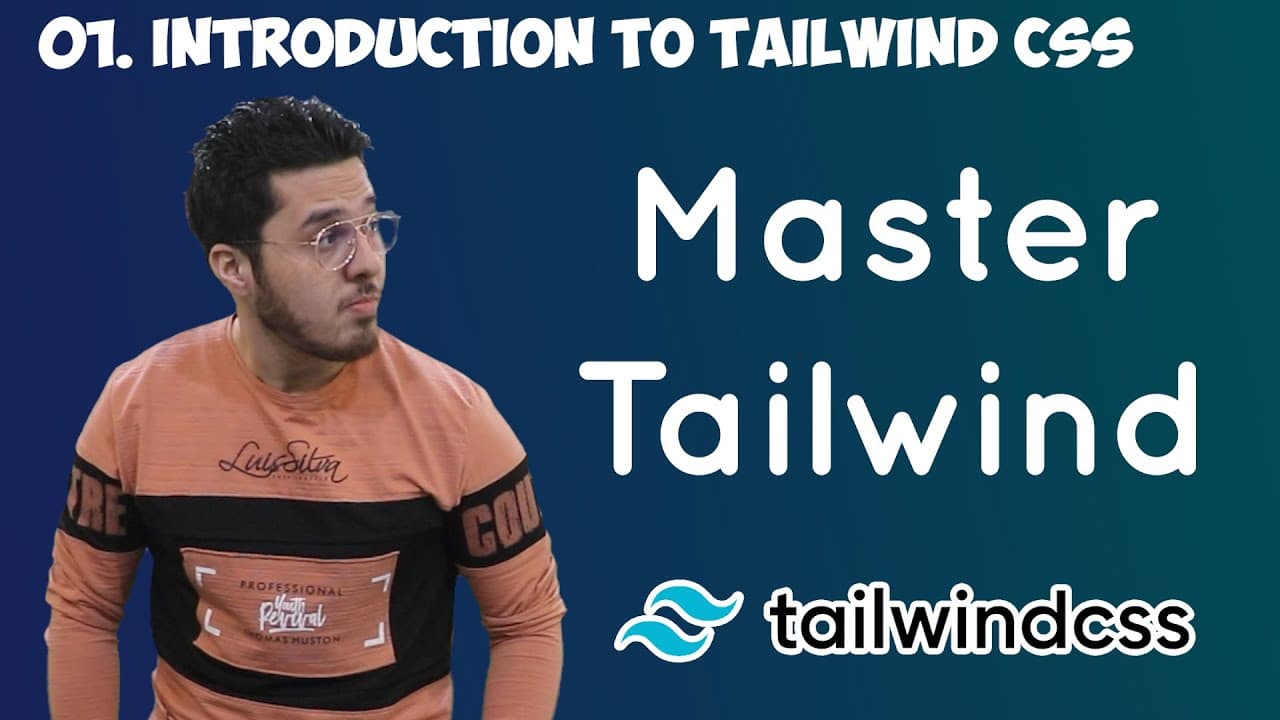
In this video, I will guide you through the entire process of learning Tailwind CSS from start to finish. Tailwind CSS is an utility first framework which allows you to style your HTML pages without leaving your HTML file. The simple explanation of this is that you will have to add some utility classes within the HTML tags., and you can design your... Read More
Key Insights
- Tailwind CSS is a utility-first framework that styles HTML elements through classes placed directly inside their tags. This workflow can eliminate the need to write explicit CSS in a separate file for the demonstrated examples and keeps styling information beside the related markup.
- The traditional workflow separates HTML structure from CSS styling by assigning IDs or classes in HTML and defining their appearance elsewhere. Tailwind changes this process by applying utility classes in the HTML file, reducing repeated movement between files while designing and remapping page elements.
- The Play CDN provides a quick way to begin experimenting with Tailwind CSS. The demonstrated setup copies a script tag from the Tailwind documentation into the HTML head, then uses the Live Server extension to open the page and display saved styling changes.
- Tailwind color utilities combine a property, color, and shade value. The class text-blue-100 produces a light blue appearance, while changing the value to text-blue-900 produces a darker shade, illustrating how a small class-name change immediately alters an element's presentation.
- Tailwind spacing utilities distinguish between horizontal and vertical directions. The examples use mx utilities for x-axis margins, my-12 for vertical margin, px for horizontal padding, and py for vertical padding, while noting that Tailwind does not provide classes for every possible number.
- Flexbox layouts can be created by adding the flex class directly to selected HTML elements. The demonstration makes both the nav element and its unordered list flex containers, allowing the navigation items to be arranged through utility classes without writing a separate flexbox CSS rule.
- Tailwind documentation and editor suggestions reduce the need to memorize utility classes. Documentation search exposes options for properties such as margin, while a properly configured Tailwind CSS extension can suggest available classes after a developer begins entering a class attribute.
- A basic navigation bar can be assembled by combining utilities rather than creating custom CSS rules. The demonstration applies spacing, a purple background, white text, flexbox behavior, and cursor-pointer to Home, About, and Contact items, showing how utilities build up the final design.
Install to Summarize YouTube Videos and Get Transcripts
Explore YouTube Video Summarizer or Get YouTube Transcript Extractor
Questions & Answers
Q: What is the utility-first workflow in Tailwind CSS?
The utility-first workflow styles an HTML element by adding focused classes directly to its class attribute. Instead of defining an ID or custom class in HTML and then opening a separate CSS file to write the corresponding rules, the developer combines utilities for properties such as color, spacing, layout, and cursor behavior beside the element's markup.
Q: How can beginners test Tailwind CSS with the Play CDN?
Create an index.html file with the standard HTML boilerplate, open the Tailwind documentation, select Get Started and then Play CDN, and copy the provided script tag into the page's head element. Add Tailwind utility classes to HTML elements, save the file, and use the Live Server extension in Visual Studio Code to preview the result in a browser.
Q: Why did the text-blue class fail in the demonstration?
The class failed because text-blue was not the correct utility name used in the example. It was replaced with text-blue-100, which displayed a light blue color. Changing the value from 100 to 900 then produced a visibly darker blue, demonstrating that the shade value is an essential part of the color utility class.
Q: How does Tailwind CSS reduce switching between files?
Tailwind places styling utilities in the HTML class attributes, so developers can inspect and adjust an element's appearance without repeatedly leaving the HTML file for a separate CSS file. In the traditional workflow described, developers create HTML and CSS files, map IDs and classes between them, and move back and forth while designing the page.
Q: How can a navbar be created with Tailwind CSS utilities?
Start with a nav element containing an unordered list and list items such as Home, About, and Contact. Add flex to the nav and the unordered list to create flex containers. Then combine utilities for horizontal or vertical spacing, padding, a purple background, white text, and cursor-pointer to produce a simple styled navigation bar.
Q: Do developers need to memorize every Tailwind CSS class?
Developers do not need to memorize every class according to the tutorial. They can search the Tailwind documentation for a property such as margin and review the supported utilities. After Tailwind is installed and the editor extension is configured properly, class suggestions can also appear while entering a class attribute, including suggestions related to flexbox.
Q: What is the difference between mx, my, px, and py utilities?
The demonstrated naming pattern uses x for the horizontal axis and y for the vertical axis. An mx utility applies horizontal margin, while my-12 applies vertical margin. Similarly, px represents horizontal padding and py represents vertical padding. The tutorial corrects cases where the wrong axis or spacing type was initially selected while styling the navbar.
Q: What tools and editor settings are used in the Tailwind tutorial?
The tutorial uses Visual Studio Code to open the project folder and edit index.html. It installs Live Server to preview the page and discusses a Tailwind CSS extension for class suggestions after proper setup. It also enables editor mouse-wheel zoom and Screen Cast mode, with the vertical offset set to 0 so entered commands appear at the bottom.
Summary & Key Takeaways
-
Tailwind CSS follows a utility-first workflow in which developers add small styling classes directly to HTML tags. This keeps structure and presentation visible in one file, reduces movement between HTML and CSS files, and makes an element's applied design easier to recognize while reading its markup during development.
-
A beginner can experiment without installing Tailwind locally by copying the Play CDN script from the Tailwind documentation into the HTML head. The tutorial uses Visual Studio Code and Live Server to preview changes, demonstrating color utilities such as text-blue-100 and text-blue-900 on a simple heading.
-
The navbar demonstration combines semantic HTML with utilities for flexbox, margins, padding, colors, and pointer behavior. Tailwind documentation helps confirm available spacing values, while a properly configured Tailwind CSS extension can suggest valid classes. The course later plans to cover production installation, IntelliSense, engine concepts, and real-world projects.
Read in Other Languages (beta)
Share This Summary 📚
Summarize YouTube Videos and Get Video Transcripts with 1-Click
Try YouTube Summary with ChatGPT & Claude or YouTube Transcript Generator
Explore More Summaries from CodeWithHarry 📚





Summarize YouTube Videos and Get Video Transcripts with 1-Click
Try YouTube Summary with ChatGPT & Claude or YouTube Transcript Generator