How to Automate Flask Docker CI/CD with GitHub
TL;DR
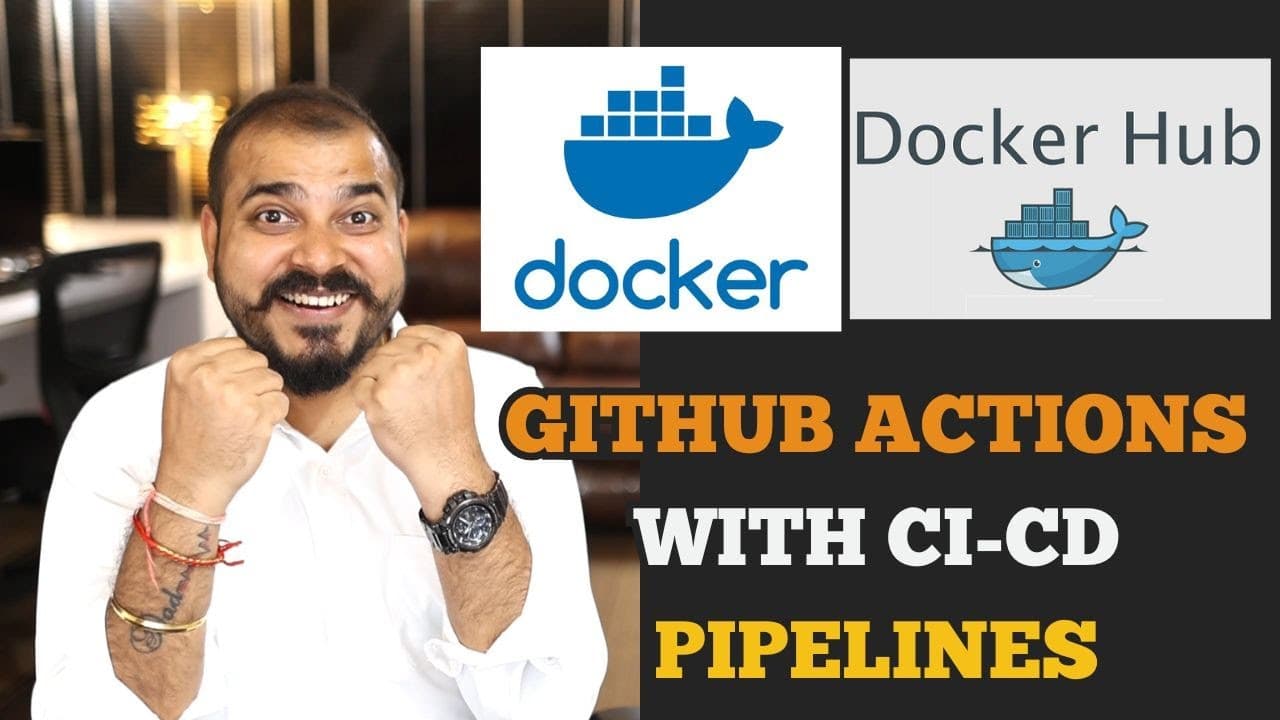
Pushes to the main branch can automatically test a Flask application, build it as a Docker image, and publish the validated image to Docker Hub. The workflow uses GitHub Actions, pytest, Docker Buildx, and repository secrets for the Docker Hub username and password or generated token, eliminating manual deployment activity.
Transcript
hello all my name is krishn and welcome to my YouTube channel so first of all guys a very Happy Teachers Day to everyone of you out there in this particular video we're going to continue the discussion with respect to GitHub actions we're going to develop an amazing endtoend project with an automated workflow wherein we develop a flask application ... Read More
Key Insights
- The automated workflow is triggered whenever changes are pushed to the main branch, connecting repository updates directly to application testing, Docker image creation, and Docker Hub publication without requiring manual deployment activity after each qualifying code change.
- Continuous integration is implemented through a build-and-test stage that runs unit tests and prepares the application artifact. The process is intended to validate the Flask project and its Docker image before the workflow advances to continuous deployment.
- Continuous deployment is responsible for publishing the validated Docker image to Docker Hub. Docker Hub serves as the image repository from which users can pull the published image and execute it locally when Docker is installed.
- GitHub repository secrets protect the Docker Hub credentials required by the workflow. The configuration uses a Docker username and a Docker password, with the password represented by a token generated through Docker Hub rather than written directly into project files.
- The project structure includes requirements.txt, app.py, a test-prefixed Python file, a Dockerfile, .gitignore, and a CI/CD YAML file inside the .github/workflows directory. Each file supports application development, testing, containerization, version control, or workflow automation.
- Pytest discovers unit-testing resources when file or folder names begin with test. The tutorial therefore creates a test_app.py file for the Flask application's unit tests and includes pytest alongside Flask in the project's requirements.txt file.
- A separate Conda environment isolates the Python dependencies used by the project. The demonstrated setup creates a VNV environment with Python 3.10, activates it, installs requirements.txt, and excludes the VNV directory through .gitignore before committing the repository.
- Docker Buildx supports the image-building stage in the GitHub Actions workflow. The workflow checks out the source code, configures Buildx, authenticates with Docker Hub, builds from the specified Dockerfile, and pushes the resulting image to the configured repository.
Install to Summarize YouTube Videos and Get Transcripts
Explore YouTube Video Summarizer or Get YouTube Transcript Extractor
Questions & Answers
Q: How do you automate Flask Docker deployment with GitHub Actions?
Create a Flask project with its dependencies, unit tests, Dockerfile, and a YAML workflow under .github/workflows. Configure the workflow to run when changes are pushed to the main branch. It should check out the code, test and build the application, configure Docker Buildx, authenticate with Docker Hub through repository secrets, build the Docker image, and push that image to the configured Docker Hub repository.
Q: What files are needed for the Flask Docker CI/CD project?
The demonstrated project uses requirements.txt for Flask and pytest dependencies, app.py for the Flask application, test_app.py for unit tests, a Dockerfile for constructing the container image, and .gitignore for excluding the local VNV environment. It also uses a CI/CD YAML file inside .github/workflows to define the automated GitHub Actions process that tests, builds, authenticates, and publishes the image.
Q: Why should unit tests run before publishing a Docker image?
Unit tests provide a validation step before continuous deployment publishes the application image. In the demonstrated workflow, building and testing form the continuous integration stage. The Docker image is created and validated as part of that process, and deployment follows only after the earlier work succeeds. This sequence helps keep testing, image creation, and Docker Hub publication inside one automated developer workflow.
Q: How does pytest find the Flask application's unit tests?
Pytest identifies testing resources through names that begin with test, according to the tutorial. The project therefore creates a file named test_app.py and places the Flask application's unit-testing code there. Pytest is also added to requirements.txt alongside Flask, ensuring that the testing library is installed when the project's dependencies are installed in the environment or processed by the automated workflow.
Q: How are Docker Hub credentials used securely in GitHub Actions?
The Docker Hub username and password are created as secret values for the automated deployment workflow. The password is represented by a token generated through Docker Hub. GitHub Actions uses these stored secrets during its Docker Hub login step, so the workflow can authenticate before pushing the image without placing the username or authentication token directly inside the application's tracked project files.
Q: What happens when code is pushed to the main branch?
A push event to the main branch triggers the GitHub Actions workflow. The workflow checks out the repository code, prepares the Docker building capability with Buildx, logs into Docker Hub, and builds the image using the specified Dockerfile. It then pushes the resulting Docker image under the configured Docker Hub username and repository, automating the path from a repository change to image publication.
Q: Why create a separate Conda environment for the Flask project?
A separate environment is presented as a good practice for each project. The tutorial creates a VNV Conda environment using Python 3.10, activates it, and installs the packages listed in requirements.txt. Because the environment directory should not be committed to GitHub, VNV is added to .gitignore while the application, tests, Dockerfile, workflow configuration, and other required project files remain available for version control.
Q: How can users run the image after it is pushed to Docker Hub?
Once the workflow publishes the image to Docker Hub, users can pull that Docker image from the repository and execute it on their local machine. The stated requirement is that Docker must already be installed locally. Docker Hub therefore serves as the public image repository used for distribution after GitHub Actions has completed the automated testing, building, authentication, and image-pushing stages.
Summary & Key Takeaways
-
The project begins with a simple Flask application, a requirements file containing Flask and pytest, unit tests in a test-prefixed Python file, a Dockerfile, a gitignore file, and a GitHub Actions YAML workflow. A separate Conda environment is created for the project, while its VNV folder is excluded from version control.
-
Continuous integration runs when code is pushed to the main branch. The workflow checks out the repository, builds and tests the application, and creates the Docker image only as part of the validated process. Pytest discovers test files whose names begin with test, helping verify the Flask application before the deployment stage proceeds.
-
Continuous deployment logs into Docker Hub with credentials stored as GitHub repository secrets, builds the image through the specified Dockerfile using Docker Buildx, and pushes it under the configured username and repository. After publication, anyone with Docker installed can pull the image and execute the container on a local machine.
Read in Other Languages (beta)
Share This Summary 📚
Summarize YouTube Videos and Get Video Transcripts with 1-Click
Try YouTube Summary with ChatGPT & Claude or YouTube Transcript Generator
Explore More Summaries from Krish Naik 📚
Summarize YouTube Videos and Get Video Transcripts with 1-Click
Try YouTube Summary with ChatGPT & Claude or YouTube Transcript Generator