How to Install the Glasp Browser Extension & Start Highlighting the Web
Feb 05, 2026
8 min read
1516 views
Glasp is a free browser extension that lets you highlight web articles, PDFs, and Kindle books—and save your highlights in one place.
Instead of losing important ideas across tabs and platforms, Glasp helps you collect, organize, and export what you read into tools like Notion, Obsidian, or Markdown files.
In this guide, you’ll learn how to install the Glasp browser extension and start highlighting in just a few minutes.
Step 1: Sign up for Glasp
Create your free Glasp account to start highlighting and saving what you read.
Open your preferred browser (Chrome, Brave, Safari, or Microsoft Edge).
Go to glasp.co.
Click Sign up in the top-right corner.
Sign up using Google or Apple.
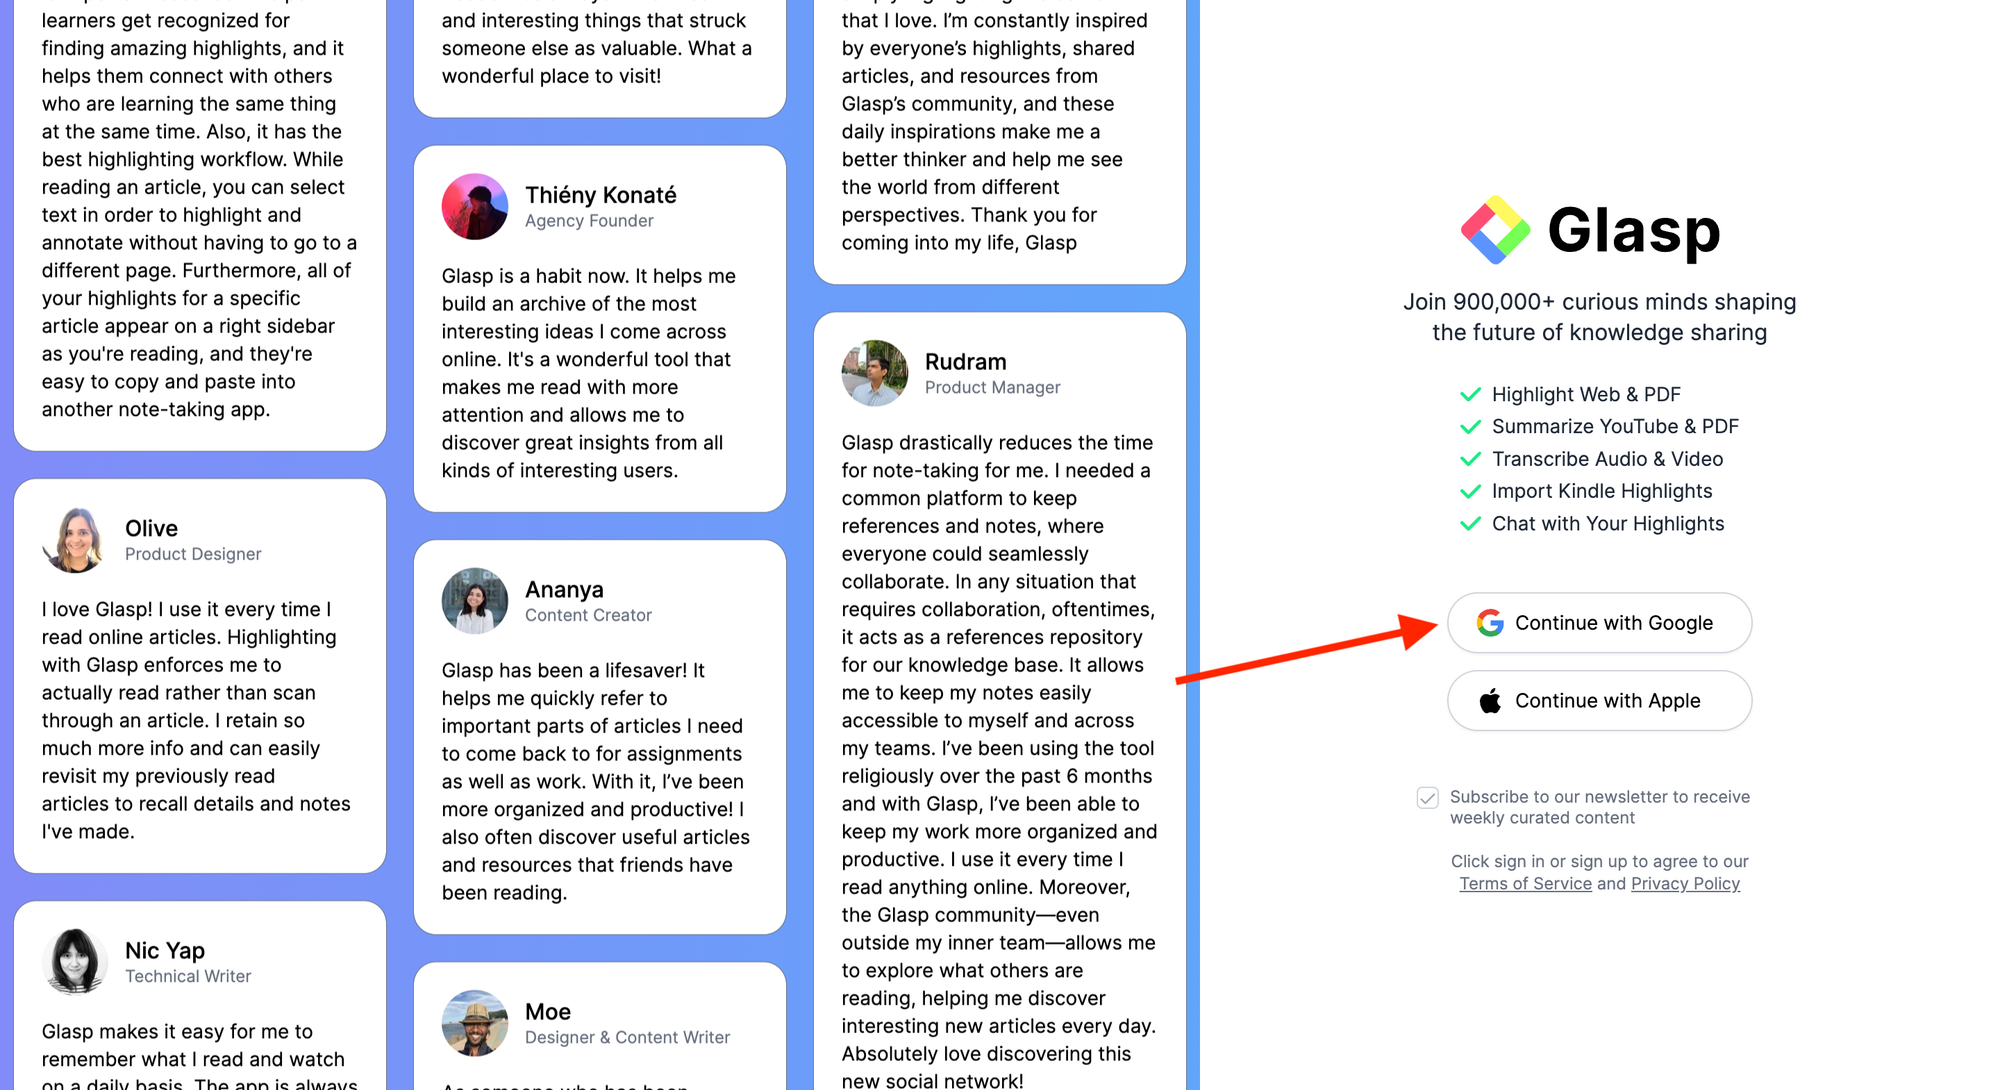
💡 If you’re not using an iPhone or iPad, we recommend signing up with Google.
Step 2: Install the Glasp Browser Extension
Install the Glasp browser extension to start highlighting directly on web pages, PDFs, and Kindle books.
Glasp works on Chrome, Edge, Safari, and other Chromium-based browsers.
Open the Glasp extension page for your browser:
Click Add to Chrome or Add to Safari.
Confirm the installation when prompted by your browser.
Once installed, you’ll see the Glasp icon in your browser toolbar.
💡 If you don’t see the Glasp icon, open your browser’s extensions menu and pin Glasp for easy access.

Step 3: Go to your Glasp profile page
After installing the Glasp extension and signing in, open your profile page to manage your highlights and notes.
Click the Glasp icon in your browser toolbar to open the extension.
Click the Profile icon (your avatar) in the top-right corner.
Your Glasp profile page will open in a new tab.
💡 Your profile page is where your highlights and notes are saved and organized.
Step 4: Start highlighting on a web page
Once the Glasp extension is installed, you can start highlighting any web page you read.
Open any article or blog post on the web.
Select the text you want to highlight.
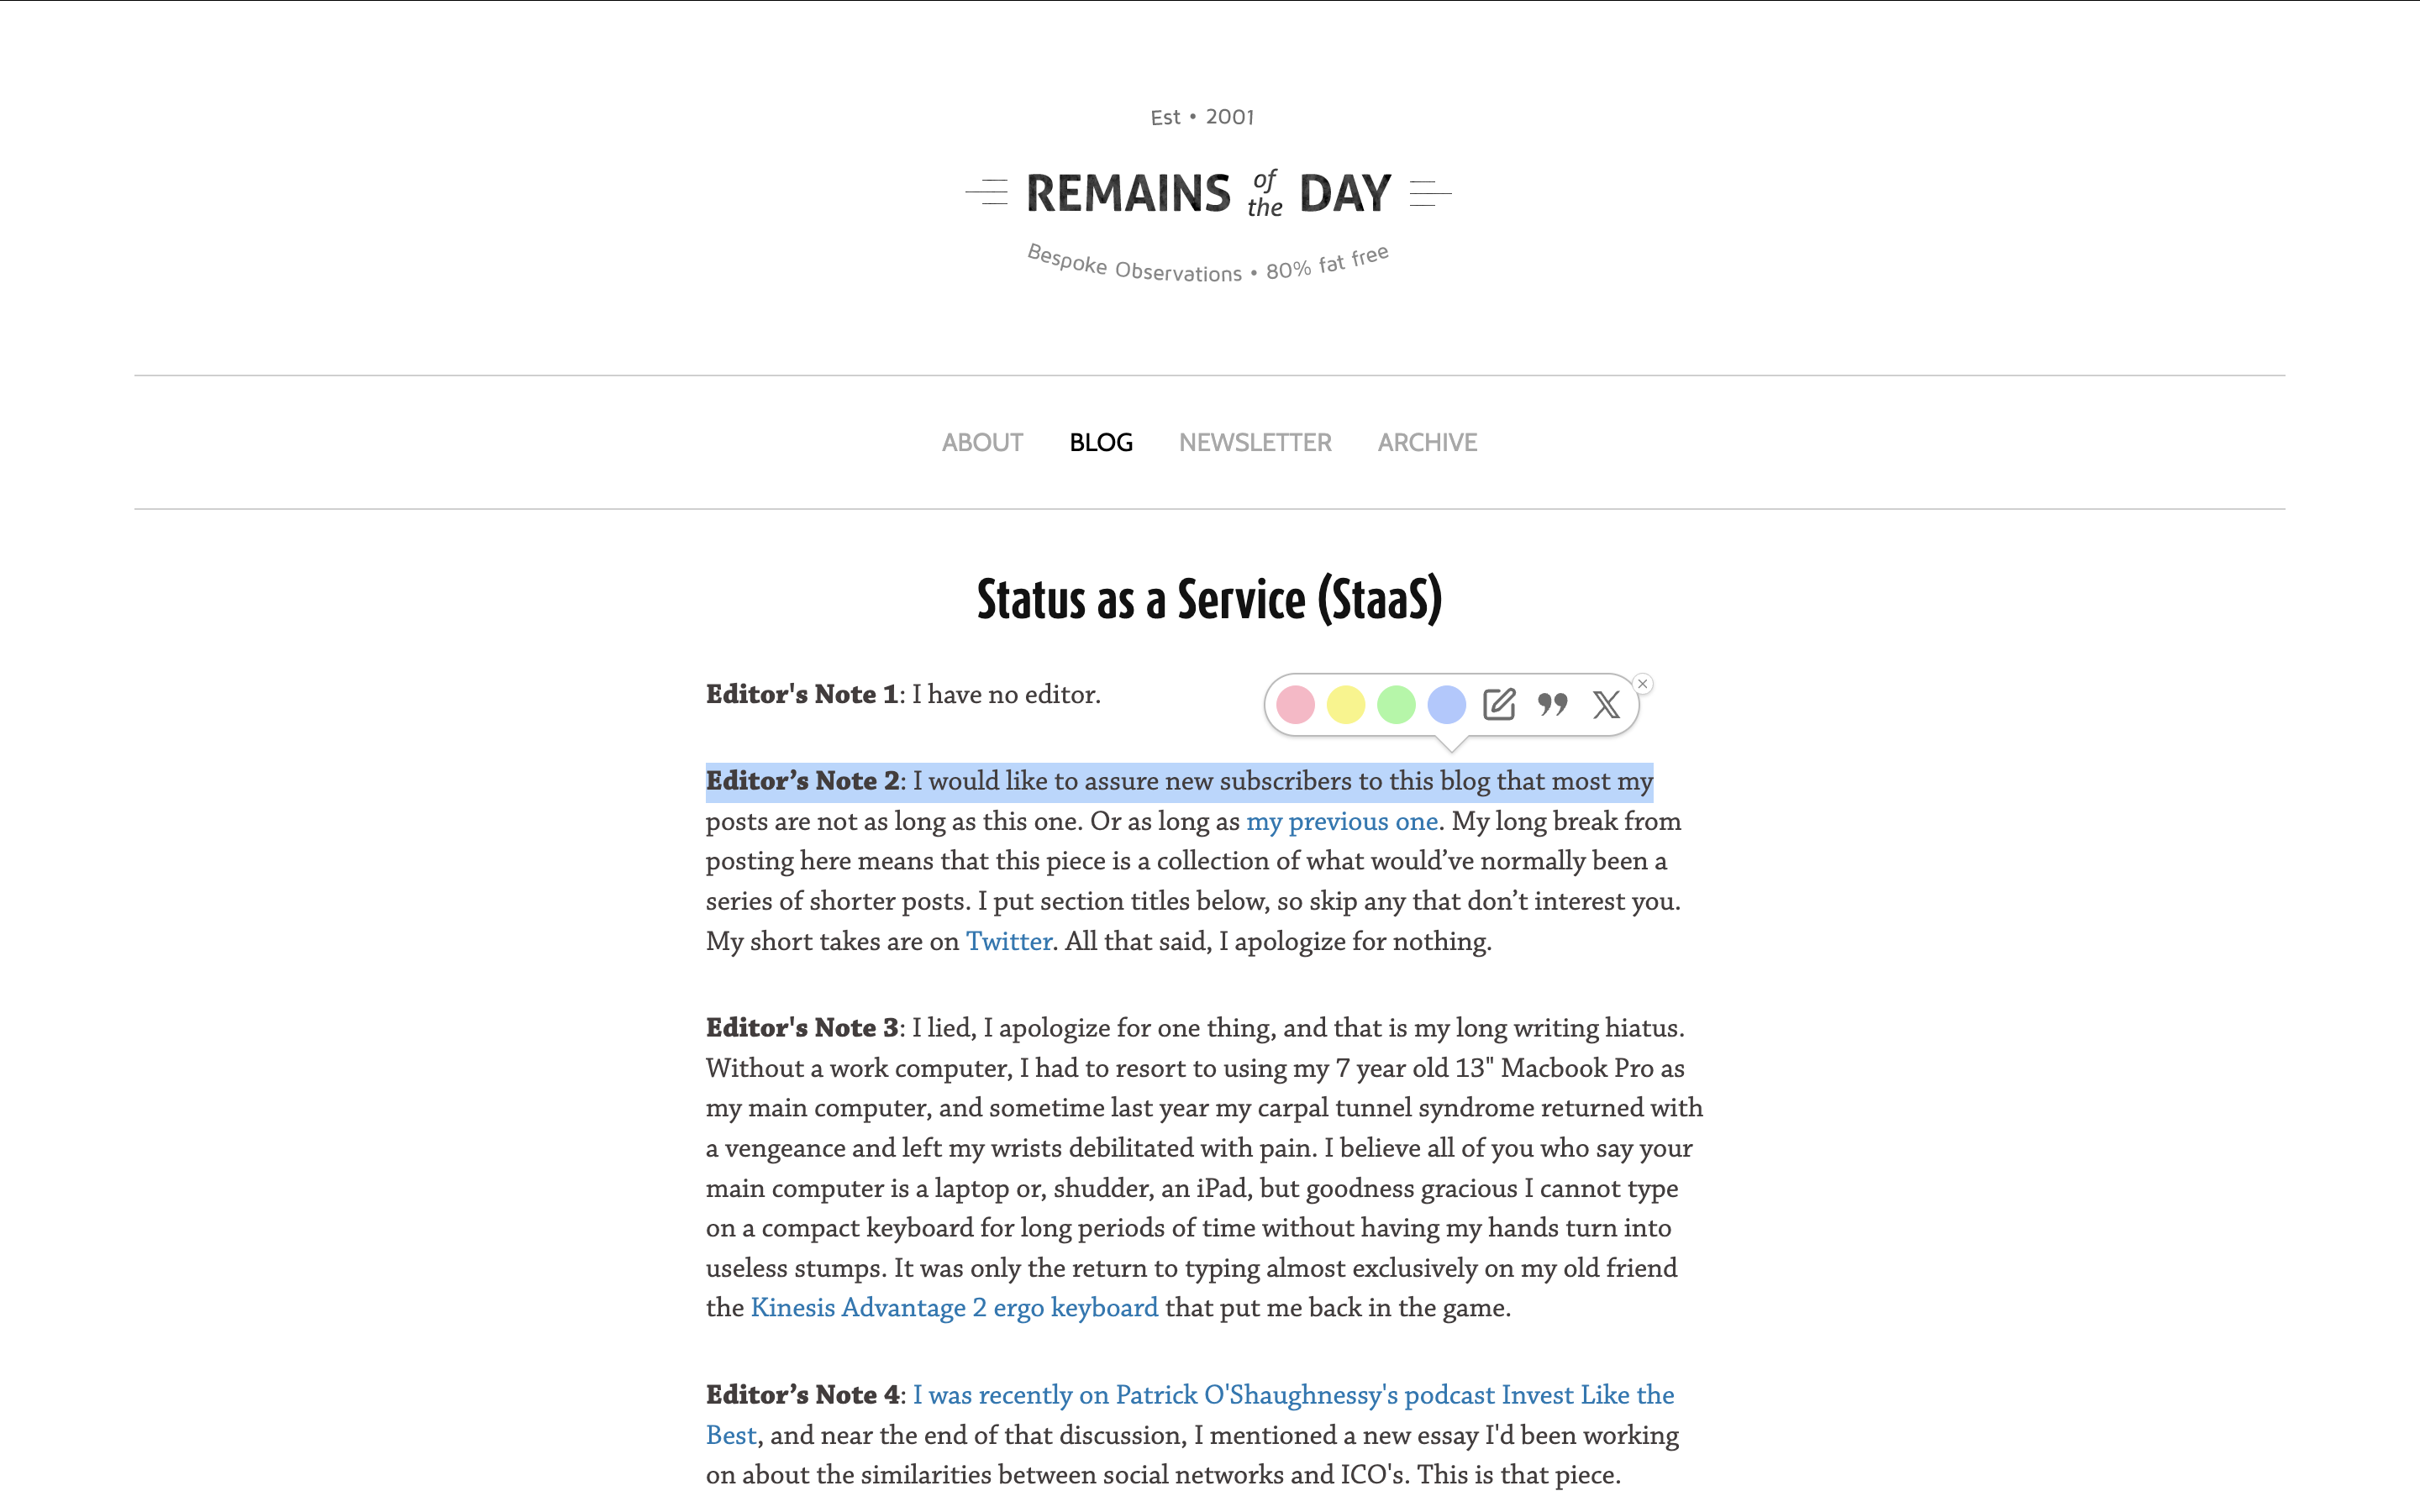
Choose a highlight color from the Glasp popup.
The highlighted text is saved automatically to your Glasp profile.
You can also add notes or comments to your highlights to capture your thoughts while reading.
💡 All highlights you create on web pages will appear on your Glasp profile page automatically.
Step 5: Review your highlights on your profile page
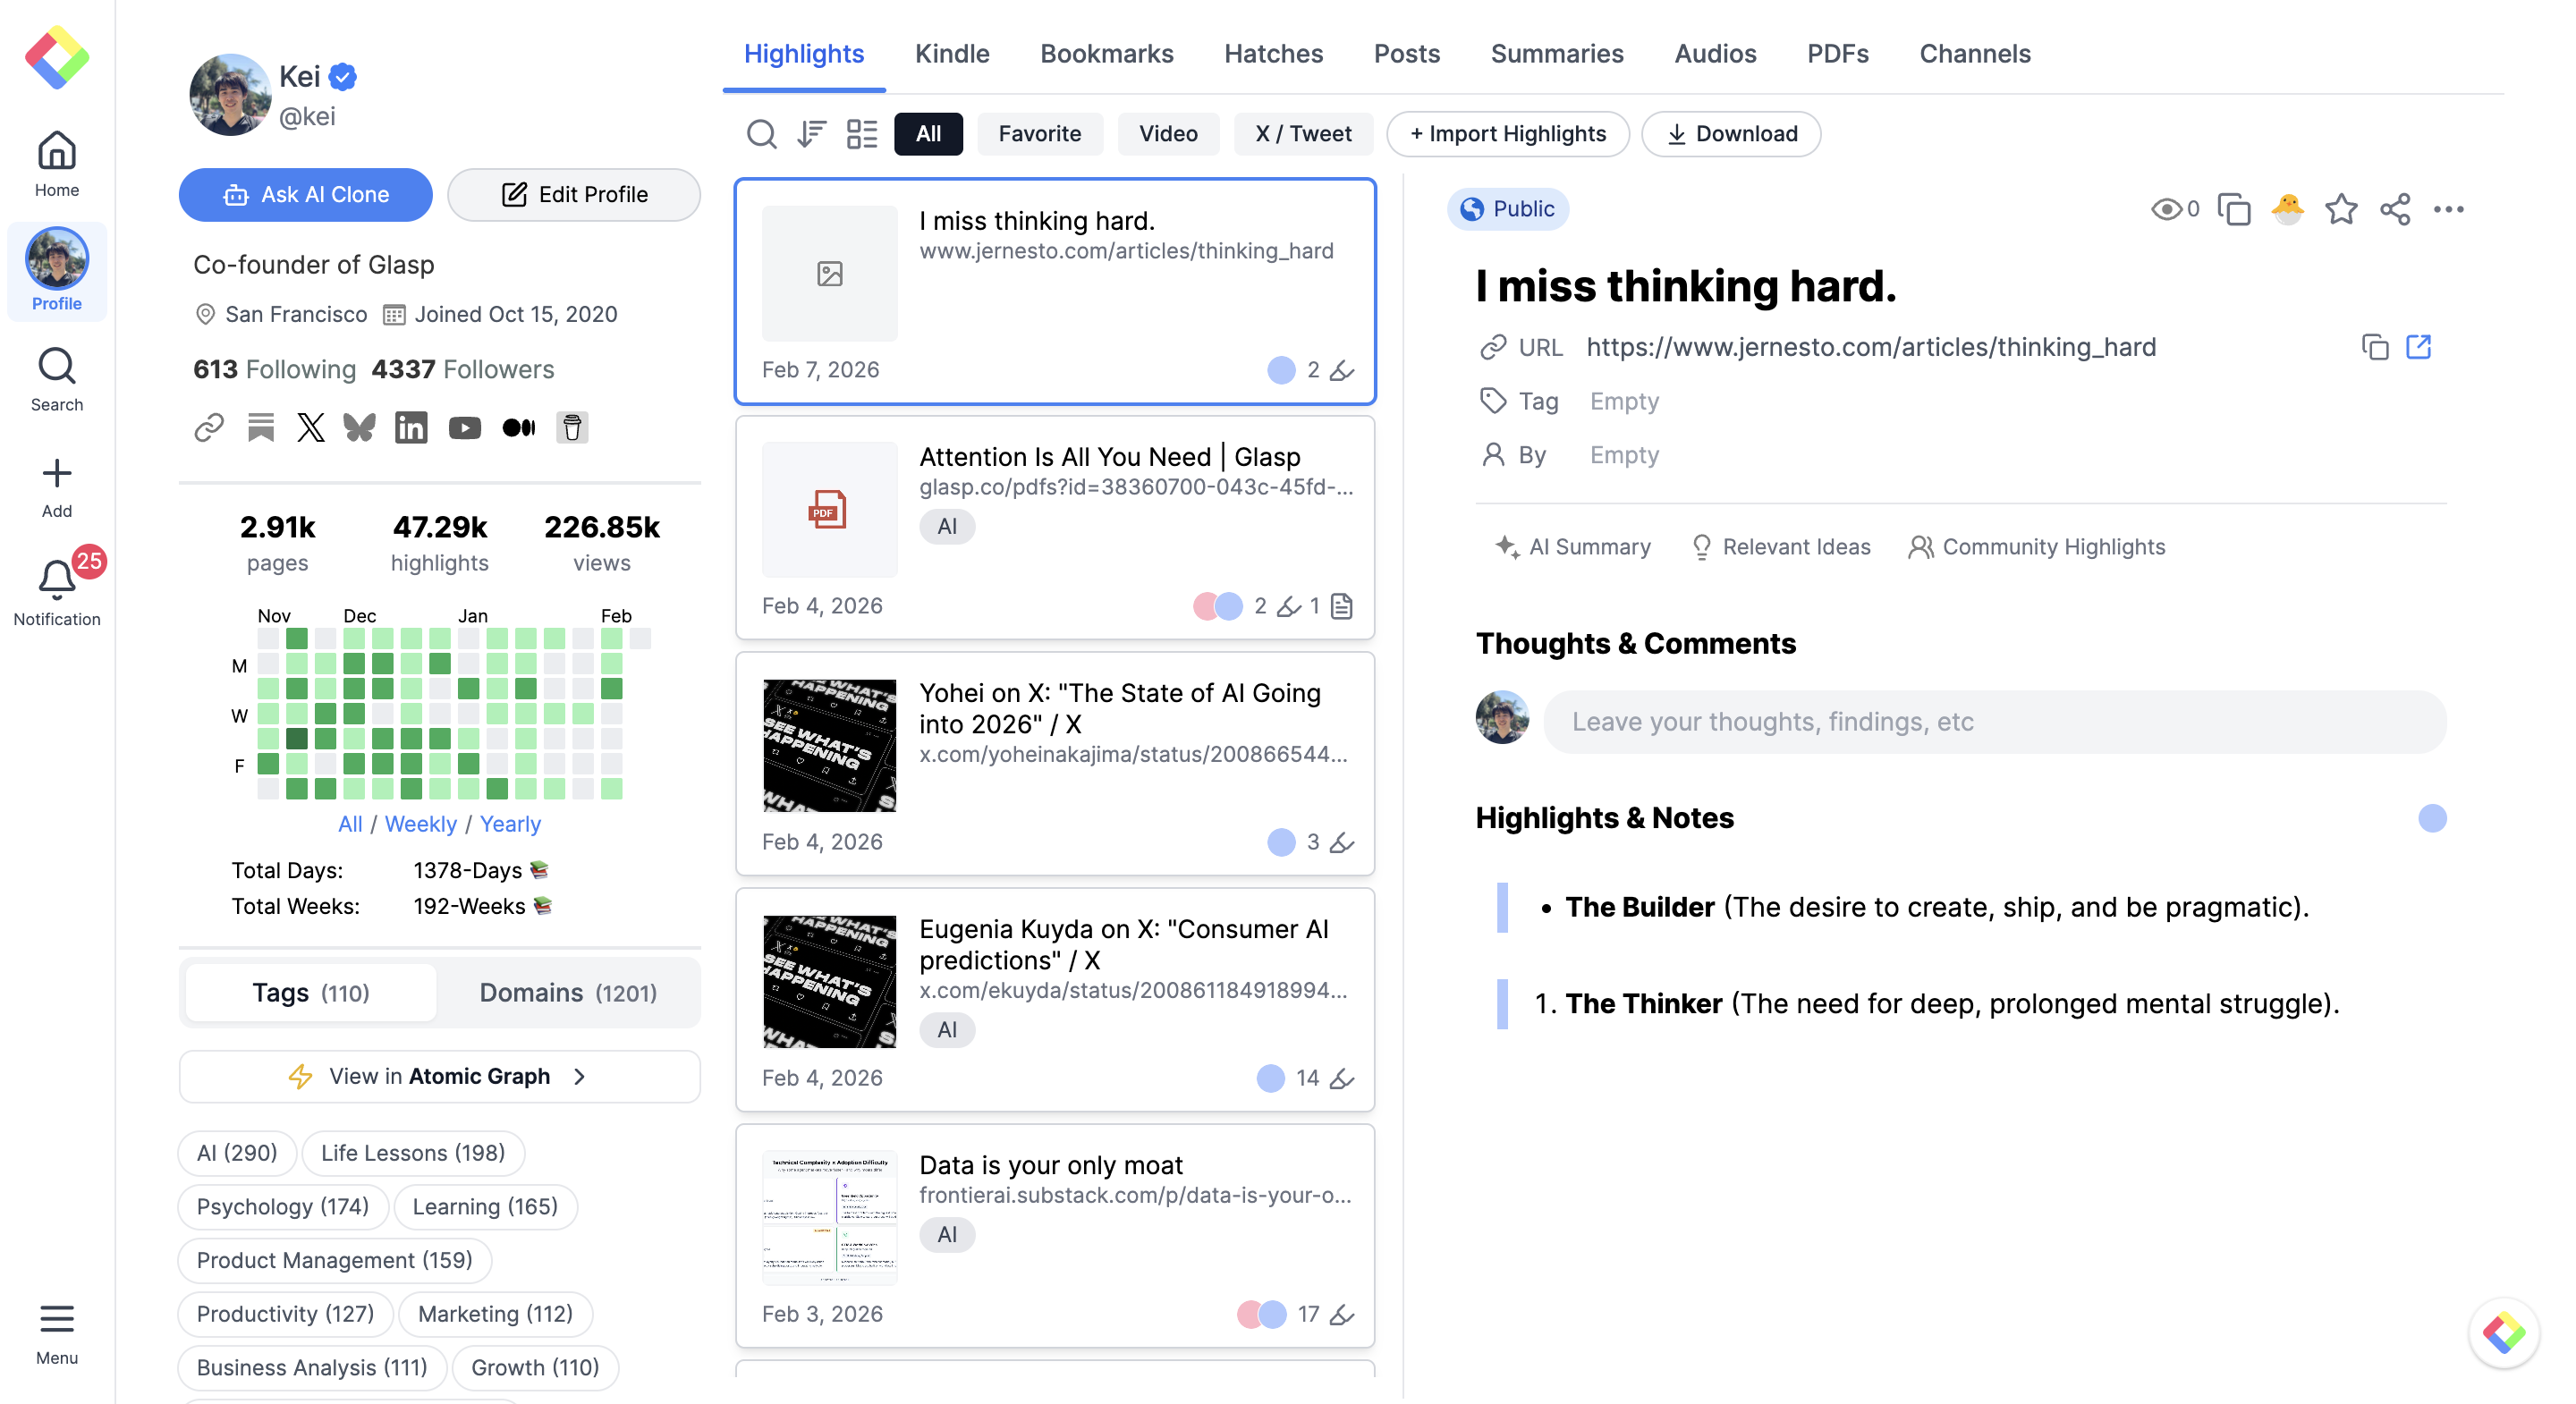
After highlighting a web page, return to your Glasp profile page to review your saved highlights.
Open your Glasp profile page.
Refresh the page to make sure your latest highlights are displayed.

Find the article you just highlighted.
Your highlights are saved automatically, so you don’t need to click a save button.
💡 If you don’t see your highlights right away, try refreshing the page.
Step 6: Add notes, comments, and tags to organize your highlights
Once your highlights are saved, you can add context and structure to them on your profile page.
Add notes to a highlight
Open an article on your Glasp profile page.
Find the highlight you want to add a note to.
Click the Add/Edit Note icon.
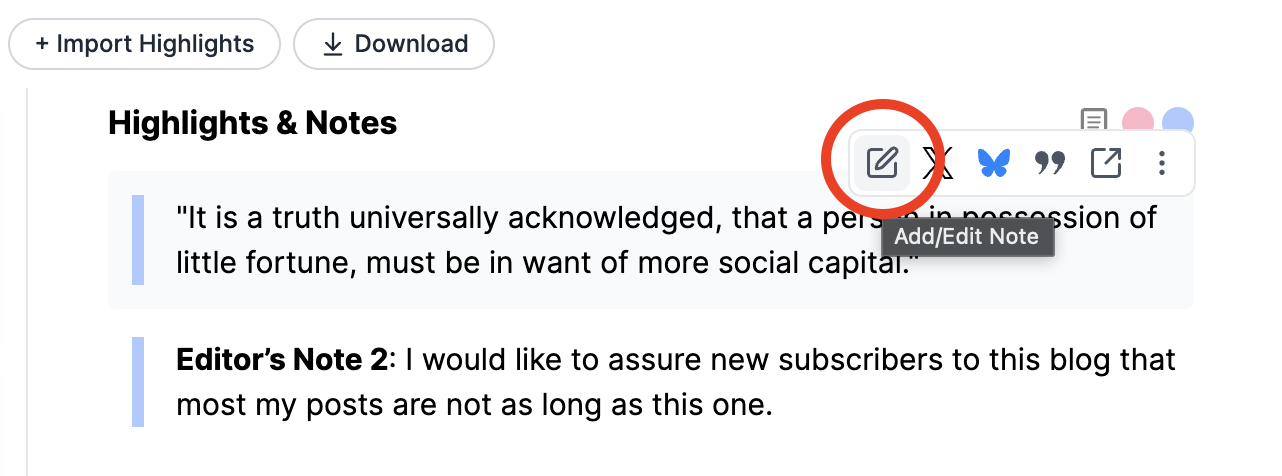
Write your note to capture your thoughts or key takeaways.
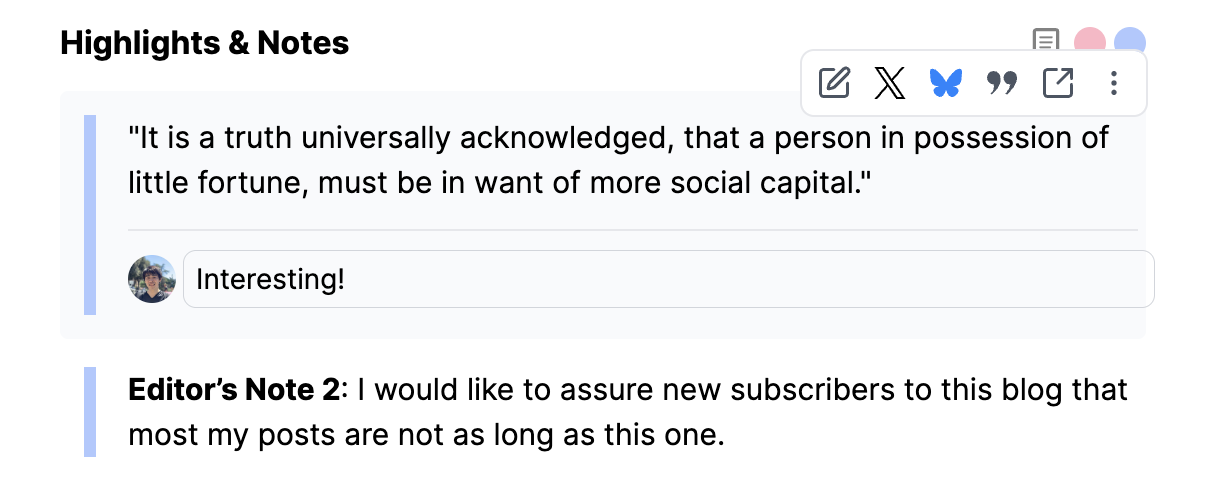
Your note will be saved automatically and attached to that highlight.
💡 You can also add notes directly from the Glasp extension sidebar while reading.
Add a page comment to an article
Open the highlighted article on your Glasp profile page.
Find the Thoughts & Comments section at the top of the page.
Click the input field labeled “Leave your thoughts, findings, etc.”
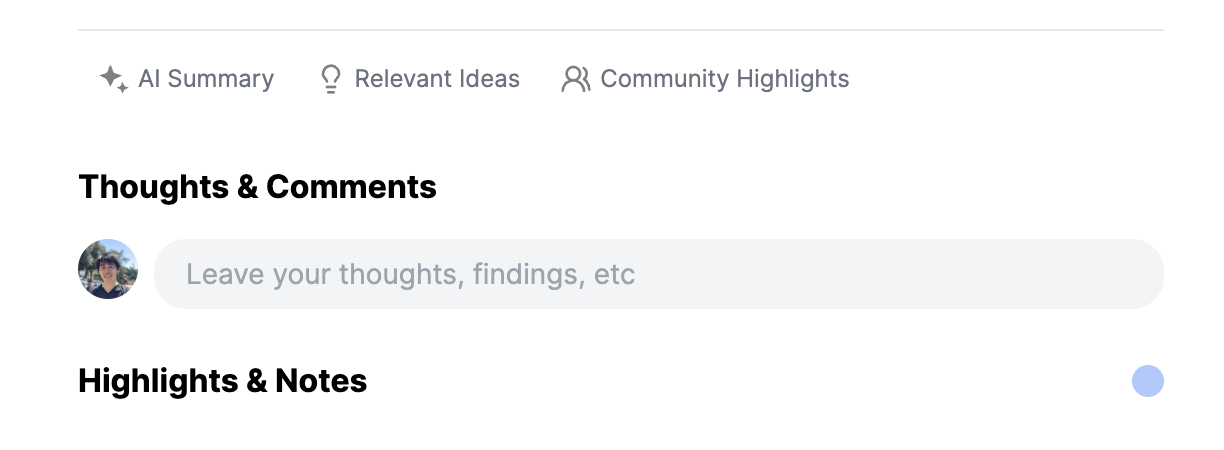
Write your overall thoughts or summary about the article.

Your page comment applies to the entire article, not individual highlights.
💡 Page comments can be added from both your profile page and the extension sidebar.
Add tags (category tags) to an article
You can add tags to a highlighted article from your Glasp profile page to categorize and organize your highlights.
Open the highlighted article on your Glasp profile page.
Find the Tag field below the article title.
Add one or more tags to categorize the article.

You can add tags manually or use AI-powered suggestions.
Use auto-tag suggestions (AI-powered)
Glasp can automatically suggest tags based on the content of your highlights.
Review the suggested tags and add the ones you want with one click.

Tags help you group related highlights and find them easily later.
💡 Tags can be added or edited from your profile page or directly from the extension sidebar.
Step 7: Manage your highlights and articles
You can manage your highlights and articles directly from your Glasp profile page.
Delete a highlight
You can delete an individual highlight in two different ways.
Both methods remove only the selected highlight.
Option 1: Delete a highlight from the popup
Hover over a highlight.
Click the × (remove) button in the popup.
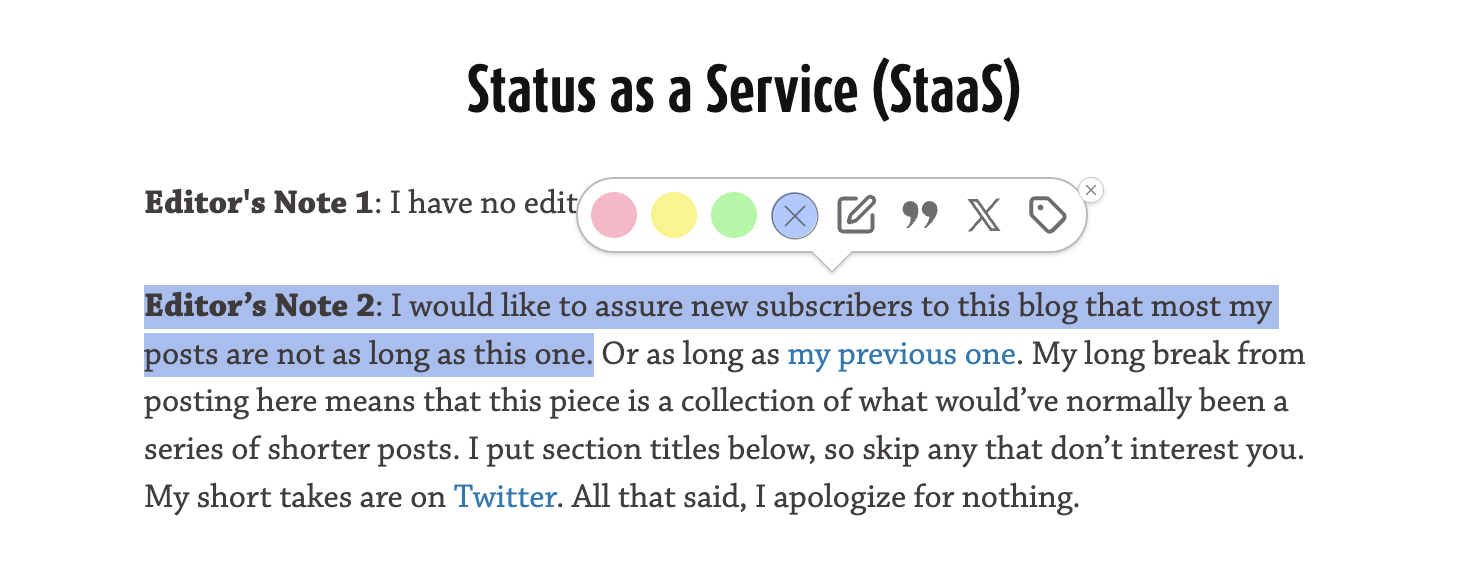
This immediately removes the selected highlight.
Option 2: Delete a highlight from the menu
Open the highlighted article on your Glasp profile page.
Click the More options (⋯) menu on the highlight.
Select Delete Highlight.
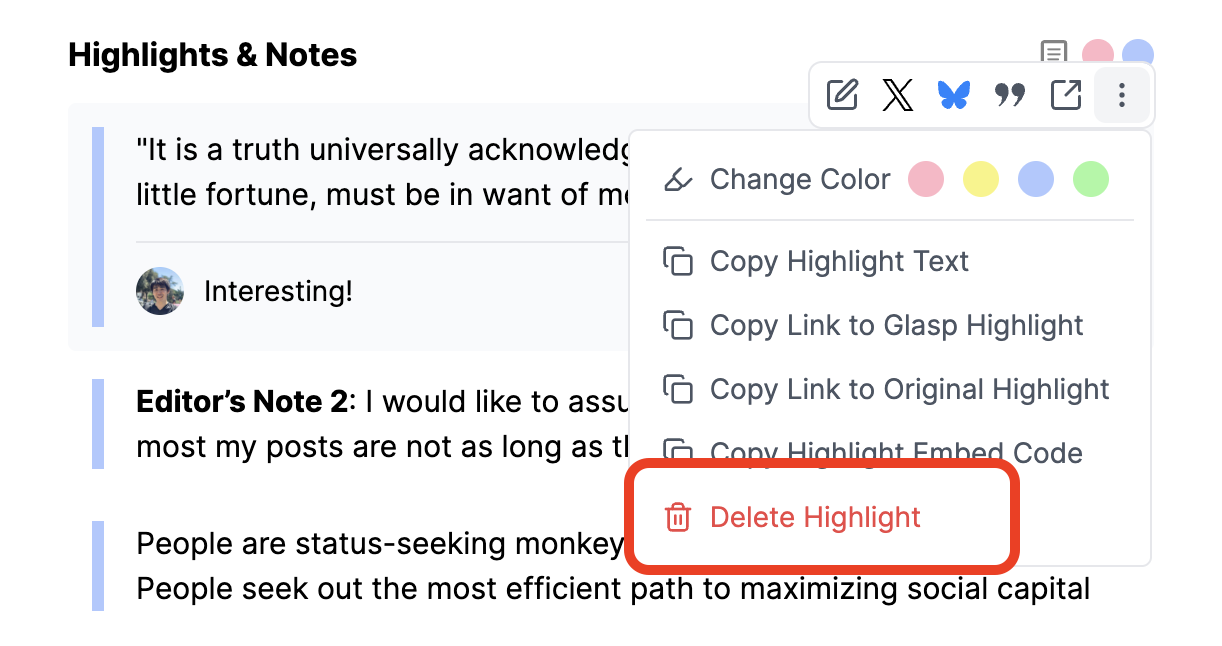
This also removes only the selected highlight.
💡 Deleting a highlight does not affect the article or other highlights.
Delete an entire article
Use this option when you want to remove the article and all highlights associated with it.
Open the article on your Glasp profile page.
Click the More options (⋯) menu next to the article title.
Select Delete.
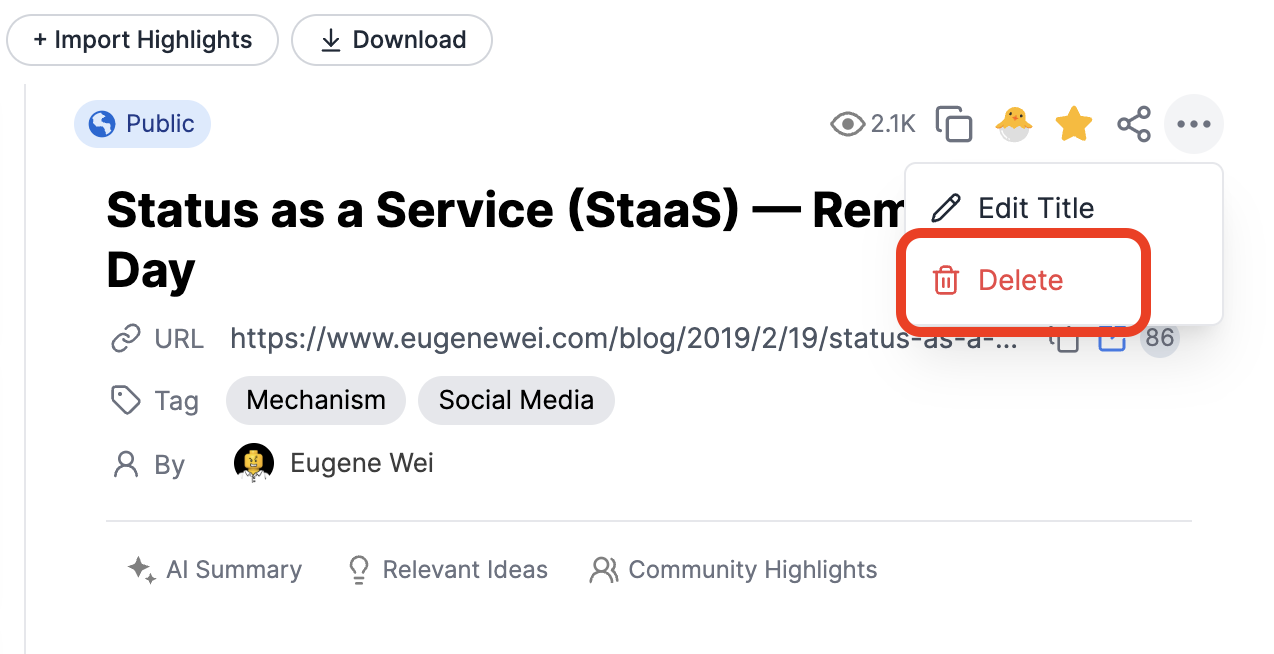
This removes the article and all of its highlights at once.
💡 Deleting an article cannot be undone.
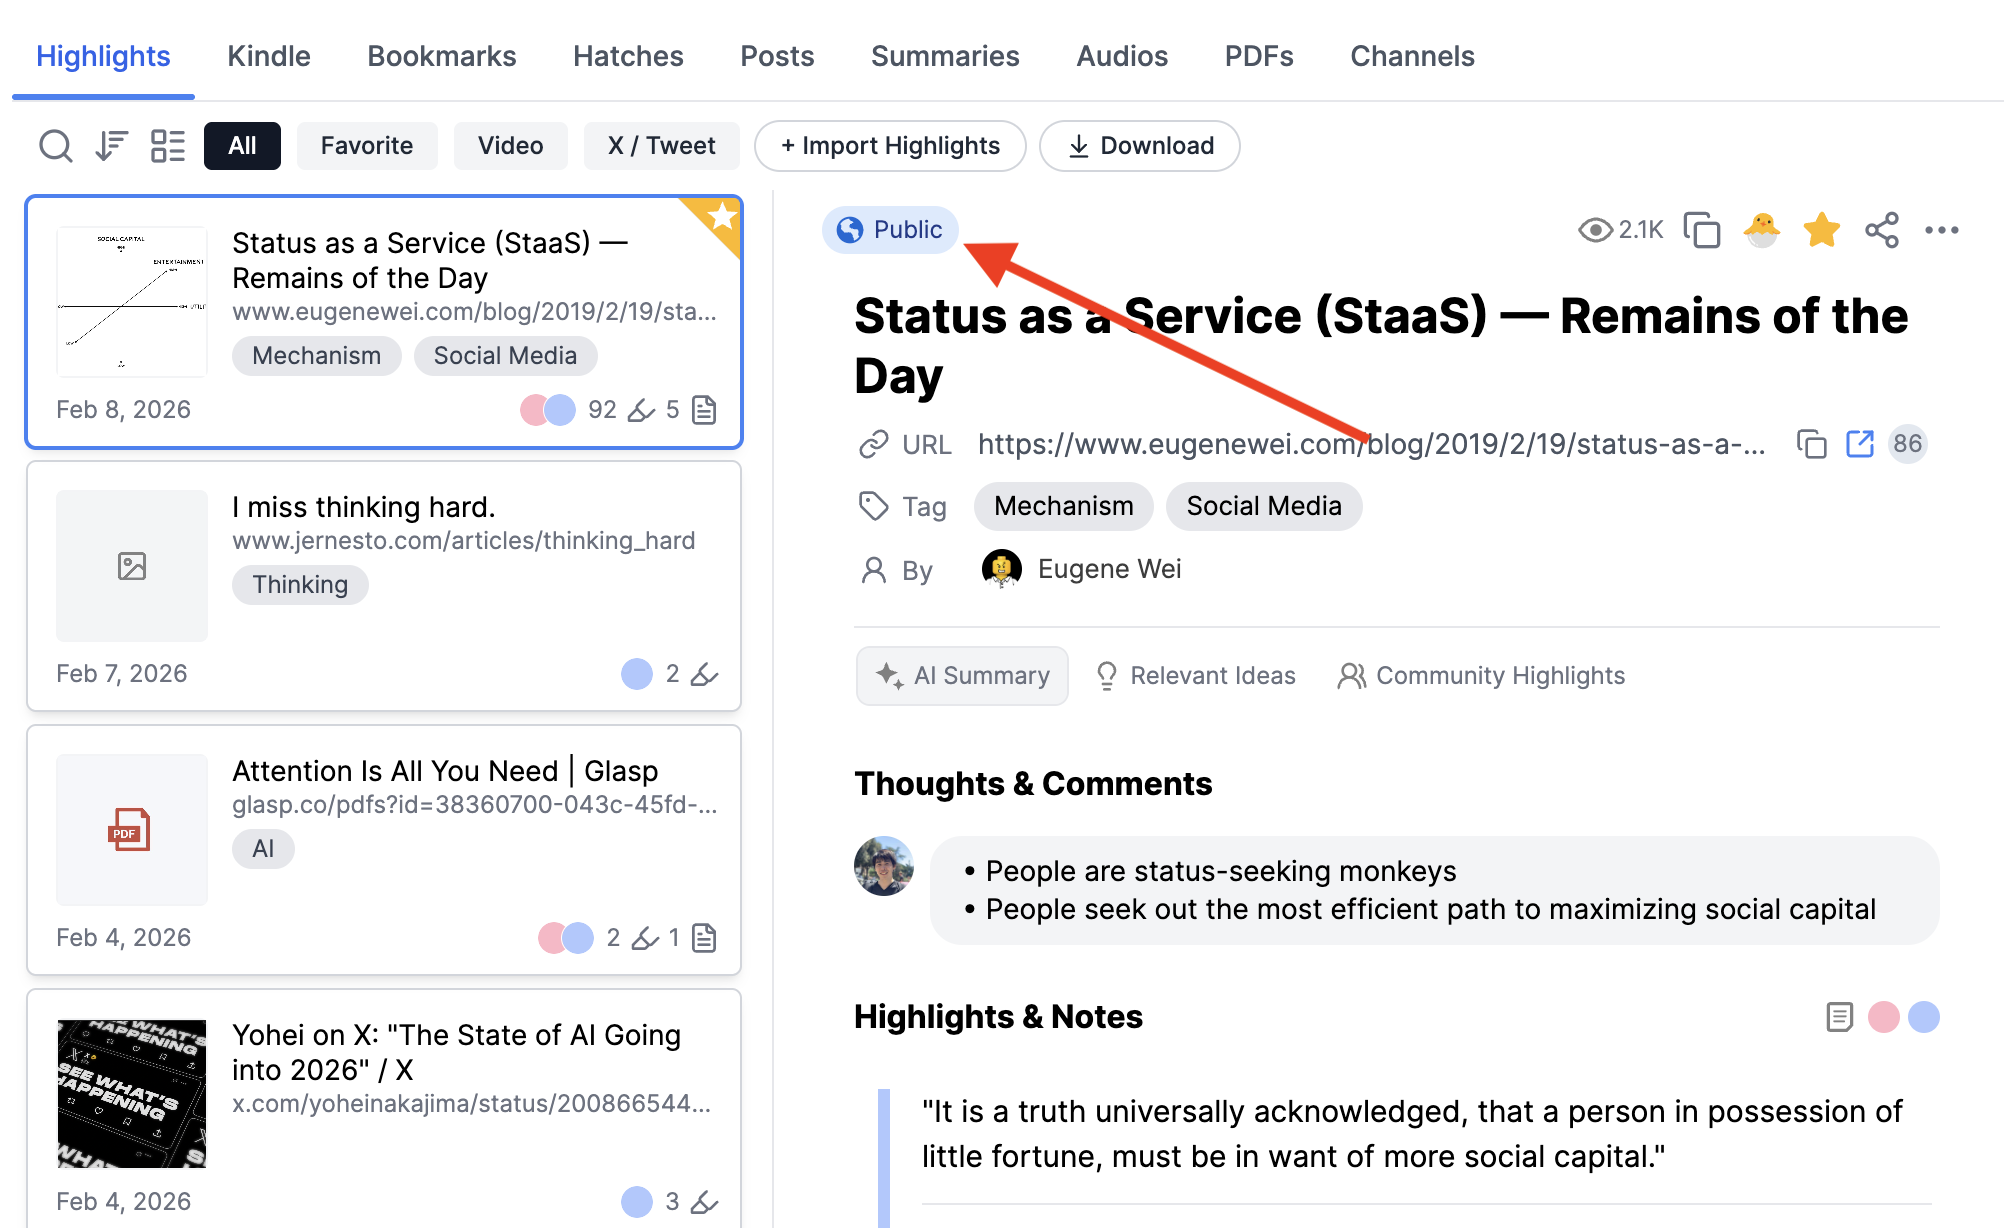
Change visibility (Public / Private)
By default, all highlights and articles on Glasp are public. You can change the visibility of an article from your profile page.
Open the article on your Glasp profile page.
Click the Public visibility badge near the article title.
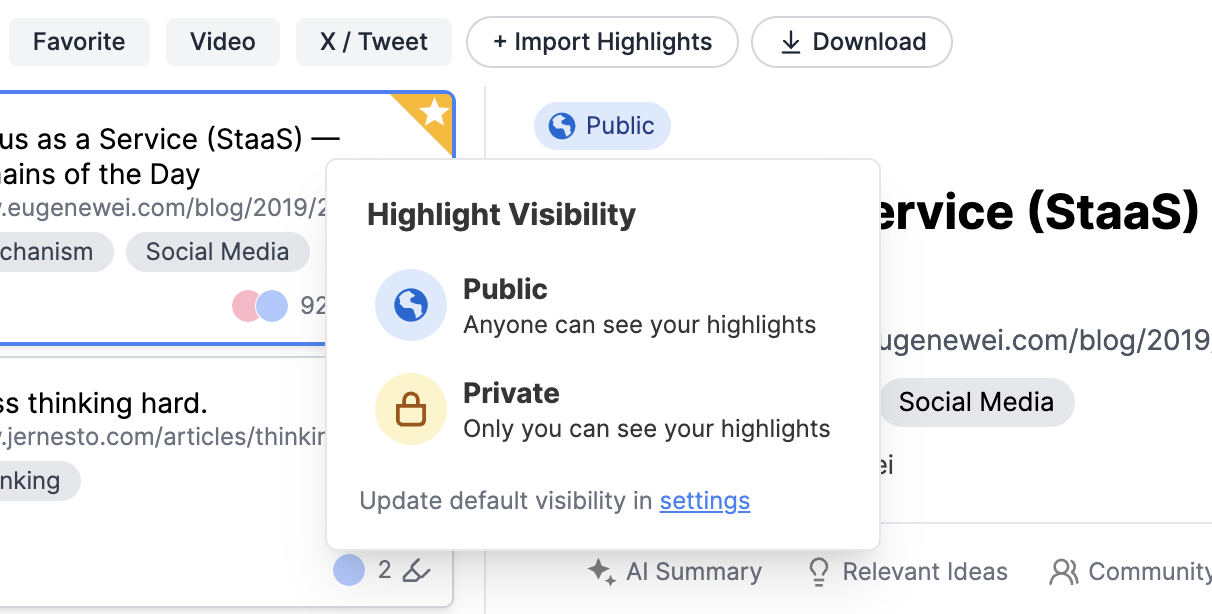
Choose one of the following options:
Public – Anyone can see your highlights.
Private – Only you can see your highlights.
Enable private highlights
If you select Private, you’ll be prompted to upgrade your plan.
Free plan: Public highlights only
Pro / Unlimited plans: Private highlights available
Once upgraded, you can mark articles as private anytime from the visibility menu.
💡 Visibility settings apply to the entire article and all highlights within it.
Step 8: Share your highlights and profile
Glasp lets you share your highlights and articles with others in multiple ways—from individual articles to your entire profile.
Share a highlighted article
You can share a single highlighted article directly from your profile page.
Open the article on your Glasp profile page.
Click the Share icon near the article title.
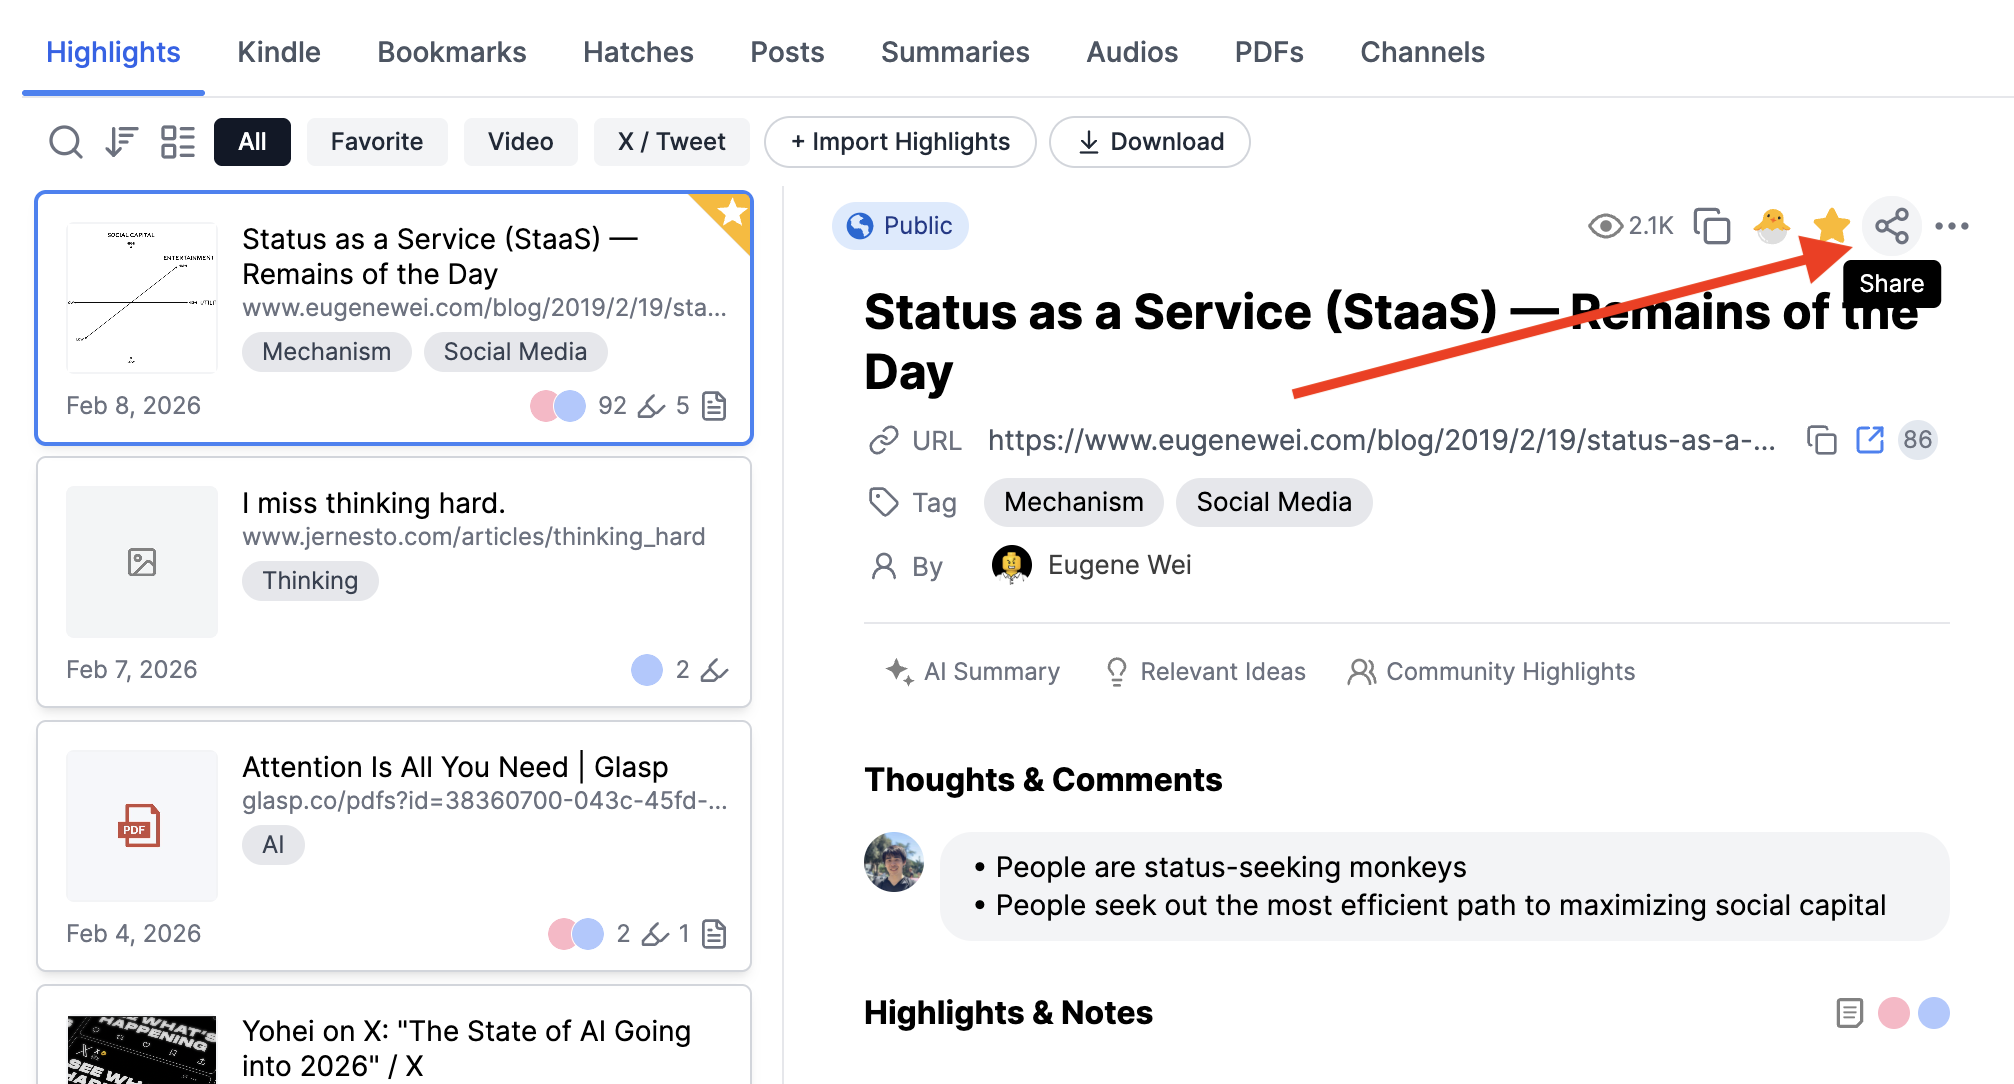
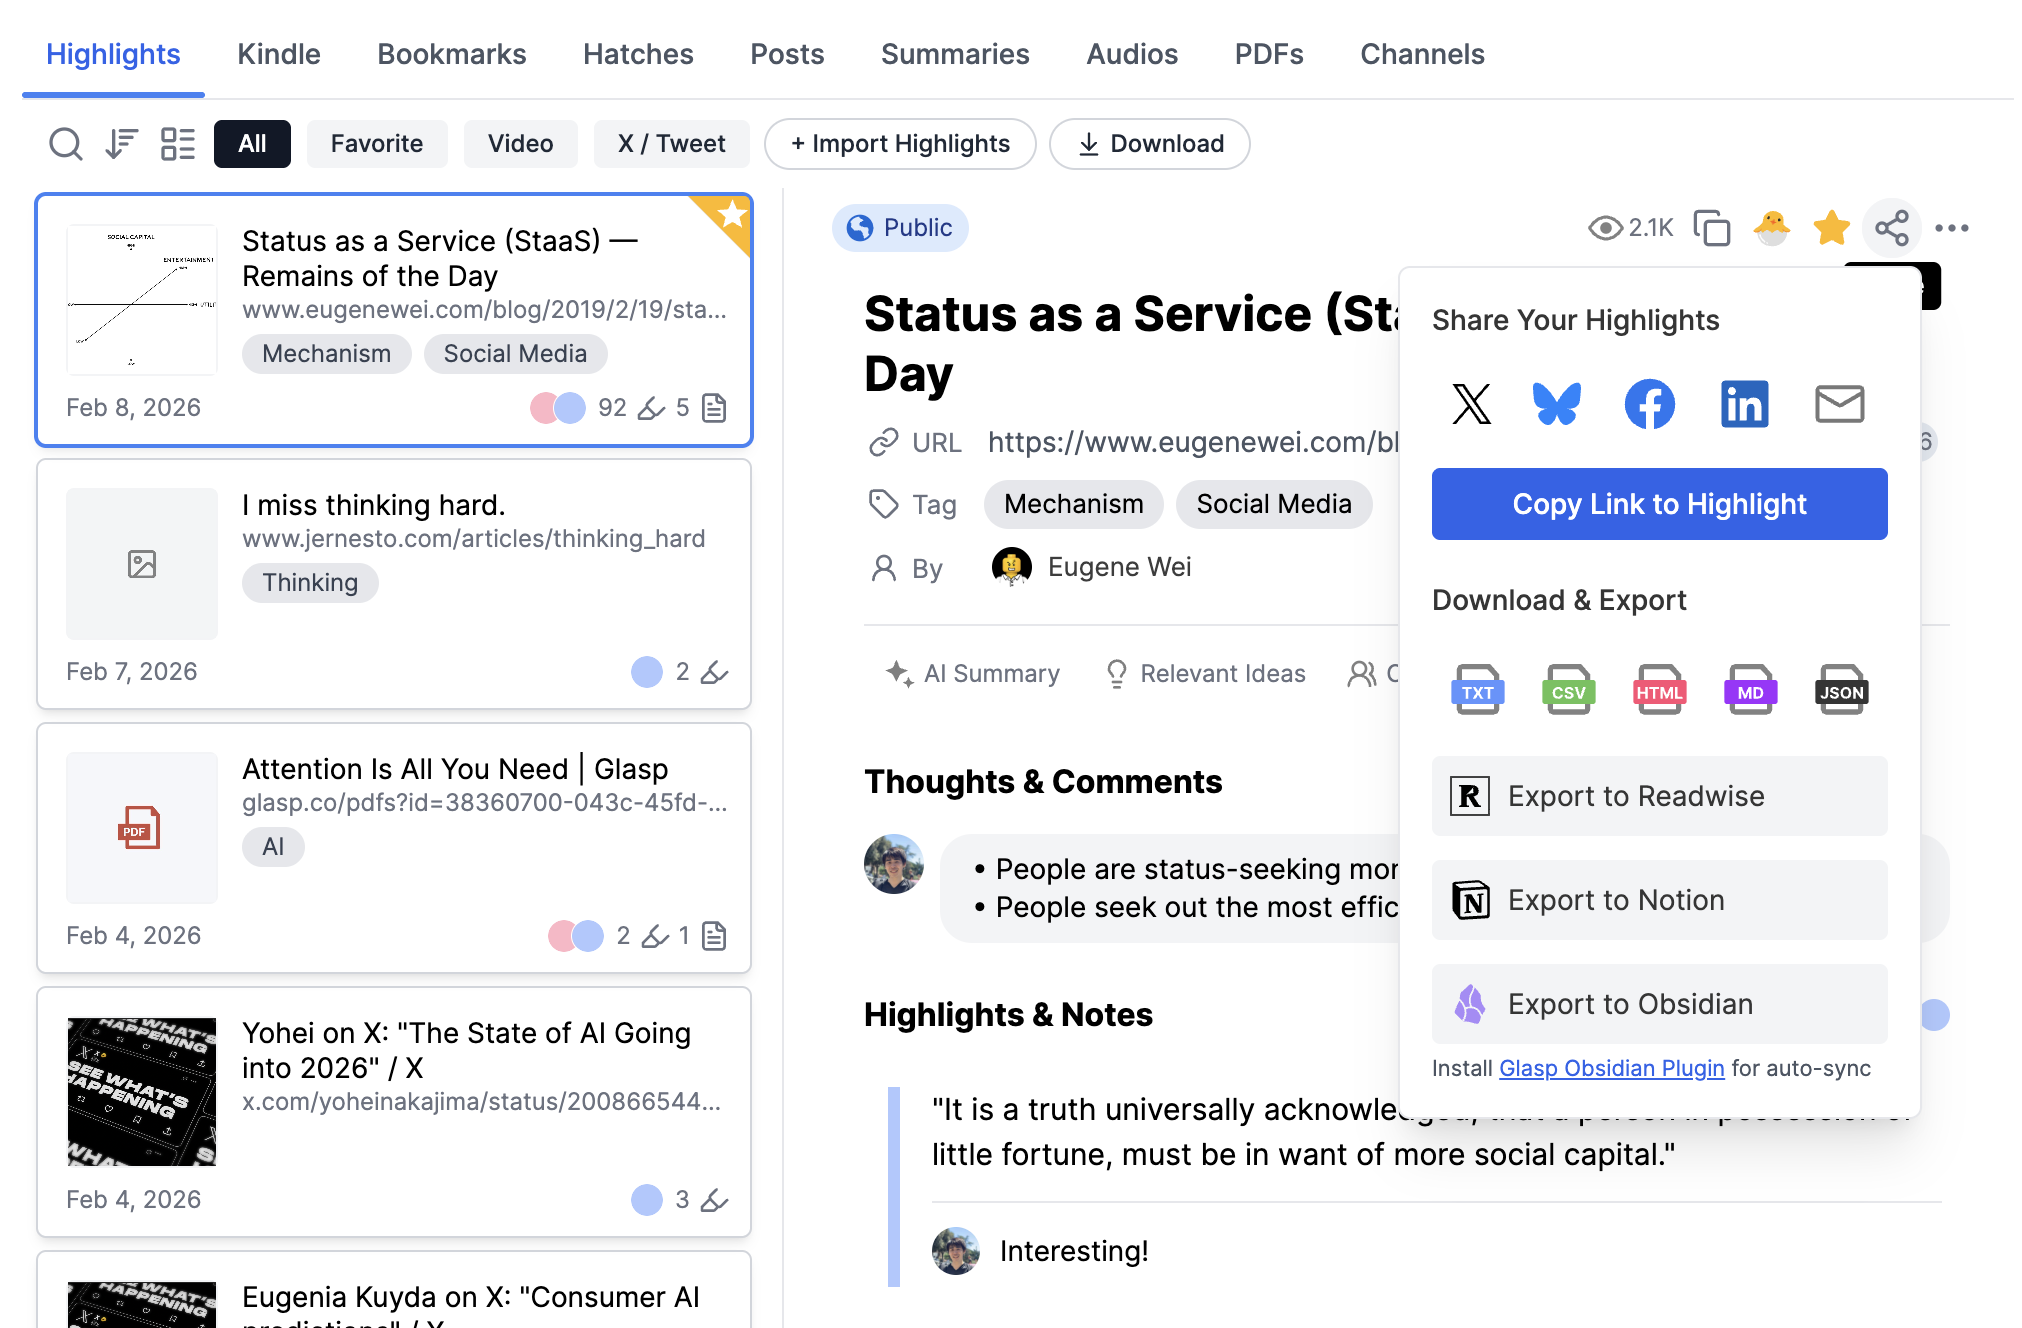
Choose how you want to share:
Share to X, Bluesky, Facebook, or LinkedIn
Copy link to highlight
Share via email
Anyone with the link can view the article and its public highlights.
Download and export highlights
From the same Share menu, you can also export your highlights.
Download as TXT, CSV, HTML, Markdown, or JSON
Export highlights to:
This makes it easy to reuse your highlights in your writing, research, or note-taking workflow.
Share your entire Glasp profile
You can also share your full collection of highlights.
Open your Glasp profile page.
Copy your profile URL.

Share it with others to showcase everything you’ve highlighted publicly.
Your profile acts as a public knowledge library that updates automatically as you add new highlights.
💡 Only public articles and highlights are visible to others. Private content remains visible only to you.
Control what you share
Public articles are visible to anyone.
Private articles are only visible to you.
💡 Sharing highlights is a great way to learn from others and let others learn from what you read.
FAQs
Where are my Glasp highlights saved?
All highlights you create are saved automatically to your Glasp profile page. You don’t need to manually save anything—your highlights appear as soon as you create them.
Do I need to click a save button after highlighting?
No. Glasp saves your highlights automatically when you select text and choose a highlight color.
Can I add notes to my highlights?
Yes. You can add notes to individual highlights on your profile page to capture your thoughts, summaries, or key takeaways.
What is the difference between a note and a page comment?
A note is attached to a specific highlight, while a page comment applies to the entire article. Notes are useful for detailed thoughts, while page comments are best for overall impressions or summaries.
Can I organize highlights with tags?
Yes. You can add tags (category tags) to highlighted articles to organize and group related content. Tags make it easier to find and revisit your highlights later.
Can I delete highlights or articles?
Yes. You can delete individual highlights or remove an entire highlighted article from your profile page at any time.
Are Glasp highlights public or private?
By default, all highlights and articles are public. You can change an article’s visibility to private by upgrading your Glasp plan.
Can I share my highlights with others?
Yes. You can share your entire Glasp profile or share individual highlighted articles using their unique URLs.
Before you leave
Now that you’ve learned how to highlight, organize, and share content with Glasp, here are a few powerful ways to go further:
Highlight and summarize PDF files Annotate both web-hosted PDFs and local PDF files, then generate summaries to capture key ideas from research papers and documents.
Import Kindle highlights and export them anywhere Bring your Kindle highlights into Glasp, then export them to Notion, Obsidian, OneNote, NotebookLM, ChatGPT, or download them as Markdown.
Highlight YouTube transcripts and generate summaries Highlight important parts of YouTube video transcripts and turn long videos into concise, searchable summaries.
Glasp helps you turn everything you read and watch into a connected knowledge library.
