How to Make a Match Cut Morph Transition in After Effects
TL;DR
Create a match cut morph by moving two objects along the same animated path and swapping their layers at the motion’s fastest point. Parent the destination object to the source with the pick whip, apply easing, locate the graph editor’s peak, then trim the outgoing and incoming layers with Alt plus right and left bracket. Read on for square-to-circle, matchstick-to-sword, and whole-scene workflows.
Transcript
let's turn this into this with the magic of match cuts when i first learned this technique it opened up a whole new world of possibilities i couldn't stop using it any opportunity i had i was using match cuts it was fantastic it gives you the god-like ability to smoothy transition between any object or scene it's a technique that's really close to ... Read More
Key Insights
- A match cut is a film technique that cuts from one scene to another by matching either the action or the subject matter, and 2001: A Space Odyssey is cited as a notable example that uses it heavily.
- The literal tween approach to a square-to-circle morph requires animating position keyframes one second apart plus a Round Corners effect with its radius animated from 0 to about 200, which adds a large amount of extra frames.
- The match cut version of the same morph produces an identical perceived result with far less information, because the cut happens at the fastest point of motion where the eye cannot track the change.
- The graph editor is the tool used to locate the cut point: whatever easing is applied, the correct place to cut is the peak of the graph, the single fastest moment in the animation.
- Alt plus right bracket trims a layer's out point and Alt plus left bracket trims a layer's in point, and these two shortcuts are what butt the outgoing and incoming layers together at the cut.
- Parenting is what keeps the two objects locked together: the second object is parented to the first with the pick whip, which snaps it into place so both travel along the same animated path.
- A null object works as a reusable match cut controller. Create it via Layer, New, Null Object, drag it while holding Control to snap it onto the source object's anchor point, then parent both objects to that null.
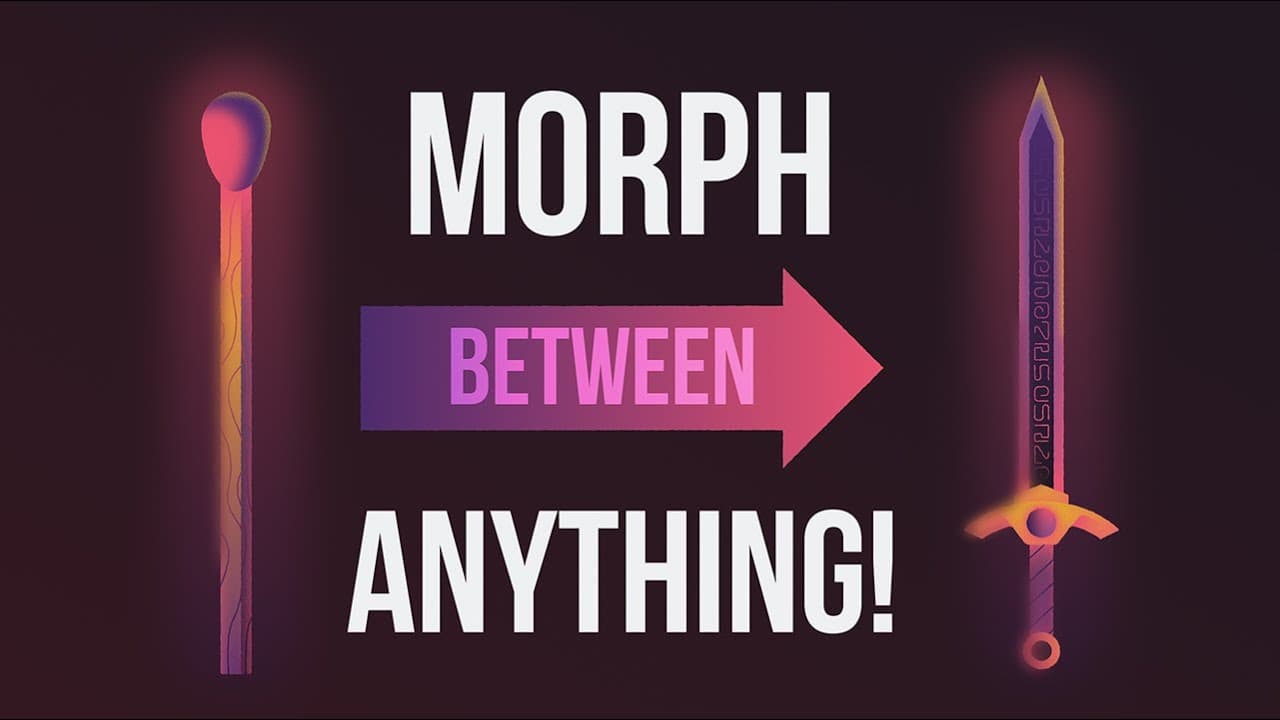
- Match cuts are not limited to position. Rotation, scale, or position alone all work, and adding a 180 degree rotation keyframe between 4 and 5 seconds is what sells the matchstick turning into a sword.
Install to Summarize YouTube Videos and Get Transcripts
Explore YouTube Video Summarizer or Get YouTube Transcript Extractor
Questions & Answers
Q: What is a match cut in After Effects?
A match cut transitions between objects or scenes by matching their action or subject matter. In After Effects, the source and destination follow the same motion, and the layers are swapped at the fastest point so the eye perceives a smooth morph.
Q: How do you morph a square into a circle with a match cut?
Press P on the square and create position keyframes one second apart, moving it to the circle’s position. Parent the circle to the square with the pick whip, apply easing, and find the fastest point in the graph editor. Trim the square and circle at that point to create the perceived morph.
Q: Where should you cut a match cut transition?
Cut at the fastest point of the animation, shown as the peak in the graph editor. The precise point changes with the easing, so use the graph’s peak instead of assuming a fixed frame.
Q: How do you trim the layers at the match cut?
At the graph’s peak, use Alt plus right bracket to trim the outgoing layer’s end, then pull it in one more frame as demonstrated. Use Alt plus left bracket to trim the incoming layer at the same point.
Q: Why use a match cut instead of tweening between two shapes?
A literal square-to-circle tween requires position animation plus a Round Corners radius animated from 0 to about 200. The match cut creates the same perceived morph with far less information because the fast movement conceals the layer swap.
Q: How do you control a match cut with a null object?
Choose Layer, New, Null Object, then drag the null while holding Control to snap it onto the source object’s anchor point. Parent the source and destination objects to that null, and animate the null so both remain locked to the same movement.
Q: How do you transform a matchstick into a sword with a match cut?
Snap a master match cut null to the matchstick’s anchor point, parent the matchstick to it, and add position keyframes at 4 and 5 seconds. Add rotation keyframes over the same interval with a 180-degree rotation, parent the sword to the null, ease the motion, and trim both layers at the graph peak.
Q: Can a match cut transition an entire scene?
Yes; the tutorial morphs a sphere into a cube while also changing the grid, background, and other scene embellishments. A second master match cut null controls the transition, while a curved motion path and an internal position change help sell the full-scene transformation.
Summary & Key Takeaways
-
The tutorial opens with a basic square-to-circle morph, first showing the literal tween: position keyframes one second apart moving the square onto the circle, plus a Round Corners effect animated from a radius of 0 to roughly 200, with easy ease applied. Hiding the circle leaves a fully tweened animation built from many extra frames.
-
The match cut rebuild uses the same starting position keyframes, but the circle is parented to the square with the pick whip so it moves along. After easing, the graph editor reveals the fastest point of the motion. Alt plus right bracket trims the square there, Alt plus left bracket trims the circle, and the eye is fooled.
-
The matchstick-to-sword example adds a green null named master match cut null, snapped onto the matchstick's anchor point with Control held down. The matchstick is parented to the null, position keyframes go at 4 and 5 seconds, and a rotation keyframe pair adds 180 degrees. The sword is parented to the null, then both layers are trimmed at the graph peak.
-
The final example transitions an entire scene, morphing a sphere into a cube using master match cut null 2 with keyframes at roughly 4 seconds 12 frames and 5 seconds 12 frames. Control plus Alt brings up the convert vertex tool to bend the motion path for anticipation, and the handles can be broken and steered individually.
-
Extra scene elements sell the whole-scene change: a grid, a new background, and embellishments on the second scene. An internal position keyframe on group 2, the square behind the cube, moves it to the opposite side at the cut point with a strong ease. The closing message is that matching direction and speed across a cut works on objects, backgrounds, and full scenes.
Read in Other Languages (beta)
Share This Summary 📚
Summarize YouTube Videos and Get Video Transcripts with 1-Click
Try YouTube Summary with ChatGPT & Claude or YouTube Transcript Generator