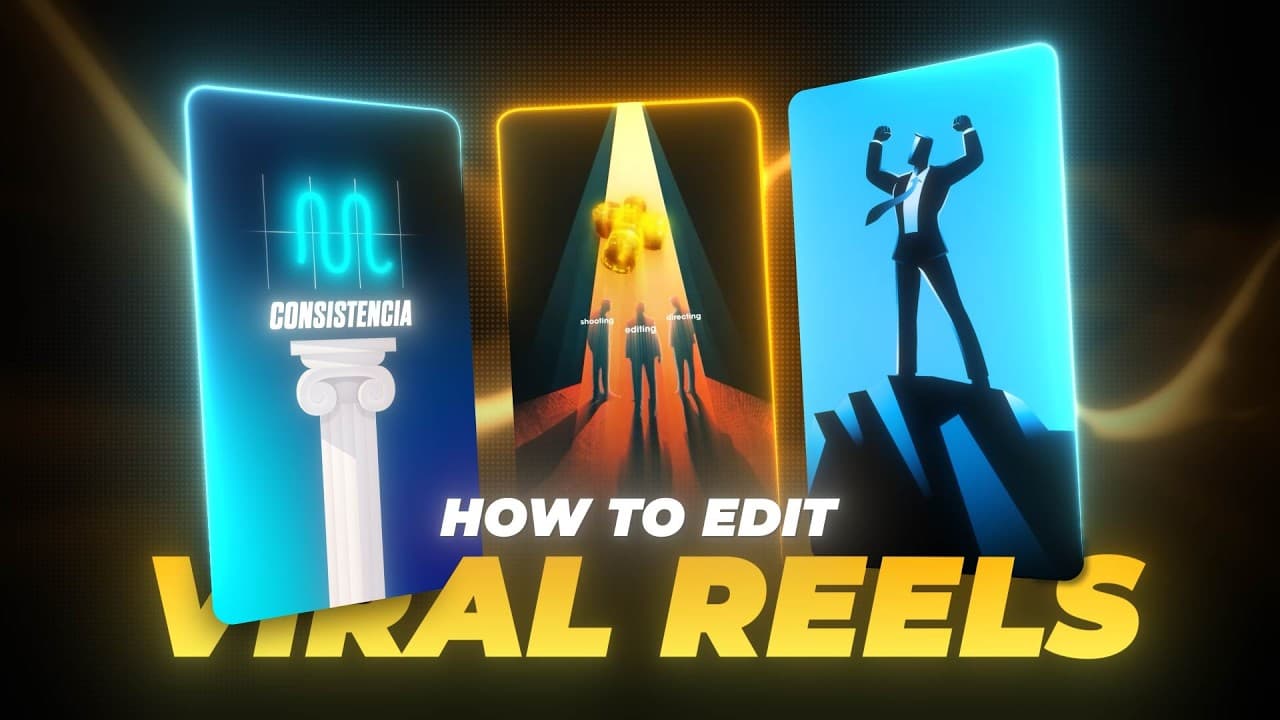
How to Edit 3D Viral Reels in After Effects
TL;DR
Building a Keanu Visuals style 3D reel starts with a 1080x1920, 30fps, 10-second composition, importing a 3D key model, and parenting it to a 3D null so position and rotation keyframes drive the motion. Importing 3D models requires After Effects version 24.4 or later. Because the Advanced 3D render engine disables blending modes, track mattes, and motion blur, the build is split across separate compositions.
Transcript
the key to becoming a content creator is consistency and passion but also collaboration the key to becoming a content creator is consistency and passion but also collaboration let's get started first of all let's import the files if you find my tutorials helpful and you want to support the channel I've just made a patreon account there you'll have ... Read More
Key Insights
- Importing 3D models into After Effects requires version 24.4 or later installed. Without that version, the 3D model import option is unavailable, which blocks the entire workflow of placing a key model into the composition.
- The Advanced 3D render engine disables several features, including blending modes, track mattes, motion blur, and camera depth of field. The workaround is to split the project into separate compositions, some set to Classic 3D, and reassemble them later.
- A free script called Order, created by a subscriber named Zavat Motion, automatically sorts imported project files into folders by type: 3D models, JPG and PNG images, MP3 audio, vector files, and video files, with a single click.
- The base composition for this reel is 1080 by 1920 at 30 frames per second and 10 seconds long, which is the vertical format used for viral reels on social platforms.
- Parenting the 3D key layer to a 3D null object lets all position and rotation animation be driven from the null, keeping the key layer itself clean and making the same motion reusable by other layers.
- Keyframe velocity is what makes the motion feel professional. After smoothing keyframes with F9, the position handles are dragged fully left so movement starts fast and slows down, and rotation influence is set to 50 percent and 100 percent on specific handles.
- Control plus Home places any selected layer directly in front of the camera viewfinder regardless of where it sits in 3D space, and Control plus Alt plus Home centers the anchor point, together making layer placement fast.
- A shape traced over the key with the pen tool and parented to the same null becomes a matte that follows the key's exact motion, which is how the transition between scenes is created.
Install to Summarize YouTube Videos and Get Transcripts
Explore YouTube Video Summarizer or Get YouTube Transcript Extractor
Questions & Answers
Q: What After Effects version is needed to import 3D models?
Version 24.4 or later must be installed to import 3D models into After Effects. The tutorial notes this was asked repeatedly in the comments. Without that version, the 3D model import simply will not work, so the key model at the center of this reel cannot be brought into the composition at all. This is a hard prerequisite before starting the project, so check your installed version first rather than troubleshooting import failures later.
Q: How to organize project files automatically in After Effects?
Use a free script called Order, created by a subscriber named Zavat Motion. After importing everything, select all the files in the project panel and click organize files, then click okay. The script sorts them into separate folders: 3D models, images split into JPG and PNG, MP3 audio files, vector files, and video files. With only a handful of files the benefit is small, but on a project with fifty, a hundred, or more assets it saves a large amount of time. The script is available free on Gumroad.
Q: What composition settings are used for a 3D viral reel?
The main composition, named key, is set to 1080 by 1920 pixels at 30 frames per second with a duration of 10 seconds, which the tutorial calls more than enough for this animation. The 1080 by 1920 dimensions are the vertical portrait format used for reels. Two further compositions, montage and podcast, are created from the same base, and a shape matte composition is duplicated from the key composition later in the build.
Q: Why do effects stop working with the Advanced 3D render engine?
When the Advanced 3D render engine is activated, a set of features stops functioning: blending modes, track mattes, motion blur, and camera depth of field. Track mattes and camera depth of field are both needed later in this build, so the limitation matters. The workaround used in the tutorial is to split the work across multiple compositions, switching some of them to Classic 3D where the 3D key does not need to be visible, then reassembling everything so all the desired effects can be applied.
Q: How to animate a 3D key model with a null object in After Effects?
Right click to create a null, convert it to 3D, and if the cube icon does not appear press F4. Parent the key layer to the null, then unfold position and mark a keyframe, adding rotation keyframes on Y and Z with Shift plus R. Move to second 25 and mark two more rotation keyframes, then at 120 mark another position keyframe. Y rotation is set to 1, Z rotation stays at zero at that point, and Z rotation is flipped vertically to minus 80 at the start. The key is then moved down to a Y value of 2,840 pixels.
Q: How to smooth keyframes so animation starts fast and slows down?
Select the keyframes and press F9 to apply easy ease. For the position keyframes, open the graph and drag both handles to the far left so the motion starts very fast and gradually slows down. For rotation, double click the node and set the influence to 50 percent while leaving the other handle as it is. For Z rotation, give one handle 100 percent influence and move the other to the left, setting it to around 9 or 10. The camera keyframes use right click, keyframe velocity, with 65 percent influence on the handles.
Q: How to set up the camera for a 3D reel transition?
Right click and create a 50mm camera, then create a new null object, convert it to 3D, and parent the camera to it. Press P and go to the keyframe at 120 to mark a position keyframe, then move to second three where the transition passes through part of the key: zoom in, move down, set the value to 600, and set Z to 1,400. Smooth with F9 and apply 65 percent influence via keyframe velocity. The null and camera are then duplicated, and from second three to second five Z goes to zero while the position moves up to 1,600.
Q: How to create a shape matte that follows a 3D model's motion?
Duplicate the key composition and name the copy shape matte. Inside it, at the point where the key faces the camera, trace the key's outline with the pen tool; the stroke can be removed since it is not needed. Convert the shape layer to 3D, press Control plus Alt plus Home to center the anchor point, and Control plus Home to place it in front of the camera. Position and scale it over the key, adjusting points with the pen tool if needed, then use the pick whip to parent it to the same null as the key so it makes exactly the same movement.
Summary & Key Takeaways
-
The tutorial recreates a Keanu Visuals style 3D viral reel in After Effects, opening with file organization using a free script called Order made by subscriber Zavat Motion. The script sorts an entire import, whether five files or over a hundred, into folders for 3D models, JPG, PNG, MP3, vector, and video files with one click.
-
The main composition is named key at 1080 by 1920, 30 frames per second, ten seconds long. A 3D key model is scaled to the composition, given an orientation value of 150 and a scale of 115, then parented to a 3D null. Position and rotation keyframes at frame 0, second 25, and 120 build the spinning entry motion.
-
A 50mm camera parented to its own null drives the fly-through past the key, with keyframes smoothed by F9 and keyframe velocity handles set to 65 percent influence. A yellow vector column is scaled to 120 percent, positioned at 1,640 pixels, and duplicated at 125 percent and 2,685 pixels to build the transition point.
-
Text layers reading consistency and passion are set in the Dharma bold italic typeface, converted to 3D, anchor-centered, and snapped in front of the camera. The project then splits into montage, podcast, and shape matte compositions, with the podcast video pushed to 500 on the Z axis and some comps switched to Classic 3D so blocked effects work.
Read in Other Languages (beta)
Share This Summary 📚
Summarize YouTube Videos and Get Video Transcripts with 1-Click
Try YouTube Summary with ChatGPT & Claude or YouTube Transcript Generator
Explore More Summaries from Vane Motion 📚

Summarize YouTube Videos and Get Video Transcripts with 1-Click
Try YouTube Summary with ChatGPT & Claude or YouTube Transcript Generator