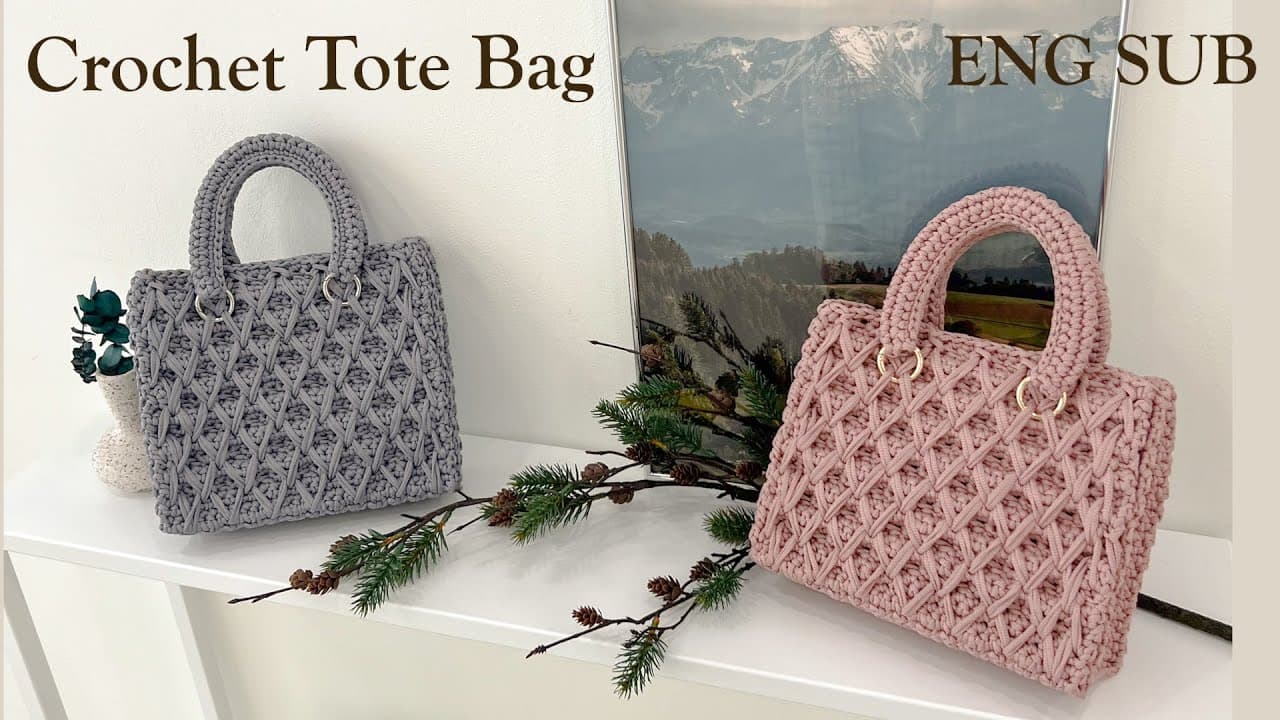
How to Crochet a Structured Honeycomb Tote Bag | Part 1
TL;DR
To crochet the structured honeycomb tote bag, begin with 10 foundation chains and work a 10-stitch base through row 28 before adding a back-loop-only boundary row. Each main panel starts with 27 picked-up stitches and four rows of single crochet, with the honeycomb-inspired pattern beginning on row five. Read on for the materials, row-counting method, panel orientation, and exact construction steps.
Transcript
Hello everyone, it’s mongchi❤️ Today we will make a cute And luxurious tote bag The pattern overall is an application of honeycomb stitch And I used the O-ring for the point on the handles This yarn gives us a great angle So even for beginners, the result will look very nice If you only understand the pattern part for the front The bag isn’t hard t... Read More
Key Insights
- The foundation width is determined by 10 initial chains, so increasing that chain count makes the bag wider. Three additional chains establish the turning height, and the tutorial cautions that these pillar chains should not be counted as regular stitches.
- The base is formed with 10 single crochets per row for 28 rows. The first row is worked into the back bumps of the foundation chain, while every later row starts with one turning chain before the work is turned.
- Stitch markers are used to identify the first and final stitches, reducing confusion at the row edges. Maintaining exactly 10 stitches in each base row is important because those stitches establish the consistent width of the bag's bottom and sides.
- The row count is read with the yarn end positioned at the bottom left. Rows appear in pairs separated by horizontal strands, while dents separate successive pairs, allowing the crocheter to count two, four, six, and onward until reaching row 28.
- The back-loop-only row creates a clear exterior boundary by leaving the front half of each V-shaped stitch visible. The side with this boundary line becomes the outside of the bag, while the surface without the line is treated as the inside.
- The front and back panels must both begin while the inside surface faces the crocheter. Each panel is worked from right to left, although the bag must be turned differently for the second panel to preserve the correct orientation.
- Each main panel begins by picking up 27 single crochets along the edge of the 28-row base. The insertion points alternate between the ends of horizontal strands and the dents beside them, stopping at the marked horizontal strand rather than the outermost edge.
- The decorative honeycomb-inspired section begins on row five after four rows of ordinary single crochet. Its opening step uses a single crochet in the first stitch, followed by a longer stitch inserted four rows below near the boundary between the base and panel.
Install to Summarize YouTube Videos and Get Transcripts
Explore YouTube Video Summarizer or Get YouTube Transcript Extractor
Questions & Answers
Q: What materials are needed to crochet the structured honeycomb tote bag?
The tutorial uses three 150 g balls of The Four yarn in color number 3 and recommends a number 7–8 needle for a firmer result. You also need scissors, a tapestry needle, stitch markers, and O-rings for the handles; a plastic bag support can help prevent the finished bottom from loosening.
Q: How do you begin the foundation for the crochet tote bag?
Make a tight starting knot and crochet 10 chains to set the bag’s width. Add three pillar chains, which are not counted as regular stitches, then turn the chain over and work 10 single crochets into the raised back bumps.
Q: How can you make the crochet tote bag wider?
The initial 10 foundation chains determine the bag’s width. To make the bag wider, increase the number of foundation chains before adding the three pillar chains.
Q: How is the bottom of the tote bag crocheted?
After working 10 single crochets into the foundation, make one pillar chain, turn the work, and crochet 10 single crochets for the next row. Repeat this back-and-forth process through row 28, keeping 10 stitches in every row.
Q: How do you count the 28 rows of the crochet base?
Position the work with the starting yarn end at the bottom left. The rows appear in pairs separated by horizontal strands, with dents between the pairs, so count them as two, four, six, and onward until row 28.
Q: Why is row 29 worked through the back loops only?
Working row 29 through the back loops leaves the front half of each V-shaped stitch visible, creating a boundary line between the bottom and side. The surface with this line is the outside of the bag, while the surface without it is the inside.
Q: How are stitches picked up for the front and back panels?
Begin each panel while looking at the inside of the bag. Pick up 27 single crochets along the base edge by alternating between the ends of horizontal strands and the adjacent dents, stopping at the marked horizontal strand.
Q: When does the honeycomb-inspired pattern begin?
Work four rows of regular single crochet on each 27-stitch panel first. The honeycomb-inspired pattern starts on row five with a single crochet in the first stitch, followed by a longer stitch inserted four rows below near the boundary between the base and panel.
Summary & Key Takeaways
-
The project uses three 100 g balls of The Four yarn, a number 7 or 4.0 mm crochet hook, scissors, a tapestry needle, stitch markers, four 20 by 28 mm O-rings, and an optional plastic bottom board. An additional yarn ball may be useful when working with larger stitches.
-
The base begins with 10 width chains and three turning chains. Ten single crochets are worked through the back bumps, followed by repeated 10-stitch rows through row 28. A back-loop-only row then creates a visible boundary that distinguishes the bag's outside from its unlined inside surface.
-
Each front and back panel is worked while facing the inside of the bag. The crocheter picks up 27 stitches along the base edge, alternating between horizontal-strand ends and adjacent dents. Four rows of single crochet establish each panel before the honeycomb-inspired decorative pattern begins on row five.
Read in Other Languages (beta)
Share This Summary 📚
Summarize YouTube Videos and Get Video Transcripts with 1-Click
Try YouTube Summary with ChatGPT & Claude or YouTube Transcript Generator