Direct control of a stepper motor using a rotary encoder and the accelstepper library

TL;DR
Demonstrates controlling a stepper motor with Arduino and rotary encoder.
Transcript
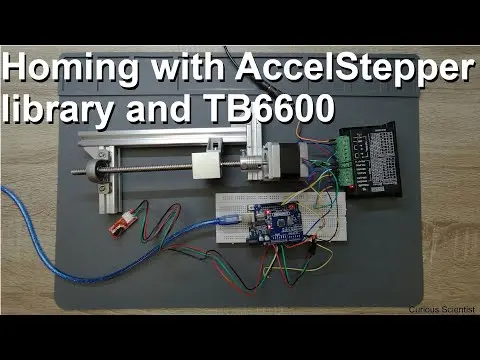
la cámara in this video I'm going to show you a very simple control of a stepper motor by using rotary encoder and this circuit can be familiar to you because I was already using this stepper motor driver which is ATP 6600 stepper motor driver it's a very simple circuit because essentially you just need two wires connected to the Arduino circuit an... Read More
Key Insights
- 🧑🦼 The stepper motor's control relies heavily on accurate signal inputs coming from the rotary encoder, demonstrating the importance of precise connections.
- ✋ With 400 steps per revolution, the stepper motor can achieve fine movements ideal for applications requiring high precision, such as CNC machines or automated tables.
- 👤 The integration of an LCD display provides real-time feedback to the user, enhancing the interaction and diagnostics of the system's performance.
- 👻 The use of specific libraries like Access Stepper simplifies the code needed to control the motor, allowing for increased focus on functionality rather than low-level programming.
- ✊ The power supply for the Arduino and peripherals can significantly affect performance; hence a stable voltage source is necessary for reliability.
- 🤩 Planning for the physical layout and avoiding wire clutter when connecting these components is key to effective debugging and maintenance.
- 🔁 Feedback systems, such as using rotary encoders, allow for closed-loop control which enhances accuracy in motor movement compared to open-loop systems.
Install to Summarize YouTube Videos and Get Transcripts
Explore YouTube Video Summarizer or Get YouTube Transcript Extractor
Questions & Answers
Q: What components are essential for controlling the stepper motor in this project?
The main components required are a stepper motor (NEMA 17), an Arduino board, a rotary encoder, an LCD display, and the appropriate wiring to connect these elements. Specifically, the stepper motor is controlled by a stepper driver (like the ATP 6600) and the rotary encoder communicates with the Arduino using its data and clock pins.
Q: How does the rotary encoder contribute to controlling the stepper motor?
The rotary encoder provides incremental position feedback by generating shifted square waves as it rotates. Each rotation or click is counted by the Arduino, allowing it to determine the direction and amount of rotation. This data controls the stepper motor's steps accurately, enabling precise positioning and movement based on user input.
Q: Why is the selection of interrupt pins important for the rotary encoder?
Selecting interrupt-capable pins for the rotary encoder is crucial because it allows the Arduino to respond immediately to changes in the encoder state without delay. This responsiveness ensures accurate counting of clicks and rotations, preventing missed steps and ensuring reliable control over the stepper motor's position.
Q: Can the setup be modified for more than one rotary encoder?
To use multiple rotary encoders, one would need to employ a microcontroller with additional interrupt capabilities, like the STM32. Arduino Uno and Nano have limited interrupt pins, so using one of these boards restricts the system to one rotary encoder unless careful pin management techniques are implemented, which can complicate the setup.
Summary & Key Takeaways
-
The video explains how to control a stepper motor using a rotary encoder and an Arduino, highlighting the essential connections required for operation.
-
It details the use of a graphical LCD to display rotation counts and motor position, emphasizing how to match the encoder data with motor movements.
-
The source code is discussed, covering the function of counting clicks and interpreting rotary movements, with a focus on utilization of interrupt pins for accurate readings.
Read in Other Languages (beta)
Share This Summary 📚
Summarize YouTube Videos and Get Video Transcripts with 1-Click
Try YouTube Summary with ChatGPT & Claude or YouTube Transcript Generator
Explore More Summaries from Curious Scientist 📚


Summarize YouTube Videos and Get Video Transcripts with 1-Click
Try YouTube Summary with ChatGPT & Claude or YouTube Transcript Generator