How to Create Smooth Transitions in After Effects
TL;DR
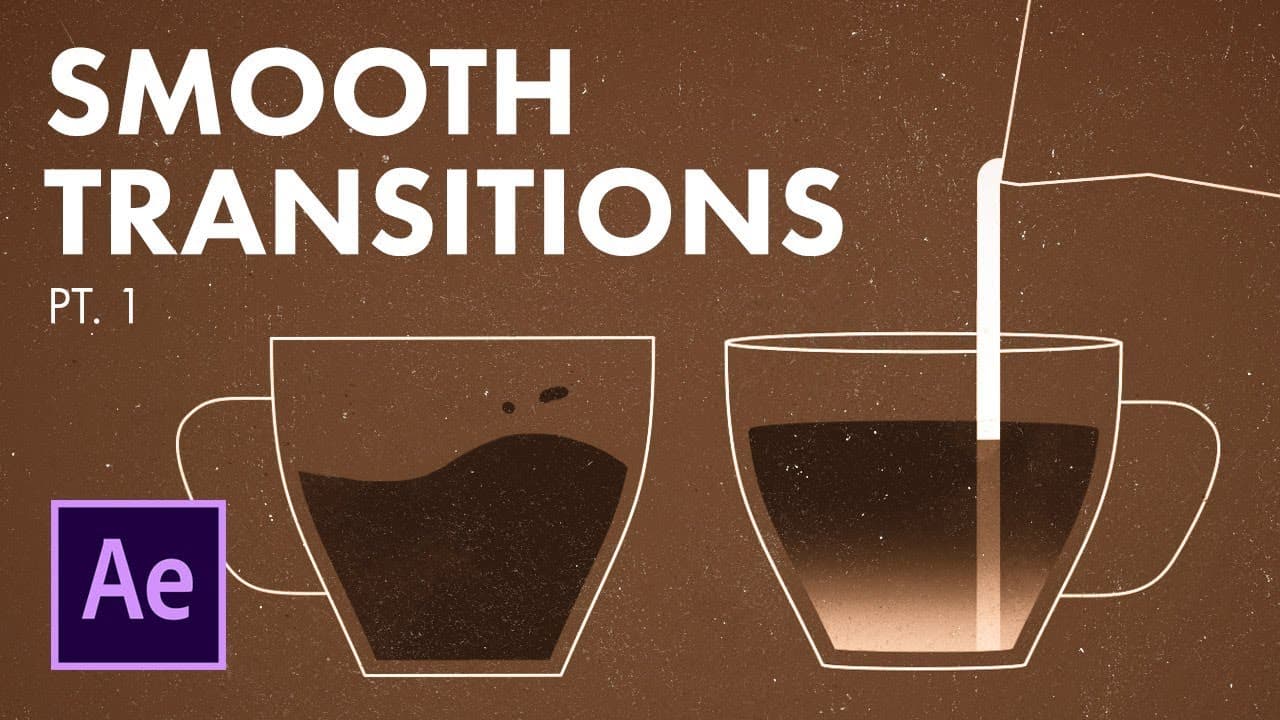
To create smooth transitions in After Effects, focus on mastering the graph editor and avoid relying on easing plugins. The video breaks down the first transition in detail, showcasing techniques for color correction, layer organization, and animating elements like a coffee cup and liquid pour.
Transcript
hi I'm Ben Marriott I make weekly motion design and animation tutorials and this week I'm starting a new series where I'm going to break down every single transition in that animation this week the first transition all right this project is available for download down in the description for you to dissect further I made this project after going on ... Read More
Key Insights
- 🥺 Focusing on improving animation skills without relying on plugins can lead to significant improvements.
- 🎮 The CC toner effect provides more control and variety in color correction compared to other effects.
- 💘 Animating the cup top using the size property instead of the scale property helps maintain stroke width consistency.
Install to Summarize YouTube Videos and Get Transcripts
Explore YouTube Video Summarizer or Get YouTube Transcript Extractor
Questions & Answers
Q: How did the creator improve their animation skills?
The creator improved their animation skills by going on a "plug-in diet" and focusing on getting comfortable in the graph editor without using easing plugins. This allowed them to fine-tune their animations and achieve smoother transitions.
Q: What effects were used for color correction in the animation?
The creator used the CC toner effect to create a gradient map and control the hue and saturation of the animation. This provided more control and variety compared to using the tint effect or tritone.
Q: How did the creator animate the cup top to create the transition effect?
The creator used the size property instead of the scale property to animate the cup top, as using the scale property would also scale the stroke width. They adjusted the easing to create a smooth transition and keyframed the path to maintain the stroke width consistency.
Q: How did the creator create the milk pour effect?
The creator used a combination of shape layers, masks, and keyframes to create the milk pour effect. They animated the position and scale of the milk layer, added masks for rounded edges, and adjusted the fill and gradient to simulate the milk pouring into the cup.
Key Insights:
- Focusing on improving animation skills without relying on plugins can lead to significant improvements.
- The CC toner effect provides more control and variety in color correction compared to other effects.
- Animating the cup top using the size property instead of the scale property helps maintain stroke width consistency.
- Adding small details such as changing fill colors and gradients can enhance the overall animation.
Summary & Key Takeaways
-
The creator explains that they created the animation without using plugins for easing, focusing instead on improving skills in the graph editor.
-
The video focuses on breaking down the first transition of the animation in detail, providing insights on color correction, animation techniques, and layer organization.
-
The creator shares their process and tips on animating different elements such as the cup, liquid pour, and color changes.
Read in Other Languages (beta)
Share This Summary 📚
Summarize YouTube Videos and Get Video Transcripts with 1-Click
Try YouTube Summary with ChatGPT & Claude or YouTube Transcript Generator