How to Create Motion Graphics Under Deadlines
TL;DR
Use a simple concept you can confidently finish, then spend the available time improving its timing, coherence, and polish. Project templates, custom shortcuts, organized asset libraries, named layers, reusable effects, and the right editing application reduce setup work, while motion blur, easing, sound, masks, track mattes, and coordinated backgrounds make basic animation feel more refined.
Transcript
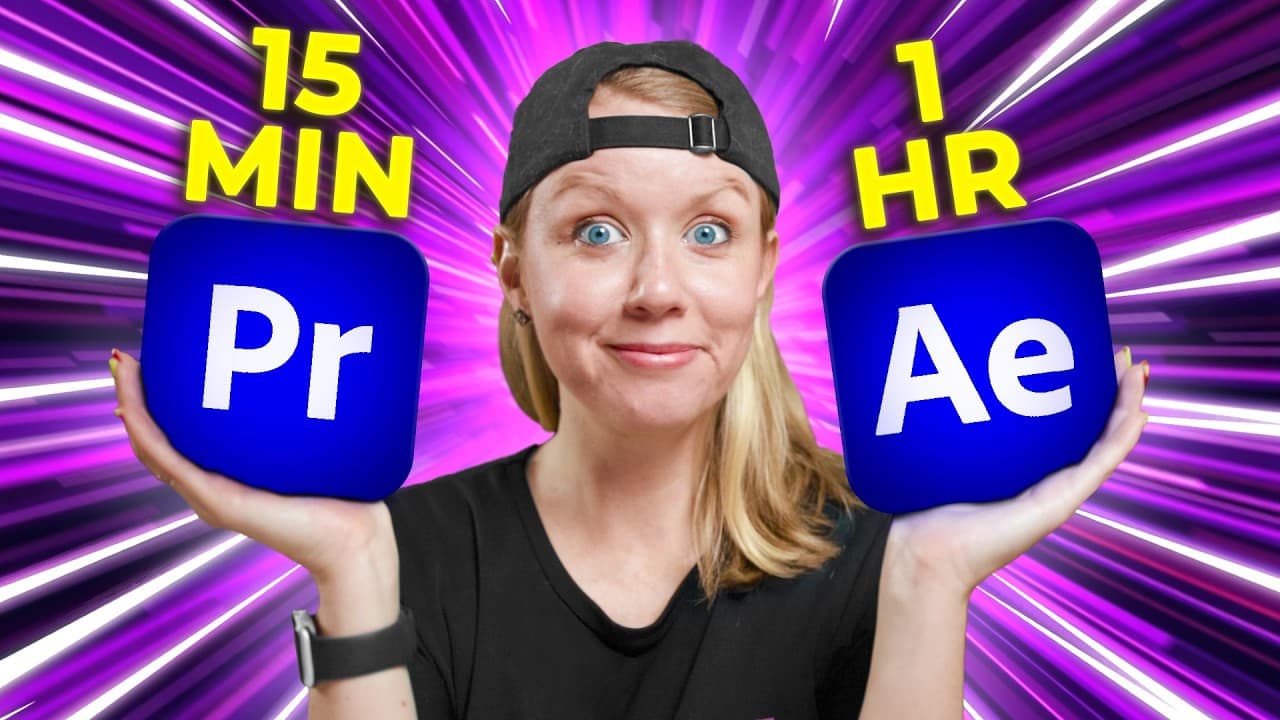
Today, I'm going to force my editor to design a new gal logo reveal in 15 minutes, but also in 1 hour, so you could see the difference in what you can create in a time crunch. And I'll be there as your tip fairy, giving you editing tips along the way. Let's jump on in. All right, Jiva, are you ready for the challenge? Let's go. Wait, what do you wa... Read More
Key Insights
- Project templates are a practical way to eliminate repeated setup work. An empty project can contain branding elements, sound effects, adjustment layers, bins, and other recurring materials, then be saved as a template so each new motion graphics project begins with useful resources already organized.
- Realistic planning is essential when working against a deadline. A complicated idea can consume valuable time before proving impractical, so the safer approach is to choose an animation the editor already knows how to execute and devote the remaining time to making that simple concept look polished.
- A fake glow can be created by duplicating a layer, changing its blending mode to Linear Dodge, adding Gaussian blur, reducing opacity, and placing it behind the original. This approach provides a controllable glow when applying a standard glow effect to one solid-colored layer becomes difficult.
- Custom keyboard shortcuts are long-term time savers for frequently repeated actions. The editor assigns keys to easing commands because Premiere Pro has no default shortcuts for Ease In and Ease Out, allowing animation keyframes to be smoothed quickly without repeatedly navigating menus.
- Directional blur is a workaround for motion that is not affected by the Transform effect's shutter settings. Its direction can match the animated movement, while its length is keyframed back to zero as the spinning stops, creating a simple impression of motion blur.
- Coherence makes separate design elements feel like one animation. Stock footage with light radiating from the center can be synchronized with a logo reveal so the background appears to react to the logo, while coordinated animation and sound further strengthen the combined result.
- Layer organization is especially valuable in longer After Effects projects. Naming layers clearly and separating the logo outline from individual letters makes later animation easier, reduces confusion, and allows each component to receive independent movement, color, masking, or parenting controls.
- Track mattes and null layers simplify control over multiple elements. A single matte can define where several text layers remain visible, while parenting several letters to one null lets the editor reposition or animate the entire group without changing every letter separately.
Install to Summarize YouTube Videos and Get Transcripts
Explore YouTube Video Summarizer or Get YouTube Transcript Extractor
Questions & Answers
Q: How can you create motion graphics quickly under a deadline?
Choose a simple concept that you already know how to execute, then focus on timing and polish instead of attempting unfamiliar techniques. Start from a project template containing recurring branding, effects, adjustment layers, and organized bins. Use shortcuts, reusable assets, and quick treatments such as fake glow, fades, directional blur, stock footage, and synchronized sound to finish efficiently.
Q: When should you use Premiere Pro instead of After Effects for motion graphics?
Premiere Pro can be the practical choice when the deadline is extremely short and the editor can work faster there. In the 15-minute challenge, the editor selects Premiere because After Effects can take more time and invite unnecessary experimentation. Premiere still provides masks, nesting, Transform, Basic 3D, blending modes, fades, keyframes, and blur effects for a compact logo reveal.
Q: Why should a motion graphics idea be simplified during a time crunch?
A complex idea can consume time through setup, experimentation, and abandoned work before the main animation is complete. The editor initially tries to extend a logo outline through animated masks, then realizes the technique will take too long in Premiere Pro. Replacing it with a simpler transformation preserves enough time to refine the logo entrance, glow, background, and sound effects.
Q: How do you create a fake glow effect in Premiere Pro?
Duplicate the layer that needs the glow, change the duplicated layer's blending mode to Linear Dodge, and add Gaussian blur. Lower the duplicate's opacity if the result is too bright. Keeping the softened copy behind the original creates the appearance of emitted light, and the same method can be reused when letters or a logo pop into view.
Q: How can keyboard shortcuts speed up motion graphics work?
Keyboard shortcuts reduce the repeated menu navigation involved in common editing actions. The editor creates custom shortcuts for Ease In and Ease Out because Premiere Pro does not provide default shortcuts for those commands. Identifying frequently used tools or effects that lack convenient defaults, then assigning memorable keys to them, can save time across many future animation projects.
Q: How can motion blur be faked when a 3D spin is unaffected by shutter settings?
Apply a directional blur effect and align its direction with the visible movement. Keyframe the blur length so it is stronger while the object spins and returns to zero as the movement stops. This workaround is useful when increasing the Transform effect's shutter setting does not affect a separate Basic 3D rotation used for the logo animation.
Q: How do track mattes help with text animation in After Effects?
A track matte uses one layer to control the visible area of other layers. In the demonstrated setup, a solid is placed beneath the text and selected as the matte for three text layers. Inverting the matte makes two rising letters appear only beneath another letter, allowing one simple shape to mask several independently animated elements at once.
Q: How do null layers simplify group animation in After Effects?
A null layer is an empty control layer that can drive several visible elements together. After creating the null, the editor parents three separate text layers to it. Moving or animating the null then affects all three letters as a group, which is useful when the text must move out of the way before the camera travels through the logo as a transition.
Summary & Key Takeaways
-
A 15-minute logo reveal demonstrates why deadline-aware planning matters. The editor chooses Premiere Pro for speed, abandons an overly complicated masking idea, and builds a simpler transformation instead. Fake glow, quick fades, nested animation, Basic 3D, directional blur, stock footage, and sound effects provide polish without requiring an elaborate design.
-
The one-hour version uses After Effects because the longer deadline allows more control. Separate logo elements are prepared for individual animation, outline layers are duplicated through 3D space, and a camera moves through the resulting tunnel. Carefully adjusted speed graphs improve timing, while organized and clearly named layers reduce confusion during production.
-
Templates, shortcuts, plugins, and asset libraries reduce repetitive work across both challenges. Track mattes let one layer control the visibility of multiple text layers, while null layers move several letters together. The comparison shows that additional time is most valuable when it supports better planning, refined curves, coherent elements, and a transition back into the video.
Read in Other Languages (beta)
Share This Summary 📚
Summarize YouTube Videos and Get Video Transcripts with 1-Click
Try YouTube Summary with ChatGPT & Claude or YouTube Transcript Generator
Explore More Summaries from Premiere Gal 📚
Summarize YouTube Videos and Get Video Transcripts with 1-Click
Try YouTube Summary with ChatGPT & Claude or YouTube Transcript Generator