How to Edit a YouTube Video with DaVinci Resolve
TL;DR
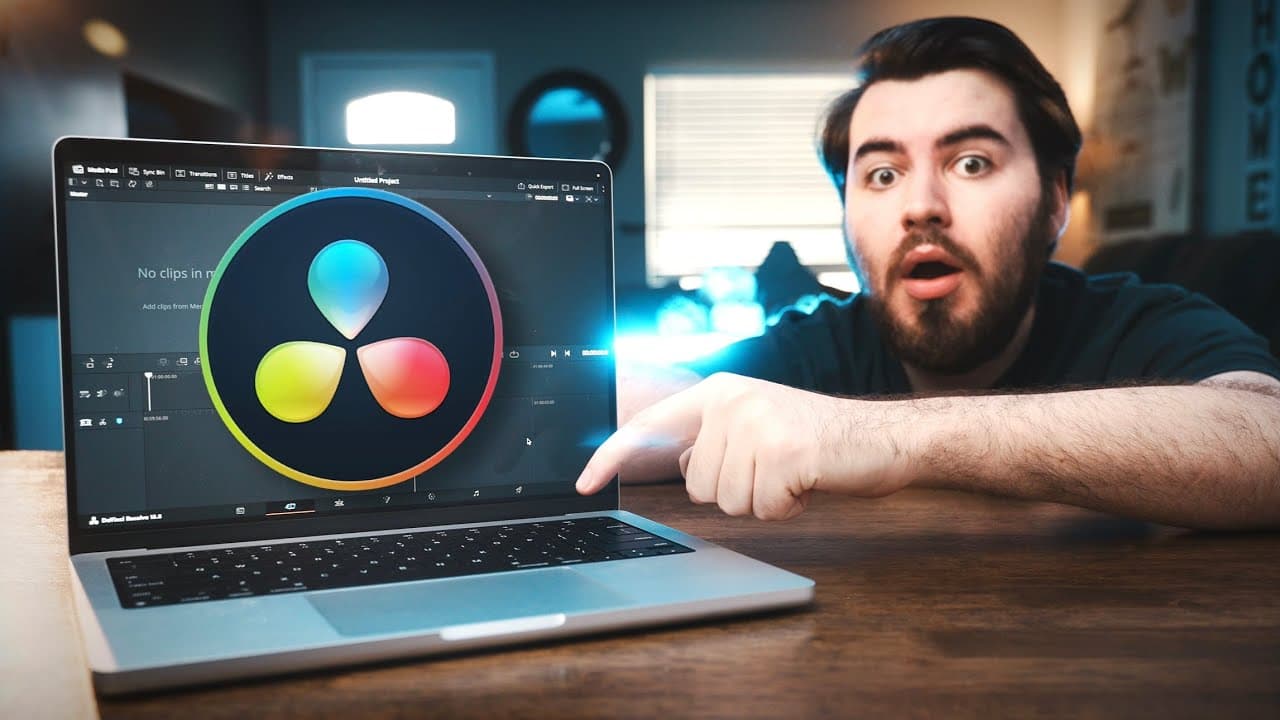
Edit your YouTube videos with DaVinci Resolve by mastering footage organization, cutting A-roll, and enhancing with B-roll. This tutorial showcases essential techniques like adding music, titles, and color correction to produce a polished final product. Follow along to elevate your editing skills and create engaging, professional content.
Transcript
after editing over 200 videos for think media I'm excited to share my step-by-step process on how to edit a YouTube video inside to venture resolve so even if you've never edited a video before by the end of this tutorial you'll have all the skills you need to create engaging and professional YouTube content let's di... Read More
Key Insights
- DaVinci Resolve is a free and powerful video editing tool ideal for beginners and professionals alike, offering comprehensive features for creating engaging content.
- Organizing footage is crucial for efficient editing; separating A-roll and B-roll helps streamline the process and prevents confusion.
- Importing footage into DaVinci Resolve requires understanding the media pool and maintaining folder structures for easy access and organization.
- Using the blade tool and keyboard shortcuts like Command B can significantly speed up the editing workflow by allowing precise cuts and trims.
- Incorporating B-roll enhances the visual appeal of videos, providing additional context and smoothing over jump cuts for a more polished final product.
- Adding music and sound effects can elevate the overall quality of a video; adjusting volume levels ensures the audio complements rather than overpowers the content.
- Text and transitions add a professional touch, with options to customize fonts, positions, and animations for better audience engagement.
- Color correction and audio enhancements are essential for improving video quality, involving adjustments to exposure, contrast, saturation, and EQ settings for clearer sound.
Install to Summarize YouTube Videos and Get Transcripts
Explore YouTube Video Summarizer or Get YouTube Transcript Extractor
Questions & Answers
Q: How do you edit a YouTube video in DaVinci Resolve from start to finish?
Start by organizing footage into A-roll and B-roll folders, then create a project and import the main folder beneath “Master” to preserve that structure. Build and trim the A-roll in the Edit page, remove mistakes and pauses, and place selected B-roll above it. The remaining workflow includes adding music, text, transitions, color correction, and audio enhancements before export.
Q: What is the first step when editing a YouTube video in DaVinci Resolve?
The first step is organizing the footage before importing it. Create a folder named for the project, then separate the main talking-head footage into an A-roll folder and supplemental visuals into a B-roll folder. This makes clips easier to locate throughout the edit.
Q: How do you import organized footage into DaVinci Resolve?
Create and name a new project, open the Media page, and drag the project folder into the media pool. Drop it directly beneath “Master” so DaVinci Resolve retains the existing A-roll and B-roll folder structure. Then move to the Edit page for most of the editing work.
Q: How do you trim and cut A-roll footage in DaVinci Resolve?
Drag the A-roll into the timeline, then pull the clip’s edge inward to remove unwanted material at the beginning or end. Use the blade tool or Command-B to cut around mistakes and slow sections, delete those pieces, and remove the resulting gaps. The audio waveform helps identify quiet areas where the speaker is not talking.
Q: What are in and out points used for in DaVinci Resolve?
In and out points let you select only the portion of a clip that you want to add to the timeline. Scrub to the desired beginning and press I, move to the ending and press O, then drag that selection into the edit. This is especially useful for B-roll because you do not need to import the entire clip.
Q: How does B-roll improve a YouTube video?
B-roll adds supplemental visuals that explain the story and make the video more engaging. It can also cover harsh jump cuts, such as placing a different camera angle over a section removed from the A-roll. Drag video-only B-roll onto a track above the main footage so it can be repositioned without changing the A-roll.
Q: How can you create slow motion in DaVinci Resolve?
Choose footage recorded at 60 frames per second, set its in and out points, and place it on the timeline as B-roll. Right-click the clip, select “Change Clip Speed,” and reduce the speed; the tutorial demonstrates slowing a jelly-spreading shot to 40%. You can then adjust how long the slowed clip remains onscreen.
Q: Which shortcuts make editing faster in DaVinci Resolve?
Command-B makes cuts without repeatedly selecting the blade tool, while Command-Z undoes the previous action. The space bar plays footage, and I and O establish in and out points. These shortcuts help streamline cutting, previewing, and selecting clips.
Summary & Key Takeaways
-
Nate from Think Media provides a detailed tutorial on editing YouTube videos using DaVinci Resolve, emphasizing the importance of organizing footage and utilizing the software's features effectively.
-
The tutorial covers importing footage, cutting and trimming A-roll, and incorporating B-roll to enhance the video's narrative, making it more engaging and visually appealing.
-
Key techniques include adding music, text, transitions, and performing color correction and audio enhancements to produce a professional-looking final video ready for export.
Read in Other Languages (beta)
Share This Summary 📚
Summarize YouTube Videos and Get Video Transcripts with 1-Click
Try YouTube Summary with ChatGPT & Claude or YouTube Transcript Generator
Explore More Summaries from Think Media 📚
Summarize YouTube Videos and Get Video Transcripts with 1-Click
Try YouTube Summary with ChatGPT & Claude or YouTube Transcript Generator