How to Create Dreamy Film Haze in Premiere Pro
TL;DR
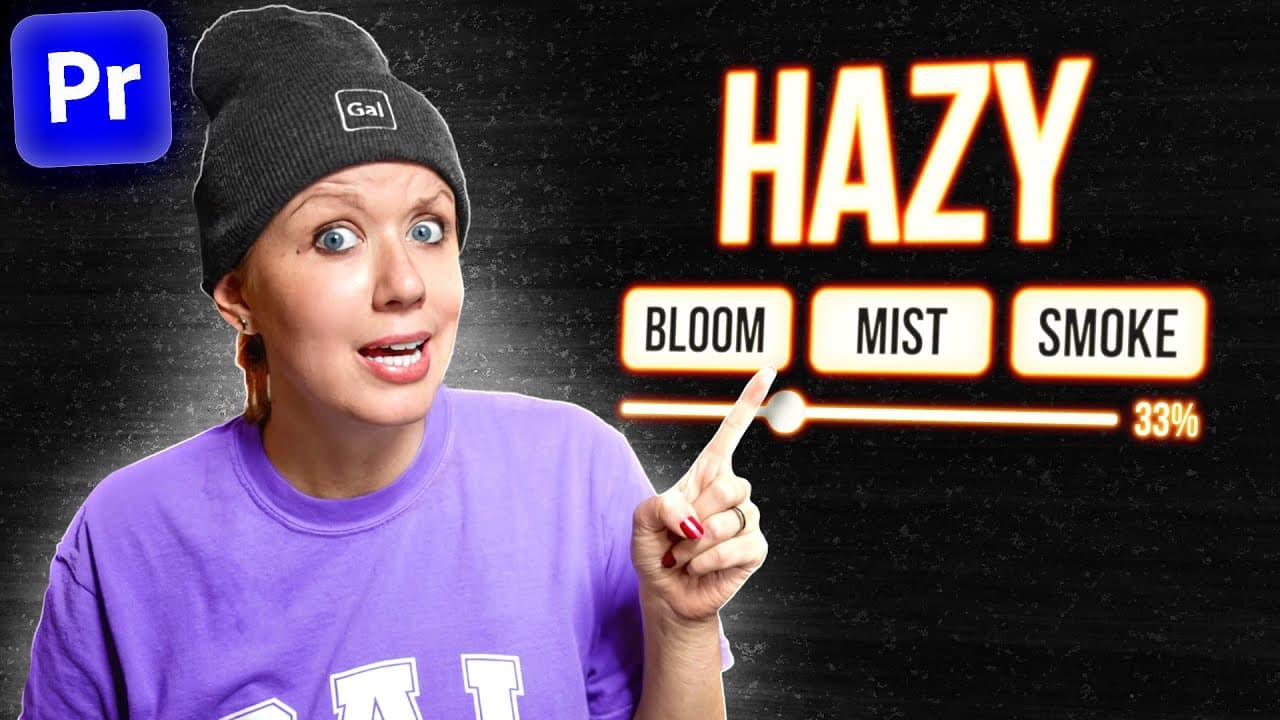
Create a dreamy film look in Premiere Pro by combining color treatment, noise, highlight-restricted blur, and red-channel halation. Built-in effects provide a free but rendering-heavy workflow, while FilmConvert Nitrate, Halation, and Hazy offer faster controls for camera profiles, film stocks, grain, glowing highlights, and atmospheric softness.
Transcript
in today's video I'm going to show you some really neat tricks to turn your digital video into a dreamy film look and this is just not adding grain right this is adding some really cool halation and Haze to your videos if you're ready let's Jump On In before we start the video a quick exciting announcement we have some new gal merch you can go to P... Read More
Key Insights
- Correct color interpretation is the foundation of the free workflow. If Premiere Pro does not recognize log footage because its metadata has changed, Modify Color can override the assigned color space and identify the actual camera log format before creative grading begins.
- Lumetri Color is used to apply and refine Adobe's built-in film looks. The look intensity remains subjective, while scopes reveal image brightness, black levels, highlights, contrast, and clipping so the grade can be adjusted with more visual information than the program monitor alone provides.
- Premiere Pro's Noise effect is a free substitute for dedicated film grain. Adding a modest amount of noise, with either colored or monochrome treatment, introduces texture and perceived softness even though Premiere Pro does not include the same native grain effect referenced for After Effects.
- Manual haze is produced by nesting and duplicating the footage, applying Gaussian Blur to the upper copy, and using Luma Key to restrict that blur. Placing the key before the blur in the effect stack matters because effect order changes how the softened highlights are generated.
- Manual halation is created by isolating bright image areas and blurring the red channel. Cineon Converter brightens the duplicate, Lumetri curves retain mainly the highlights, Channel Blur spreads the red component, and Screen blending combines the colored glow with the underlying graded image.
- Channel Blur is available through imported obsolete effects on the demonstrated current Mac setup. After importing those presets, the removed effect can be applied to the highlight layer and adjusted to create the reddish softness associated with the tutorial's simulated halation.
- The built-in workflow is computationally demanding because nested clips, duplicated layers, keys, blurs, color processing, and blend modes require rendering. The demonstrated short section takes over three minutes to render, making the manual technique less convenient across a full edit.
- FilmConvert is a faster paid alternative that combines camera-aware conversion, film-stock emulation, and adjustable grain. Its separate Halation and Hazy plugins provide direct controls for glow sensitivity, color, softness, filter style, strength, and advanced highlight or color-channel behavior.
Install to Summarize YouTube Videos and Get Transcripts
Explore YouTube Video Summarizer or Get YouTube Transcript Extractor
Questions & Answers
Q: How do you create a dreamy film look in Premiere Pro for free?
Start by ensuring Premiere Pro interprets the footage in its correct log color space, then apply a built-in film look and refine it with Lumetri Color and scopes. Add the Noise effect for grain-like texture. Build haze with a blurred duplicate limited by Luma Key, then create halation from isolated highlights, red-channel blur, and Screen blending.
Q: How do you fix log footage that Premiere Pro identifies incorrectly?
Open the Project panel, right-click the footage, choose Modify Color, and override the assigned color space with the log format used by the camera. In the example, the stock footage was recorded on a Sony camera, but changed metadata prevented automatic recognition. Correcting the interpretation restores an appropriate starting point for further color grading.
Q: How do you add film grain using built-in Premiere Pro effects?
Search the Effects panel for Noise and apply that effect to the clip. In Effect Controls, raise the noise amount until the image has the desired texture and softness. The effect also lets you choose between color noise and black-and-white noise. This is the tutorial's free workaround because Premiere Pro lacks the referenced native grain effect available in After Effects.
Q: How do you create a haze effect manually in Premiere Pro?
Nest the source clip, open the nest, and duplicate the footage onto an upper track. Apply Gaussian Blur to the duplicate, then add Luma Key above it in the effect order. Adjust the key so the blur affects selected bright portions instead of softening the entire frame. Toggle the duplicate to compare the hazy treatment with the clear original.
Q: How do you simulate film halation with Premiere Pro effects?
Duplicate the hazy result and apply Cineon Converter to make the layer very bright. Use a Lumetri luma curve to isolate the highlights, then apply Channel Blur and increase the red blurriness. Set the duplicate's blend mode to Screen so the red glow merges with the base image. Adjust the curve and blur until the effect suits the shot.
Q: Why does the order of Premiere Pro effects matter when creating haze?
Premiere Pro processes effects according to their stack order, so moving Luma Key above Gaussian Blur changes which image regions become soft. In the demonstrated setup, the key limits the treatment before the blur is applied, preserving clearer areas while diffusing selected bright regions. Reversing or disabling the key causes a broader, less controlled blur across the image.
Q: How does FilmConvert Nitrate create a film look from log footage?
Keep the clip interpreted as Rec. 709 for the demonstrated plugin workflow, apply FilmConvert Nitrate, and select the camera model and source log profile inside the plugin. FilmConvert then handles that conversion while providing film-stock choices. Additional controls change the emulated film size and adjust grain size, softness, strength, and saturation without the layered manual construction.
Q: What controls do the FilmConvert Halation and Hazy plugins provide?
The Halation plugin can display the glow by itself so its placement is easy to inspect. Its controls include strength, sensitivity, color, softness, and advanced adjustments for highlights, color channels, brightness, saturation, spread, and boost. Hazy adds dreamlike diffusion through selectable filter styles, including soft, smoke, and bloom treatments, plus an adjustable filter-strength control.
Summary & Key Takeaways
-
The free workflow begins by interpreting log footage correctly, applying a built-in film look, and refining its intensity with Lumetri Color and scopes. Noise can substitute for film grain, while contrast and clipping should be monitored so that the image remains expressive without losing important highlight or shadow information.
-
Haze is created by nesting the graded clip, duplicating it, adding Gaussian Blur, and using Luma Key to confine the softness mainly to bright regions. Halation requires another duplicate, highlight isolation with Cineon Converter and Lumetri curves, red-channel blurring, and Screen blending to produce a reddish glow around luminous areas.
-
The paid workflow uses FilmConvert Nitrate to select the source camera and log profile, emulate a chosen film stock, and customize grain. Separate Halation and Hazy plugins add glowing highlights and dreamlike diffusion with direct controls. This approach plays more smoothly than the layered manual method and requires fewer setup steps.
Read in Other Languages (beta)
Share This Summary 📚
Summarize YouTube Videos and Get Video Transcripts with 1-Click
Try YouTube Summary with ChatGPT & Claude or YouTube Transcript Generator
Explore More Summaries from Premiere Gal 📚


Summarize YouTube Videos and Get Video Transcripts with 1-Click
Try YouTube Summary with ChatGPT & Claude or YouTube Transcript Generator