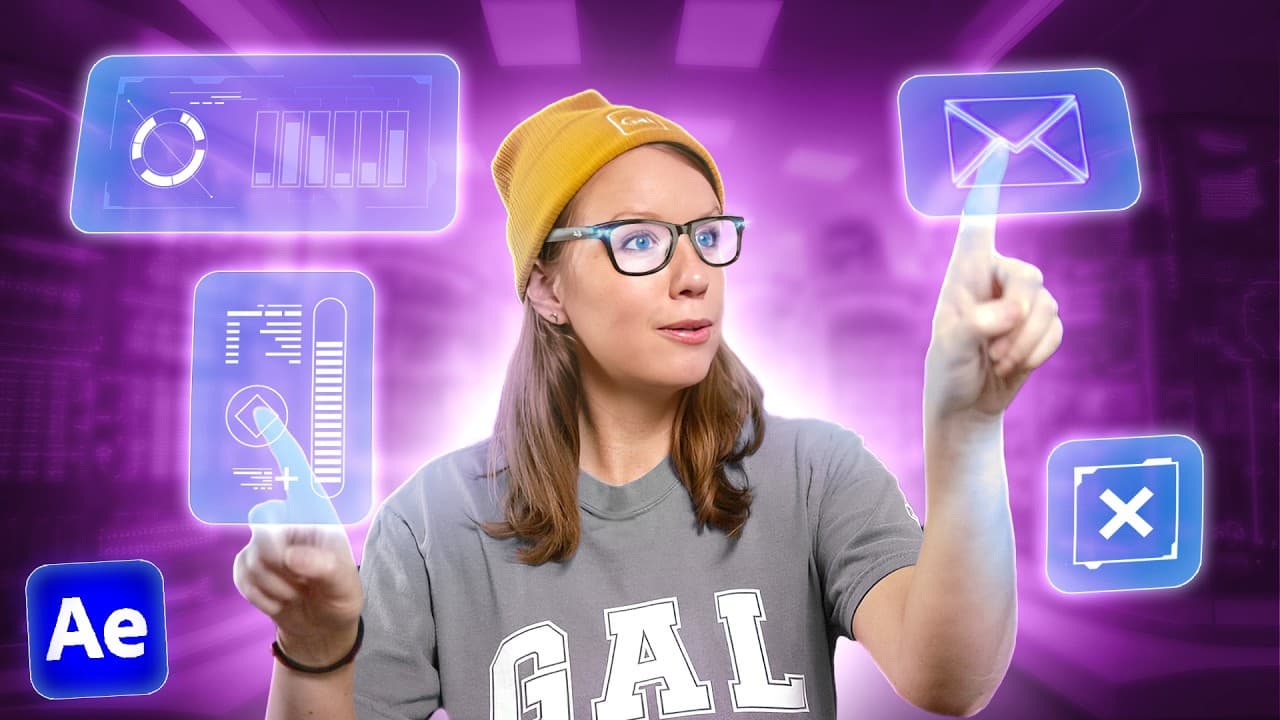
How to Create Futuristic HUD Effects in After Effects
TL;DR
Track point-of-view footage with After Effects’ 3D Camera Tracker, place interface elements at tracked positions, and animate them to respond to recorded gestures. Rotoscope hands above the graphics, then strengthen the illusion with scanning grids, edge distortion, motion blur, blending modes, and sound design.
Transcript
don't you wish that you could see some of those really cool futuristic interfaces without having to put on one of these things well I can't help with that but I can fake it inside of After Effects let's Jump On In we're going to start with the heads up display shot like what you see when you put on one of those VR headsets we can take the Apple Vis... Read More
Key Insights
- The 3D Camera Tracker is the foundation of the HUD workflow because it analyzes footage, creates track points, and generates a virtual camera that mimics the real camera’s movement, allowing digital interface elements to remain visually anchored within the recorded environment.
- Track quality can be improved by selecting points that consistently represent the intended surface. If useful points are missing, changing the solve method or enabling detailed analysis may help, although either option can make the result better or worse depending on the footage.
- Reference solids define important locations in tracked 3D space, including the ground, a tree, or any surface intended to hold an AR element. Copying a solid’s position to a 3D graphic places that graphic at the corresponding real-world location.
- Two-view mode makes spatial placement easier by showing the tracked camera view beside a custom 3D view. Holding Alt, or Option on a Mac, allows navigation around the custom view without changing the position of the virtual camera used for the final composition.
- Gesture-driven interface animation is created by keyframing scale, position, and opacity. A pressing motion can trigger a quick scale reduction, while a swipe can move the element away and fade it to zero opacity, with Easy Ease smoothing the transitions.
- Rotoscoping creates believable depth when a hand must appear in front of a digital interface. The footage is duplicated and trimmed, the Roto Brush isolates the hand, the result is frozen, and feathering can soften the mask when the hand is out of focus.
- A scanning effect can be built from a grid applied to a solid, animated across the frame with a moving mask, and precomposed as a 3D layer. Resizing it across the floor, adding radial fast blur, and using Overlay blending integrates it into the scene.
- Planning the performance before recording improves the final composite. Looking toward intended interface positions, timing presses and swipes deliberately, and including enough camera movement create clearer interaction points and allow off-screen windows to appear fixed within the environment.
Install to Summarize YouTube Videos and Get Transcripts
Explore YouTube Video Summarizer or Get YouTube Transcript Extractor
Questions & Answers
Q: How do you create a futuristic HUD effect in After Effects?
Start with point-of-view footage and apply the 3D Camera Tracker to the video layer. Choose track points that represent the ground, set the ground plane and origin, then create a solid and camera. Import or build interface elements, make them 3D layers, copy the reference solid’s position, and arrange them with the 3D gizmo. Animate their scale, position, and opacity to match recorded gestures.
Q: How do you attach HUD elements to tracked footage?
Create a reference solid from track points located on the surface where the interface should appear. Make the HUD element a 3D layer, open the reference solid’s position property, copy that position, and paste it onto the HUD layer. The element can then be rotated, moved, and resized while remaining aligned with the virtual camera and the tracked environment.
Q: What should you do when After Effects produces poor track points?
First, hover across the available points and look for a group that stays attached to the intended surface throughout the shot. If there are too few reliable points, expand the tracker’s Advanced section and try another solve method or enable detailed analysis. These settings can improve or worsen a track depending on the footage, so compare the resulting points before creating reference solids.
Q: How do you make a hand appear in front of a HUD graphic?
Duplicate the original footage layer and trim the duplicate to the portion where the hand enters the shot. Move that layer above the interface graphics, open it in the Layer panel, and use the Roto Brush to isolate the hand. Hold Alt to remove unwanted masked areas, freeze the completed roto result, and increase feathering if the hand is soft or out of focus.
Q: How do you animate a HUD element to react to a swipe?
Set scale keyframes so the element quickly shrinks when the finger performs a pressing motion. Add position keyframes that move the graphic in the same direction as the swipe, then animate opacity from full visibility to zero near the end so it disappears. Select the keyframes and press F9 to apply Easy Ease, which produces a smoother transition between each animated state.
Q: How do you create a scanning grid effect in After Effects?
Create a new solid and apply the Grid effect. Draw a mask over the grid and keyframe the mask so it travels from one side to the other. Precompose the layer while moving all attributes into the new composition, make the precomposition 3D, and position it across the floor. Radial Fast Blur and the Overlay blending mode help integrate the scan with the footage.
Q: How do you place augmented-reality graphics on different objects?
Track the footage once, then create separate reference solids at every location intended to receive an AR graphic, such as the ground or a tree. Make each graphic or precomposition a 3D layer and copy the matching solid’s position to it. Use two-view mode to adjust placement without moving the element away from its tracked surface, which would prevent it from appearing securely attached.
Q: How should footage be recorded for convincing HUD interactions?
Plan where the interfaces will appear before recording, including where the performer will look and where each pressing or swiping gesture will happen. Include enough camera movement to show that windows remain attached to the environment and can pass off screen. For AR scenes, point-of-view footage of a person walking helps sell the effect because digital elements visibly pass by as the camera moves.
Summary & Key Takeaways
-
The workflow begins by sending point-of-view footage from Premiere Pro to an After Effects composition. Applying the 3D Camera Tracker produces track points that represent surfaces in the scene. Setting the ground plane and origin, then creating a solid and camera, establishes the virtual space needed for placing interface graphics.
-
HUD elements can be videos, PNG files, original animations, or customizable After Effects templates. Each element becomes a 3D layer and inherits the position of a reference solid. Two-view mode and the 3D gizmo help position, rotate, and scale interfaces without changing the tracked camera or breaking their spatial alignment.
-
Gestures become convincing when interface scale, position, and opacity respond to pressing and swiping motions. A duplicated footage layer and Roto Brush place the hand above the graphics. Scanning grids, radial blur, optic compensation, motion blur, blending modes, and sound design provide the final futuristic HUD and augmented-reality appearance.
Read in Other Languages (beta)
Share This Summary 📚
Summarize YouTube Videos and Get Video Transcripts with 1-Click
Try YouTube Summary with ChatGPT & Claude or YouTube Transcript Generator
Explore More Summaries from Premiere Gal 📚




Summarize YouTube Videos and Get Video Transcripts with 1-Click
Try YouTube Summary with ChatGPT & Claude or YouTube Transcript Generator