How to Create a Custom Q-Learning Environment in Python
TL;DR
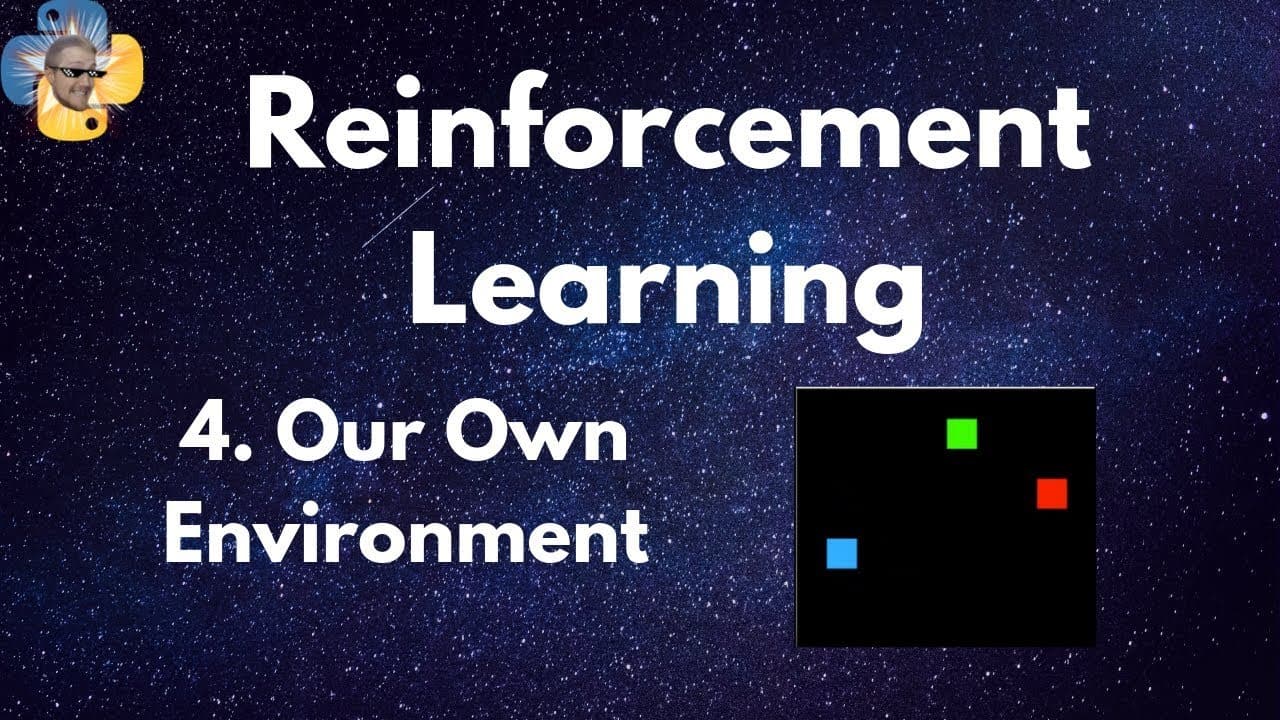
To create a custom Q-learning environment in Python, code a grid-based simulation with a player blob aiming to reach a food blob while avoiding an enemy blob. By using libraries like OpenCV and implementing parameters such as rewards and penalties, you can effectively train the Q-learning algorithm to find optimal paths and learn through interactions in this controlled setting.
Transcript
what is going on everybody and welcome to part 4 of the reinforcement learning series in this video we're gonna be doing is building our own cue learning environment so the first thing I wanted to do when I learned to learning yes it was useful to use the open AI gym environment but the first thing I wanted to do is make my own environment and I di... Read More
Key Insights
- 🪡 The creator emphasizes the importance of creating a custom environment to understand and tailor it to specific needs.
- 😆 The environment allows for the exploration of Q-learning concepts and parameters, such as different grid sizes and movement options.
- 😒 The use of relative positions as observations simplifies the training process and reduces the complexity of the environment.
- 😋 The Q-learning algorithm demonstrates the ability to learn complex behaviors, such as using walls as a strategic path to reach the food blob.
- 🎮 The video showcases the potential of Q-learning to solve problems efficiently and quickly compared to other machine learning approaches.
- 😥 The code provides a starting point for building and training custom Q-learning environments using Python and OpenCV.
Install to Summarize YouTube Videos and Get Transcripts
Explore YouTube Video Summarizer or Get YouTube Transcript Extractor
Questions & Answers
Q: How do you build your own reinforcement learning environment?
You create a grid-based environment in Python from scratch instead of using a prebuilt one. The creator uses OpenCV to render the grid, NumPy for the arrays, and Pillow to build the image, then places a player, a food, and an enemy blob at random positions on the grid. The player learns to move toward the food while avoiding the enemy, and the whole environment is small enough to be self-explanatory and easy to modify.
Q: Why did the creator make their own Q-learning environment instead of using OpenAI Gym?
The creator found OpenAI Gym useful but wanted more control and the ability to add their own elements, such as the player, food, and enemy blobs. Building a custom environment also deepens understanding of the concepts behind Q-learning. They note that many people wanted to do the same thing, which is why they turned it into a tutorial.
Q: What does the environment consist of?
It is a square grid containing three blobs: a player blob, a food blob, and an enemy blob, each initialized at a random position. The player blob's objective is to reach the food blob while avoiding the enemy blob. To start, the food and enemy stay stationary and only the player moves, which keeps the model focused on learning how to move.
Q: How does the environment handle movement of the blobs?
In this version the enemy and food blobs are stationary while the player blob moves. The player selects one of four discrete diagonal actions: move up-left, up-right, down-left, or down-right. The creator notes you can later let the enemy move too, but points out that a moving enemy could then collide with the player during training.
Q: How does the player observe the environment?
The observation is defined as the relative position of the food and enemy blobs to the player blob, rather than their absolute coordinates. This simplifies training and reduces the complexity of the environment. The player only needs to know how far and in which direction the food and enemy are from itself.
Q: What rewards and penalties does the environment use?
The environment applies a small penalty for each move so the player is encouraged to act efficiently, a much larger penalty for hitting the enemy blob, and a reward for reaching the food blob. The creator mentions they experimented with the food reward value and were not fully settled on the best choice. These constants are easy to change to see how they affect learning.
Q: How is the Q-learning algorithm implemented?
The Q-table is stored as a dictionary keyed by the current state and action, with the value being the estimated Q-value. Epsilon starts high and decays over time to shift from exploration toward exploitation, and the creator admits the decay value was tuned by hand until the curve looked right. The Q-table is saved and loaded with pickle so trained tables can be reused.
Q: What Python libraries do you need to build this environment?
You need OpenCV (installed via the opencv-python package), NumPy for array handling, and Pillow (imported as PIL) to construct the image. The creator also imports matplotlib for plotting the results, pickle to save and load the Q-table, and time to generate dynamic Q-table filenames.
Summary & Key Takeaways
-
The video demonstrates the process of creating a custom Q-learning environment using Python and OpenCV.
-
The environment consists of a player blob, a food blob, and an enemy blob, all initialized at random locations in a grid.
-
The player blob's objective is to move towards the food blob while avoiding the enemy blob.
Read in Other Languages (beta)
Share This Summary 📚
Summarize YouTube Videos and Get Video Transcripts with 1-Click
Try YouTube Summary with ChatGPT & Claude or YouTube Transcript Generator
Explore More Summaries from sentdex 📚
Summarize YouTube Videos and Get Video Transcripts with 1-Click
Try YouTube Summary with ChatGPT & Claude or YouTube Transcript Generator