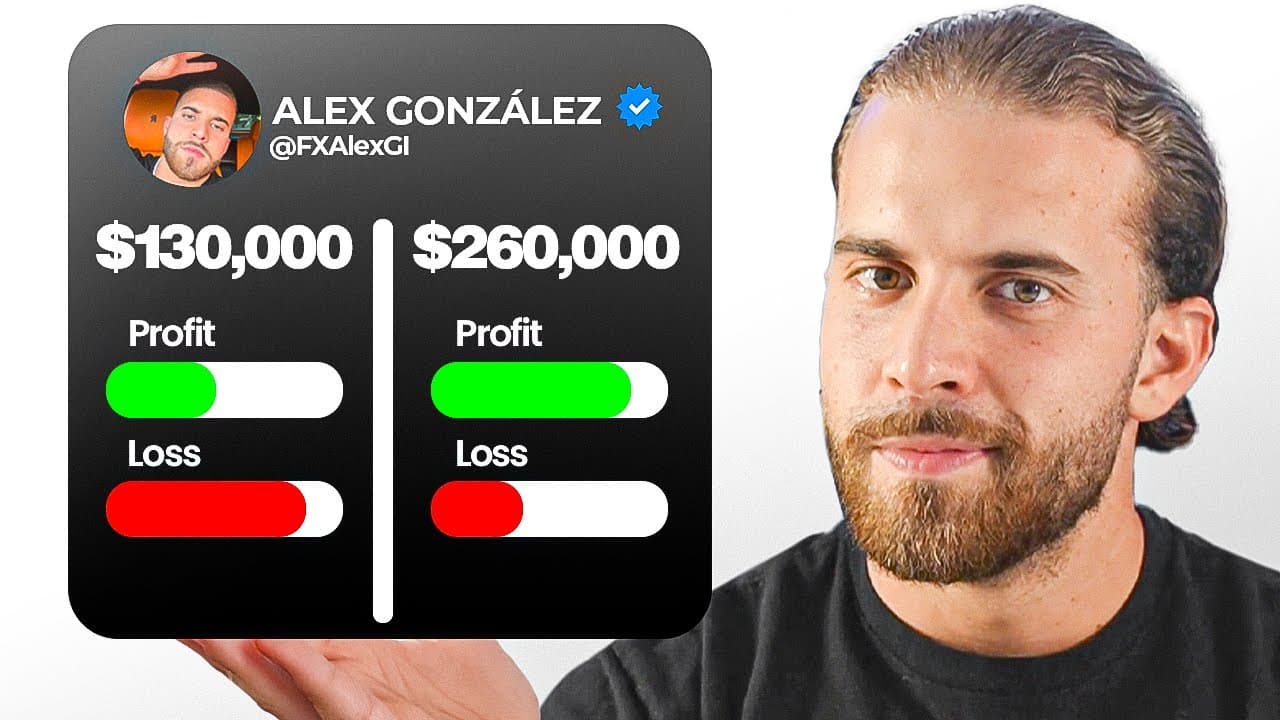
Can a Forex Trader Turn $130,000 Into $260,000 in Week 9 of the $100-to-$1 Million Challenge?
TL;DR
The trader attempts to turn $130,000 into $260,000 during week 9 of a challenge that began with $100. The plan prioritizes AUD CAD, NZD JPY, and Euro JPY, requiring weekly, daily, and 4-hour alignment plus a break and retest before entry; however, even the carefully confirmed Euro JPY setup enters drawdown and hits its stop. Read on for the exact entry filters, confirmations, and risk decisions behind the week.
Transcript
all right so we're in week n of trying to make history we've been trying to turn $100 into a million in 60 days but the 60 days have already passed but for me personally that's okay because we're still up on the challenge and we're very close to the goal so we're going to keep it going until we complete the challenge all trades are being shown here... Read More
Key Insights
- A price zone that sits flat for days is not necessarily consolidating. The trader describes it as the market building up before a move, and the direction it pops is judged by which way the higher timeframes are pointing rather than by the range itself.
- Multi timeframe alignment is the core filter in this approach. A trade is only considered when the weekly, daily and 4 hour charts all point the same direction, giving what the trader calls a higher probability outcome for the anticipated break.
- The strongest setups stack several confirmations at one price. Euro JPY was chosen because a retest would simultaneously touch the 1 hour EMA, an area of interest, a round psychological level and a head and shoulders neckline.
- An area of interest gains weight through repeated touches. The trader counts the times price has reacted at a level, and discounts touches that occurred after price had already broken above the zone, since those no longer describe the same structure.
- Trading inside a range and trading its break are different strategies. After profiting from trades inside the AUD CAD zone, the trader deliberately stopped entering there and switched to waiting for a break and retest of that support.
- Stop loss placement follows structure, not a fixed distance. On Euro JPY the stop sat above a previous lower high, so being hit would mean the overall directional read was wrong rather than just unlucky.
- A correct setup can still lose. The Euro JPY entry met every criterion the trader wanted, including the neckline retest and bearish engulfing candle, and it still stopped out, which is why position sizing matters more than conviction.
- Risk is scaled to timing within the week. The trader takes a less aggressive size on the first trade of the week and increases risk on later setups, which contained the loss when the opening trade failed.
Install to Summarize YouTube Videos and Get Transcripts
Explore YouTube Video Summarizer or Get YouTube Transcript Extractor
Questions & Answers
Q: How does the trader plan to turn $130,000 into $260,000 in week 9?
The trader focuses on AUD CAD, NZD JPY, and Euro JPY, looking for agreement across the weekly, daily, and 4-hour charts. Rather than entering immediately, the plan requires price to break a significant zone, retest it, and provide a lower-timeframe entry signal.
Q: What is the $100-to-$1 million trading challenge?
The challenge began as an attempt to turn $100 into $1 million in 60 days, with trades shared on YouTube, Telegram, and Discord. Although the 60 days passed and the first account was blown, the restarted challenge reached $130,000 by week 9, so the trader decided to continue toward the goal.
Q: Why does the trader wait for a break and retest?
A break shows that price has moved through a well-respected support or resistance zone, while the retest provides an opportunity to confirm the level from the other side. On AUD CAD, the trader stopped taking positions inside the existing zone and waited for price to break it and return before considering another trade.
Q: Why is multi-timeframe alignment important in these forex setups?
The trader uses the weekly, daily, and 4-hour charts as a directional filter. AUD CAD was bearish on all three, while NZD JPY was bullish on all three, giving the trader what he described as a higher probability for the expected direction rather than certainty.
Q: What was the planned NZD JPY entry setup?
NZD JPY showed an inverted head and shoulders on the daily chart at an area of interest with six counted touches. After the neckline break and retest, the trader planned to wait for a structure shift or break and retest on the 1-hour or 30-minute chart, ideally supported by a 4-hour bullish engulfing candle.
Q: What confirmations supported the Euro JPY trade?
Euro JPY formed a head and shoulders pattern, broke its neckline, and returned to an area of interest. The planned entry combined a 1-hour EMA retest, the area of interest, the 57500 round psychological level, the neckline retest, and a bearish engulfing candle on the 1-hour chart.
Q: Why did the Euro JPY trade lose despite matching the plan?
The Euro JPY position produced the left shoulder, head, right shoulder, neckline retest, EMA retest, and 1-hour bearish engulfing candle the trader wanted. Even with those confirmations, price moved into drawdown and hit the stop, demonstrating that a setup can satisfy the stated criteria without producing the expected result.
Q: How did the trader manage risk on the losing Euro JPY trade?
The stop was placed above a previous lower high, where a move against the position would invalidate the bearish directional read. The trader also used a less aggressive position size because it was the first trade of the week, which limited the damage when the setup failed.
Summary & Key Takeaways
-
The account challenge began with a small starting stake aimed at reaching a million within a set window. The original deadline passed without the target being hit, but the trader chose to continue because the account was still up and close to the goal, with every trade published on YouTube, Telegram and Discord.
-
The week opened behind the previous target, so the plan focused on three pairs: AUD CAD, NZD JPY and Euro JPY. Each was selected because the weekly, daily and 4 hour timeframes pointed the same way, and each required a break of a key zone followed by a retest before any entry.
-
Euro JPY was taken exactly as planned with a head and shoulders neckline retest, an EMA retest and a bearish engulfing candle on the 1 hour, yet it still went into drawdown and was stopped out. The trader kept position size modest because it was the first trade of the week, limiting the damage.
Read in Other Languages (beta)
Share This Summary 📚
Summarize YouTube Videos and Get Video Transcripts with 1-Click
Try YouTube Summary with ChatGPT & Claude or YouTube Transcript Generator
Explore More Summaries from fxalexg 📚





Summarize YouTube Videos and Get Video Transcripts with 1-Click
Try YouTube Summary with ChatGPT & Claude or YouTube Transcript Generator