How to Generate Native 4K AI Images with DyPE
TL;DR
Install DyPE as a ComfyUI custom node, load its included workflow, and download the required diffusion model, text encoders, and VAE to generate high-resolution images offline. DyPE produces detailed 4K-class outputs without a separate upscaling step, while supporting different dimensions, batch sizes, realistic subjects, landscapes, and painted styles.
Transcript
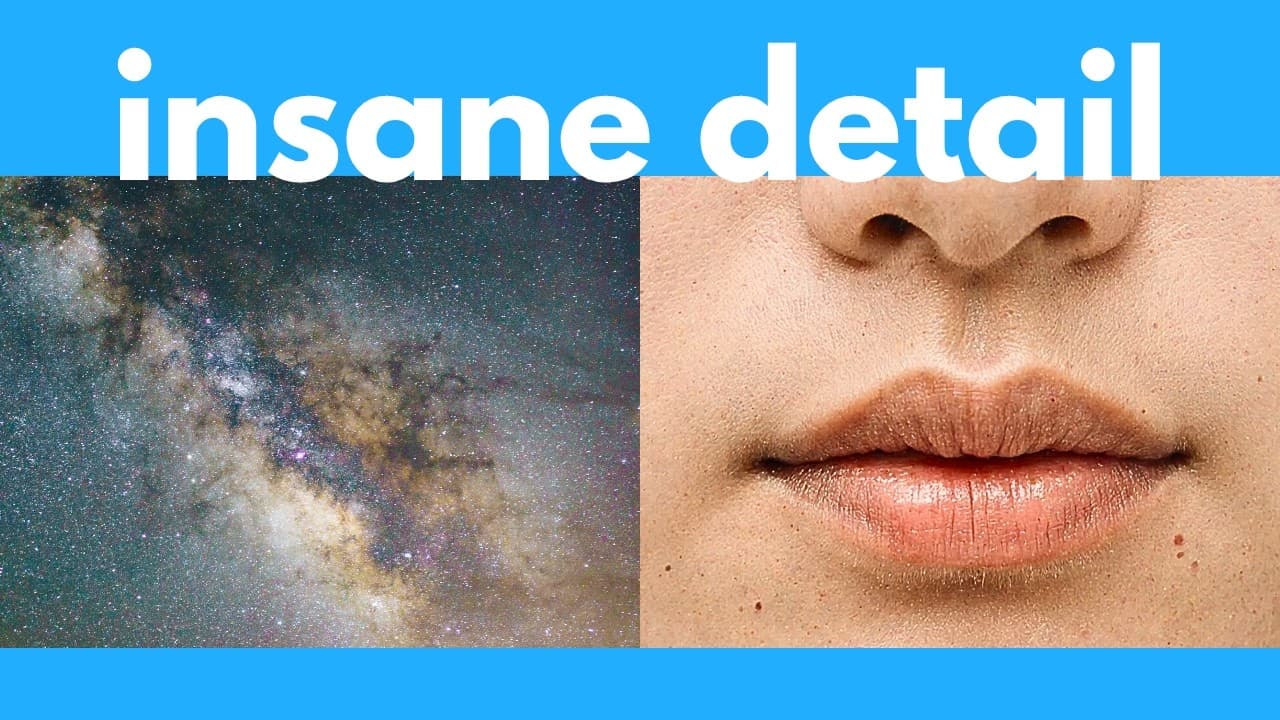
Finally, this AI image generator can make 4K images natively. I mean, look at the amount of detail of these images. There's no longer any need for upscalers. Best of all, this is free and open- source and potentially uncensored. So, the tool is called DYP, and I actually featured this in one of my news videos when it first came out. But in today's ... Read More
Key Insights
- DyPE is a free, open-source image generator designed to create high-resolution images natively. Its output can retain fine details at 4K-class dimensions, reducing the need to generate a smaller image first and process it with a separate upscaler.
- Older image models perform best around lower dimensions such as 1024 by 1024. According to the comparisons shown, increasing their width and height beyond the resolutions represented in their training can cause malformed proportions, incoherent compositions, and reduced image quality.
- DyPE preserves small visual features across multiple subjects and styles. The demonstrations show detailed skin, eyelashes, eyebrows, facial hair, animal fur, whiskers, fabric texture, flowers, grass, armor, plants, mountains, and individual brush strokes in an oil-painting-style image.
- ComfyUI provides a graphical way to run DyPE offline. Instead of working directly with the official repository's raw code, users can install the ComfyUI-DyPE custom nodes and load a prepared workflow whose required nodes and connections are already assembled.
- The ComfyUI-DyPE repository can be installed through Comfy Manager or cloned manually. For manual installation, the repository is cloned inside ComfyUI's custom_nodes directory, after which ComfyUI can be started and the included example workflow JSON can be dragged onto its interface.
- The DyPE workflow depends on several separately downloaded model files. These include a roughly 11 GB Flux Create Dev FP8 scaled diffusion model, a 246 MB CLIP-L encoder, a T5XXL encoder, and an approximately 327 MB VAE.
- The FP8 T5XXL text encoder is recommended for systems with lower VRAM because it is smaller than the FP16 alternative. The smaller option involves some sacrifice in quality, and the demonstrated FP8 file occupies about 5 GB.
- The output controls include width, height, and batch size. Width and height determine the image dimensions and aspect ratio, while batch size controls how many images are generated at once, allowing users to create square images or wider landscape compositions.
Install to Summarize YouTube Videos and Get Transcripts
Explore YouTube Video Summarizer or Get YouTube Transcript Extractor
Questions & Answers
Q: How do you install DyPE in ComfyUI?
Install DyPE by adding the ComfyUI-DyPE repository to ComfyUI. You can search for Comfy DyPE in Comfy Manager and select install, or clone the repository manually inside ComfyUI's custom_nodes directory. Start ComfyUI afterward, locate the example workflow JSON inside the downloaded DyPE folder, and drag that file onto the ComfyUI interface to load the prepared workflow.
Q: What model files are required to run DyPE?
The demonstrated DyPE workflow requires a Flux Create Dev FP8 scaled diffusion model, CLIP-L and T5XXL text encoders, and an AE safetensors VAE. The diffusion model is roughly 11 GB, CLIP-L is 246 MB, the demonstrated FP8 T5XXL encoder is about 5 GB, and the VAE is approximately 327 MB. Each file must be placed in its corresponding ComfyUI models folder.
Q: Where should the DyPE model files be placed?
Place the Flux Create Dev FP8 scaled model in ComfyUI/models/diffusion_models. Put both CLIP-L and the selected T5XXL encoder in ComfyUI/models/text_encoders. Place the AE safetensors VAE in ComfyUI/models/VAE. After downloading and organizing the files, press the R key to refresh ComfyUI's model list so the new files appear in the workflow dropdown menus.
Q: How does DyPE generate 4K images without upscaling?
DyPE generates high-resolution output directly rather than first creating a low-resolution image and enlarging it through a separate upscaler. The examples retain visible detail in skin, eyes, eyelashes, fur, fabric, flowers, armor, plants, and distant scenery when zoomed in. The presenter describes these as legitimate 4K-class generations and says an upscaler is unnecessary for creating large, detailed images.
Q: Why can older AI image models fail at high resolutions?
Older models such as Flux, Stable Diffusion, and Qwen Image are described as performing best at lower resolutions around 1024 by 1024. Setting much larger width and height values does not make them native high-resolution models. In the displayed comparisons, the older models produce incorrect proportions, weak compositions, or lower-quality details because they were not trained using comparable high-resolution data.
Q: Can DyPE generate different image styles and aspect ratios?
DyPE can generate multiple subjects, styles, and aspect ratios through its workflow settings and prompts. The demonstrations include a close-up portrait, a flower meadow with the Rockies, a cat on a sofa, and an autumn forest rendered as an oil painting. Width and height can be adjusted independently, including a wider image with its width set to about 3,000.
Q: Which text encoder should lower-VRAM users choose?
Lower-VRAM users are advised to choose the FP8 T5XXL text encoder instead of the FP16 version. The FP8 option is smaller, although the tutorial notes that using it involves some sacrifice in quality. The demonstrated FP8 text-encoder file is about 5 GB and belongs in ComfyUI's models/text_encoders folder alongside the 246 MB CLIP-L encoder.
Q: How do you configure the DyPE workflow after installation?
Refresh ComfyUI's model list by pressing R, then use the first workflow component to select the downloaded files. Choose Flux Create Dev FP8 for the diffusion model, CLIP-L and T5XXL FP8 scaled for the text encoders, and AE safetensors for the VAE. The next component lets you specify image width, height, and batch size, which controls how many images are generated at once.
Summary & Key Takeaways
-
DyPE is presented as a free, open-source image generator that produces high-resolution images natively without requiring an upscaler. Demonstrations include portraits, landscapes, animals, astronauts, armor, and oil paintings, with sharp details remaining visible in foreground and background elements when the resulting images are examined closely.
-
The tutorial installs DyPE through the ComfyUI-DyPE custom-node repository rather than using the official raw-code instructions. Users can install it through Comfy Manager or clone the repository manually into ComfyUI's custom_nodes directory, restart ComfyUI, and drag the included example workflow JSON file directly onto the interface.
-
The workflow requires a roughly 11 GB Flux Create Dev FP8 scaled diffusion model, CLIP-L and T5XXL text encoders, and an approximately 327 MB VAE. After placing each file in its designated ComfyUI models folder, users refresh the model list, select the downloaded files, and configure output dimensions and batch size.
Read in Other Languages (beta)
Share This Summary 📚
Summarize YouTube Videos and Get Video Transcripts with 1-Click
Try YouTube Summary with ChatGPT & Claude or YouTube Transcript Generator
Explore More Summaries from AI Search 📚




Summarize YouTube Videos and Get Video Transcripts with 1-Click
Try YouTube Summary with ChatGPT & Claude or YouTube Transcript Generator