Tiny Core Raspberry Pi Zero W Install
TL;DR
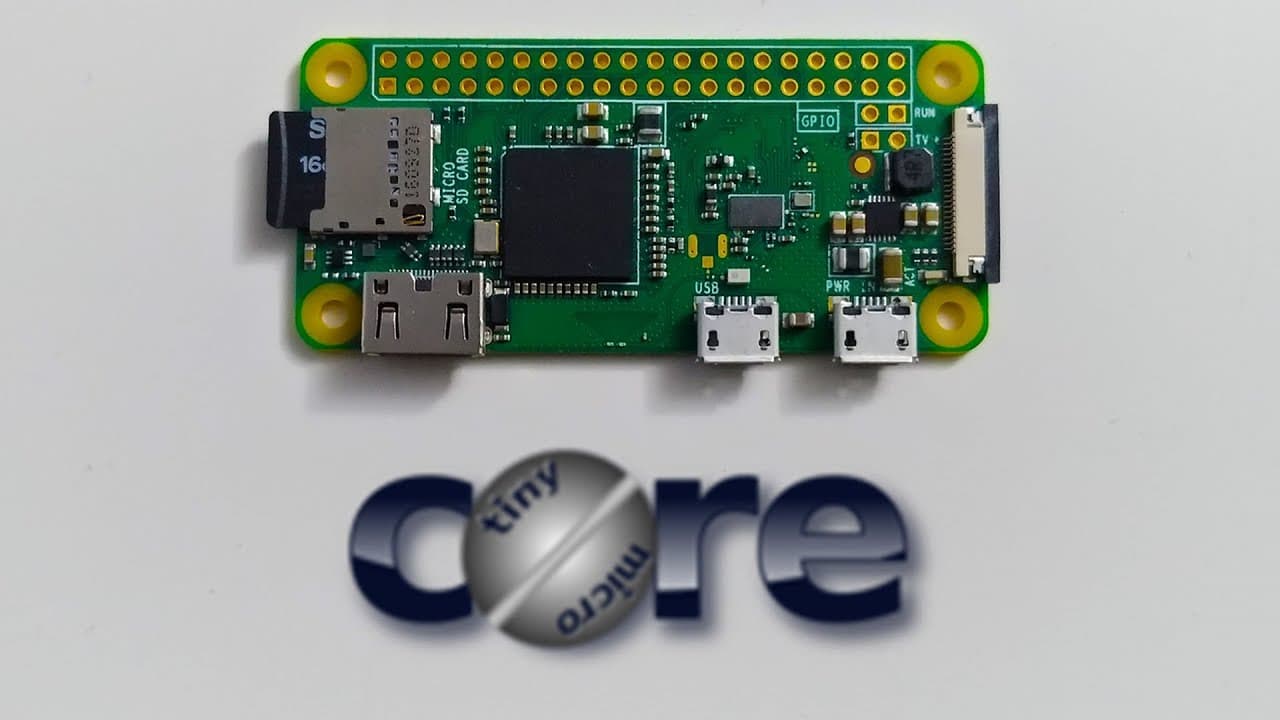
This video provides a step-by-step guide to install Tiny Core Linux on a Raspberry Pi Zero W.
Transcript
hey guys what's going on it's on here from Nova spirit Tech and I actually wanted to come out with this video a little bit earlier but due to blizzard cold weather and taking off last week and that's the knee - I've been a little bit lazy and a little bit off-track with my timing on this video but it is here it's gonna be a small one we're gonna be... Read More
Key Insights
- 💄 Tiny Core Linux is lightweight, making it suitable for devices like the Raspberry Pi Zero W, which have limited resources.
- 😆 The installation process is quick, and modifications such as Wi-Fi configurations can be made swiftly through the command line.
- 🗃️ Managing files within the Tiny Core setup ensures that the system runs efficiently, reducing wear on SD cards.
- 🈸 The ability to load modules and manage software via an application manager reflects Tiny Core's unique approach compared to more conventional Linux distributions.
- 📽️ Persistent storage can be crucial for maintaining settings and software installations across reboots, which is beneficial for projects requiring consistent behavior.
- 💁 The guide emphasizes community engagement through forums, providing users access to troubleshooting and additional information.
- 💪 Remote access capabilities make Tiny Core a strong candidate for using Raspberry Pi as a home automation hub or remote administration tool.
Install to Summarize YouTube Videos and Get Transcripts
Explore YouTube Video Summarizer or Get YouTube Transcript Extractor
Questions & Answers
Q: What are the hardware requirements for installing Tiny Core Linux on a Raspberry Pi Zero W?
To install Tiny Core Linux, you need a Raspberry Pi Zero or Zero W and an SD card, ideally one gigabyte or more. Class 2 to Class 4 SD cards are sufficient since Tiny Core is lightweight and primarily runs off RAM, minimizing wear on the card.
Q: How do you prepare your SD card for Tiny Core Linux installation?
Start by downloading the Tiny Core Linux image and use a tool like Etcher to flash the image onto the SD card. It is crucial to follow up by removing unnecessary files from the boot folder and adding additional files for Wi-Fi functionality, ensuring the environment is ready to boot correctly.
Q: How can you set up Wi-Fi on Tiny Core Linux?
After installing Tiny Core, you can set up Wi-Fi by downloading the required modules and making the necessary configurations. This involves mounting directories, loading Wi-Fi modules, and creating scripts to ensure that Wi-Fi connects automatically on boot.
Q: What is the significance of making configurations persistent in Tiny Core?
The persistent configuration in Tiny Core helps save changes and settings across reboots. It's vital if you want to maintain your Wi-Fi connection and other personal settings, avoiding the need to reconfigure every time the system starts.
Q: How can you install software on Tiny Core Linux?
Software installation in Tiny Core is managed through an application manager rather than traditional package managers like apt-get. Users can search for applications via the app browser in the desktop environment, making it easy to find required tools for specific tasks.
Q: What are some practical use cases for running Tiny Core on Raspberry Pi?
Tiny Core can be used for lightweight applications such as remote desktop clients, kiosks, or thin clients. It operates efficiently due to the minimal resource usage, which is ideal for projects that require a fast, flexible operating system with limited hardware resources.
Summary & Key Takeaways
-
This content focuses on installing Tiny Core Linux on a Raspberry Pi Zero W, ideal for small projects and kiosks. The installation process is quick and efficient, especially when using an SD card with low storage.
-
The video includes instructions for downloading the OS image, preparing the SD card, and configuring necessary files and repositories for Wi-Fi connectivity, ensuring persistence across reboots.
-
Following the setup, the guide explores how to manage software installations and utilizes the GUI effectively, making it suitable for various applications like remote desktop clients.
Read in Other Languages (beta)
Share This Summary 📚
Summarize YouTube Videos and Get Video Transcripts with 1-Click
Try YouTube Summary with ChatGPT & Claude or YouTube Transcript Generator
Explore More Summaries from Novaspirit Tech 📚


Summarize YouTube Videos and Get Video Transcripts with 1-Click
Try YouTube Summary with ChatGPT & Claude or YouTube Transcript Generator