How to Build a Proxmox LXC on Ubuntu with SMB/CIFS NAS Access
TL;DR
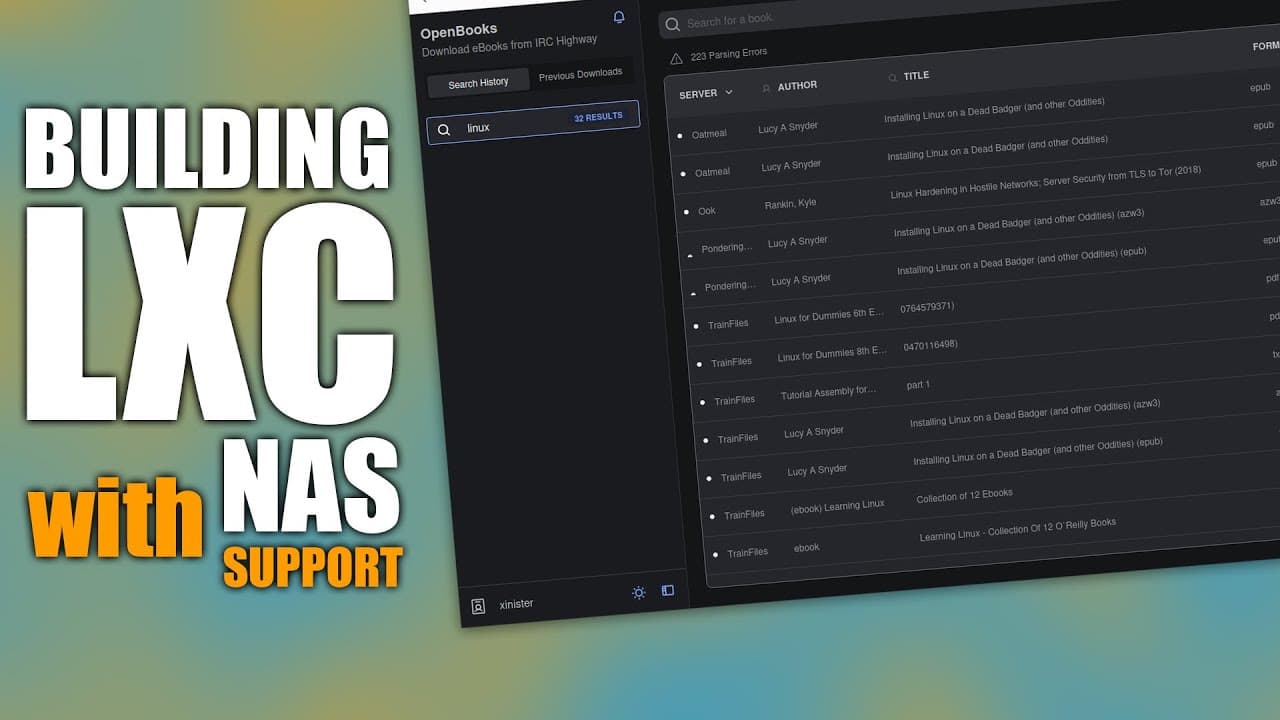
To connect a Proxmox LXC container to your NAS, create the container as privileged, enable the SMB and CIFS features in its options, then install cifs-utils and mount your NAS share via a credentials file and fstab entry. This walkthrough on Ubuntu covers the full setup, including running the open-books app as a systemd service so it starts automatically on boot. Follow along to get NAS-backed storage and a persistent service working end to end.
Transcript
all right so it's time to continue with the progress of installing another proxmox lxc container but this time we're going to be using ubun so let's get started all right so this time we're going to take a little bit of a different approach because I'm going to be able to connect this lxc container to my Nas which we didn't do with our file browser... Read More
Key Insights
- 👻 The installation process requires managing container privileges, as unprivileged containers improve security by limiting access to the host system.
- 📁 Enabling SMB and CIF features in the container settings is essential for NAS connectivity and file sharing.
- 📁 Properly structuring the fstab file is crucial for successful mounting of shared folders from the NAS to the container.
- 🗺️ Using terminal commands like 'apt update' and 'apt install' ensures you have the latest software and necessary utilities for configuration.
- 👻 The creating and modifying of a service script in systemd allows for better persistence of application execution across system reboots.
- 🐕🦺 Debugging service issues can involve examining environment variables, which help define the operational context needed by the application.
- 👋 This guide not only assists in LXC container setup but also highlights best practices for managing services on Ubuntu.
Install to Summarize YouTube Videos and Get Transcripts
Explore YouTube Video Summarizer or Get YouTube Transcript Extractor
Questions & Answers
Q: How do I connect a Proxmox LXC container to my NAS with SMB/CIFS?
When creating the container, uncheck the unprivileged option, then before starting it go to Options > Features and enable SMB and CIFS. After booting, install cifs-utils, create a credentials file, and add an fstab entry pointing to your NAS share. Running 'mount -a' with no errors confirms the share is mounted.
Q: Why do I need to uncheck the unprivileged container option?
The guide creates the container as privileged so it can mount the NAS share over SMB/CIFS. Unprivileged containers improve security by limiting access to the host, but the SMB/CIFS mount setup in this walkthrough is done on a privileged container.
Q: How do I set up the SMB credentials file?
Create a file such as /etc/smbcreds and add three lines: your username, your password, and the domain, which is usually 'workgroup'. This file is then referenced from the fstab entry so the mount can authenticate to the NAS without exposing credentials on the command line.
Q: What goes in the fstab entry to mount the NAS share?
Add a line with your NAS server IP and shared folder (for example the 'public' share) as the source and a local mount point like /mnt/public as the target. Include the credentials option pointing to your smbcreds file, set read-write permissions, and specify a uid, then finish the line with the standard trailing values. Keep the fields tab-separated.
Q: How do I install the open-books application in the container?
Download the compiled Linux release from the open-books GitHub with wget, make it executable with chmod, and move it into /usr/bin. Open-books lets you download books from IRC networks such as IRC Highway. You launch it with parameters for the save directory, a username, and a port.
Q: How do I run open-books automatically on startup as a service?
Wrap the launch command in a shell script so the parameters do not get mangled, make it executable, then create a systemd unit file under /etc/systemd/system. Set the working directory and ExecStart to run your script, then use 'systemctl enable' and 'systemctl start' so the service launches on every boot.
Q: Why does my open-books service fail to start with exit code 2?
The service fails when the required Environment directive is missing from the systemd unit file. Adding the correct Environment setting provides the operational context the application needs, which resolves the exit-code-2 startup failure.
Q: What is an LXC container and why use one?
An LXC (Linux Container) is a lightweight virtualization method for running isolated Linux systems on a single host. It uses fewer resources than a traditional virtual machine, making it efficient for hosting services like the NAS-connected open-books app shown here.
Summary & Key Takeaways
-
The content provides a step-by-step process for installing an LXC container on Ubuntu while connecting it to a NAS for file storage.
-
It details the configuration of specific settings, including memory and network options, as well as setting up SMB credentials for the NAS.
-
The final steps cover making the open books service run automatically on startup, enabling seamless access to downloaded books via the connection.
Read in Other Languages (beta)
Share This Summary 📚
Summarize YouTube Videos and Get Video Transcripts with 1-Click
Try YouTube Summary with ChatGPT & Claude or YouTube Transcript Generator
Explore More Summaries from Novaspirit Tech 📚



Summarize YouTube Videos and Get Video Transcripts with 1-Click
Try YouTube Summary with ChatGPT & Claude or YouTube Transcript Generator