Basic Playing - Teaching a Robotic Arm to Play Air Hockey p.4
TL;DR
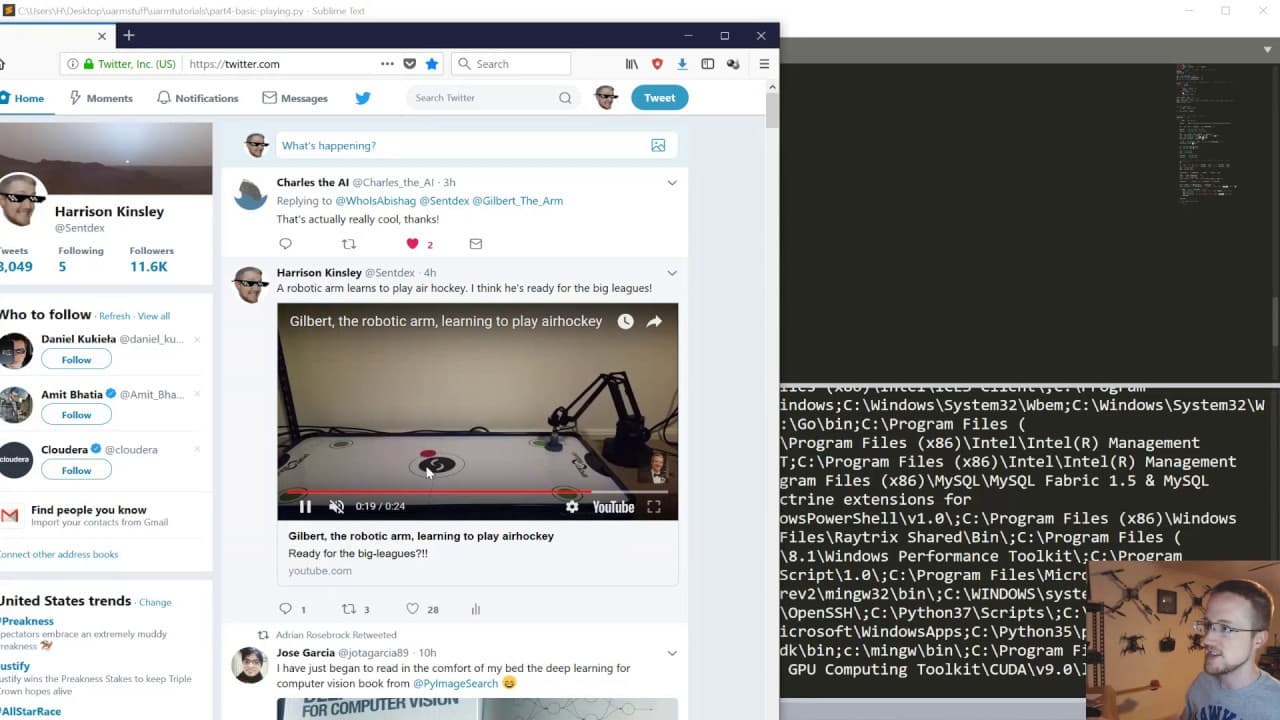
Program the robotic arm to follow the puck’s Y position and swing after the puck crosses an X threshold. The proof-of-concept maps the puck’s percentage position onto the arm’s −220 to +220 Y range, while a counter prevents immediate repeat swings. It also tests a suction pump for holding the striker, though downward force remains difficult to balance. Read on for the full control logic and its limitations.
Transcript
what is going on everybody and welcome to part 4 of the air hockey with robotic arm series in this tutorial what we're gonna be covering is how to take this robotic arm and now that we know where the puck is and we can generally know where the arm is or at least tell the arm where to go how could we actually play air hockey now this is just going t... Read More
Key Insights
- 🦾 The tutorial focuses on basic logic for the arm to follow the puck's movements and attempt strikes.
- 💘 The arm's gripping mechanism (suction cup or gripper) is crucial for successful gameplay.
- 🦾 The arm's speed and accuracy need to be optimized to improve gameplay.
- 💨 The tutorial hints at upcoming changes to make the arm faster and improve the display for better visualization.
- 💩 Further improvements are needed to ensure the arm hits the puck consistently and effectively.
- ❓ The tutorial acknowledges the crude logic used, with the expectation of refining it in future tutorials.
- 🫵 Questions and feedback from viewers are encouraged.
Install to Summarize YouTube Videos and Get Transcripts
Explore YouTube Video Summarizer or Get YouTube Transcript Extractor
Questions & Answers
Q: How is the robotic arm programmed to play air hockey?
The program tracks the puck and converts its Y location into a corresponding position for the robotic arm. The arm follows that position, then attempts a forward-and-back strike once the puck crosses a chosen X threshold.
Q: How is the puck’s Y position mapped to the robotic arm’s movement range?
The cropped image supplies its height and width, which are used to express the puck’s X and Y positions as percentages. The puck’s Y percentage is converted to decimal form, multiplied by twice the arm’s Y maximum, and offset to map it onto the arm’s −220 to +220 range.
Q: What movement range is used for the robotic arm’s Y axis?
The tutorial uses a Y range from −220 to +220. The desired Y value should remain within that range; a value outside it indicates a problem in the position calculation.
Q: When does the robotic arm attempt to strike the puck?
The proof-of-concept checks whether the puck has crossed a specified X-position threshold. The example uses a puck position greater than 80, after which the arm can attempt to swing if enough time has passed since its previous swing.
Q: How does the program prevent immediate repeat swings?
It tracks when the arm most recently swung and calculates the elapsed count since that action. A counter prevents another immediate swing when the first attempt misses or the puck is detected somewhere else.
Q: Why is controlling the striker’s downward force difficult?
Too much downward force can cause the arm to lose or drop the striker, while too little lets the puck pass underneath it. The robotic arm cannot sense the appropriate pressure the way a human player can, making the correct balance difficult to find.
Q: Does the robotic arm use a suction pump or a gripper to hold the striker?
The tutorial sets the pump to true and uses suction to help hold the striker. Because the pump is unreliable and pressure is difficult to control, the presenter considers switching to the small gripper in a later version.
Q: Is this air-hockey control system a finished solution?
No, it is presented as a proof of concept with deliberately basic logic. Its immediate goal is to match the puck’s Y movement and attempt a strike after an X threshold, leaving the control method open to later refinement.
Summary & Key Takeaways
-
This tutorial teaches how to program a robotic arm to play air hockey.
-
The arm's position is determined based on the location of the puck on the playing field.
-
The tutorial covers setting up the arm, tracking the puck, and attempting to strike the puck.
Read in Other Languages (beta)
Share This Summary 📚
Summarize YouTube Videos and Get Video Transcripts with 1-Click
Try YouTube Summary with ChatGPT & Claude or YouTube Transcript Generator
Explore More Summaries from sentdex 📚
Summarize YouTube Videos and Get Video Transcripts with 1-Click
Try YouTube Summary with ChatGPT & Claude or YouTube Transcript Generator